I remember my first summer trip to Europe—packed cute tops that wilted in the heat. Sweat stains everywhere. Then I learned: breathable layers and smart packs change everything.
No more blisters from flimsy sandals.
These outfits let you hike, sightsee, and sip wine without fuss. Real life, tested on me.
17 Europe Travel Ideas In Summer Adventure Trips
Here are 17 Europe travel ideas in summer adventure trips, pulled from my own packing lists and fixes. Each one packs light, moves easy, and looks casual. You'll see exactly what works.
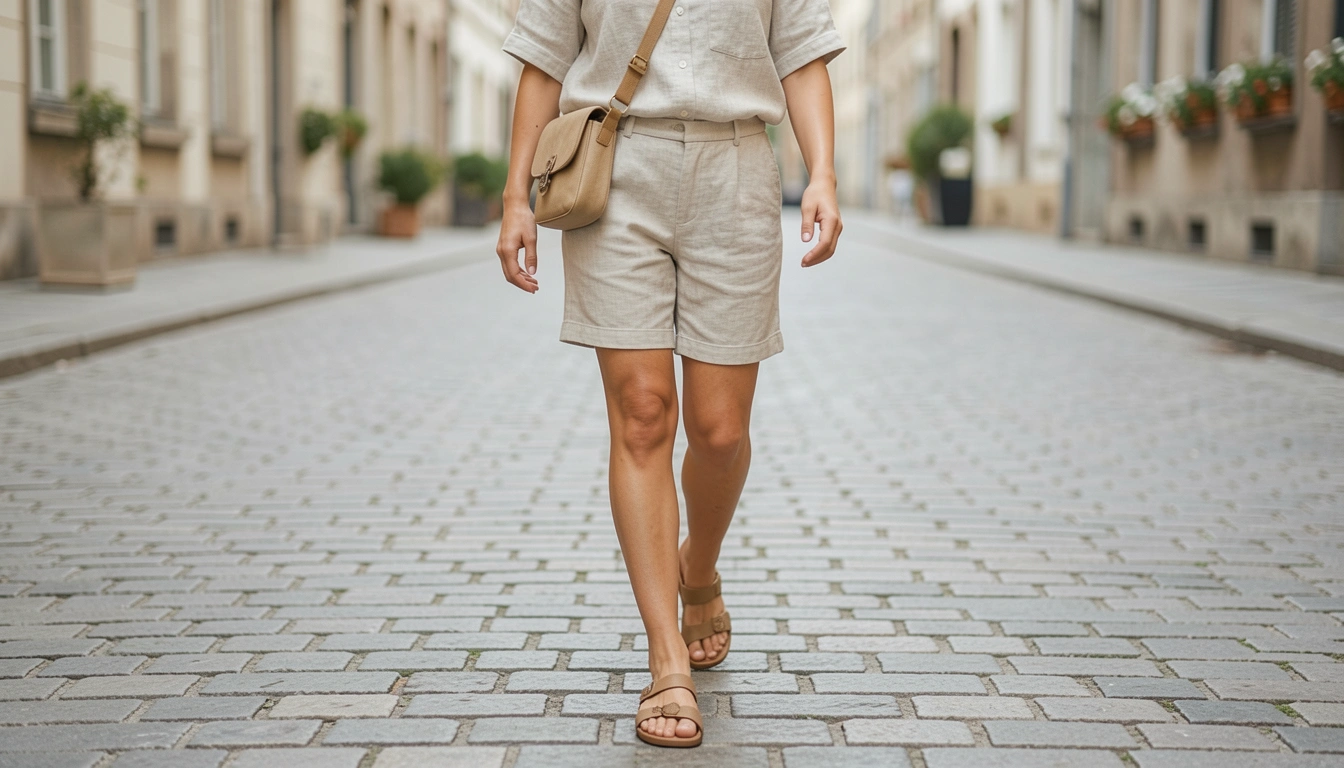
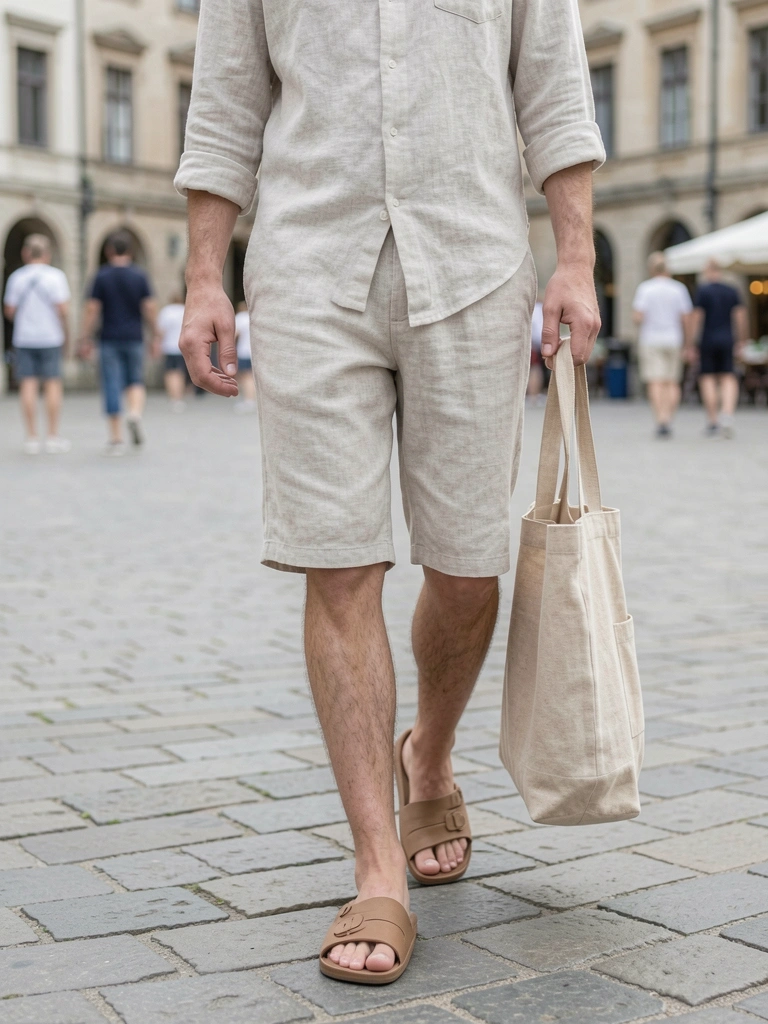
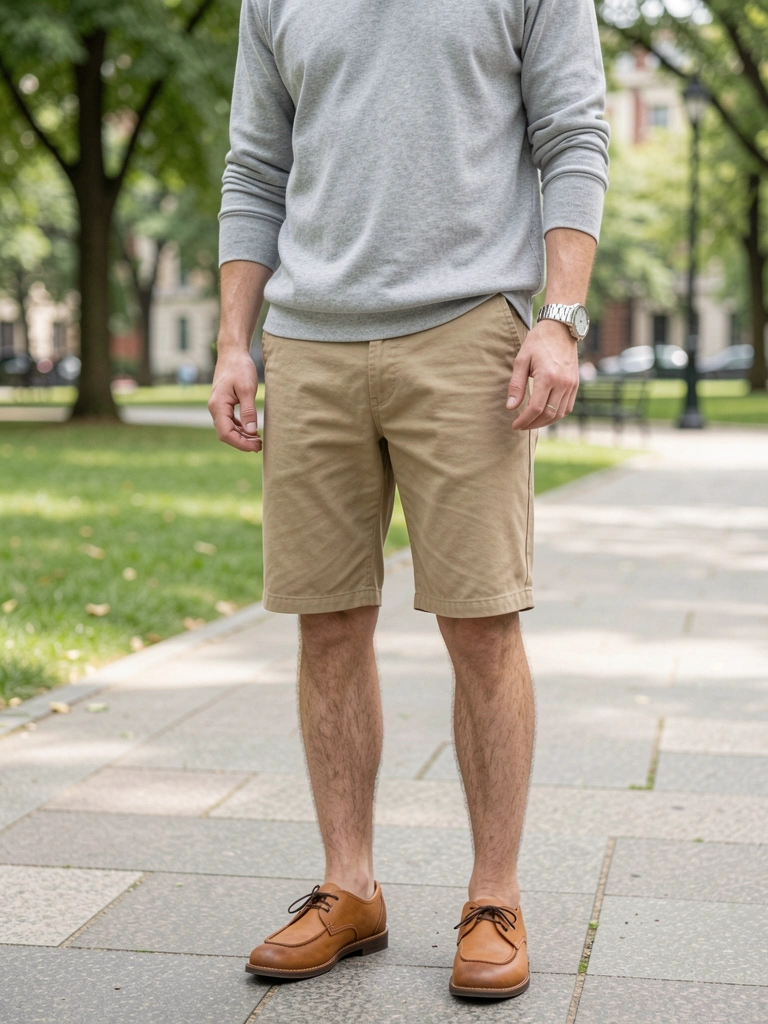
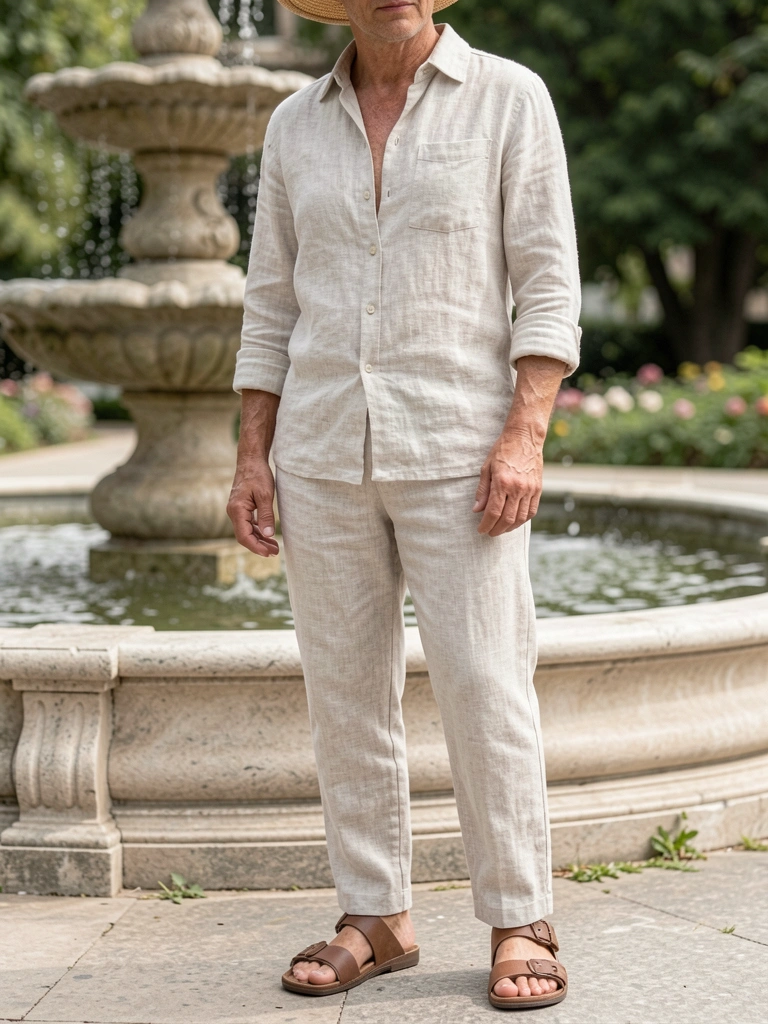
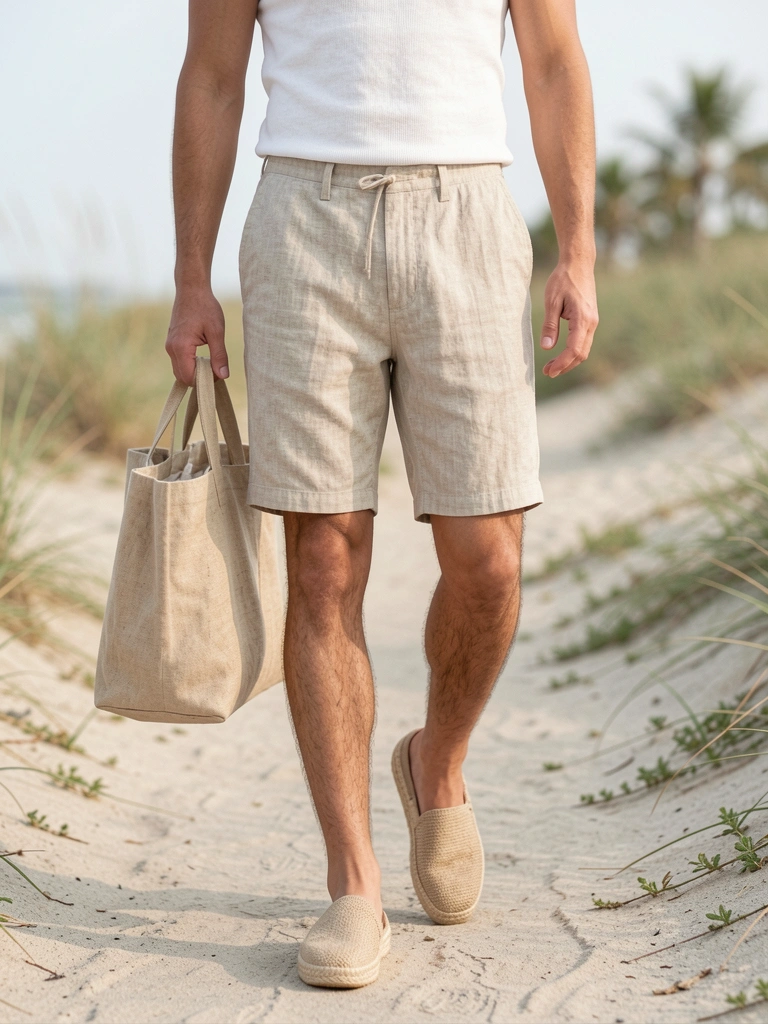
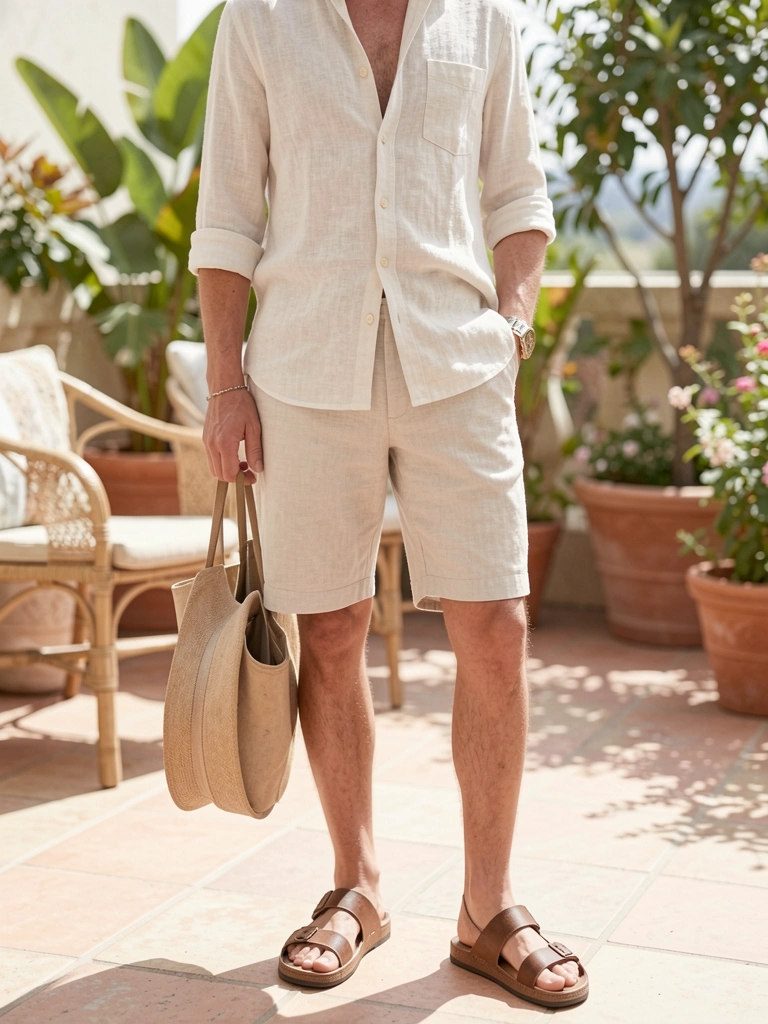
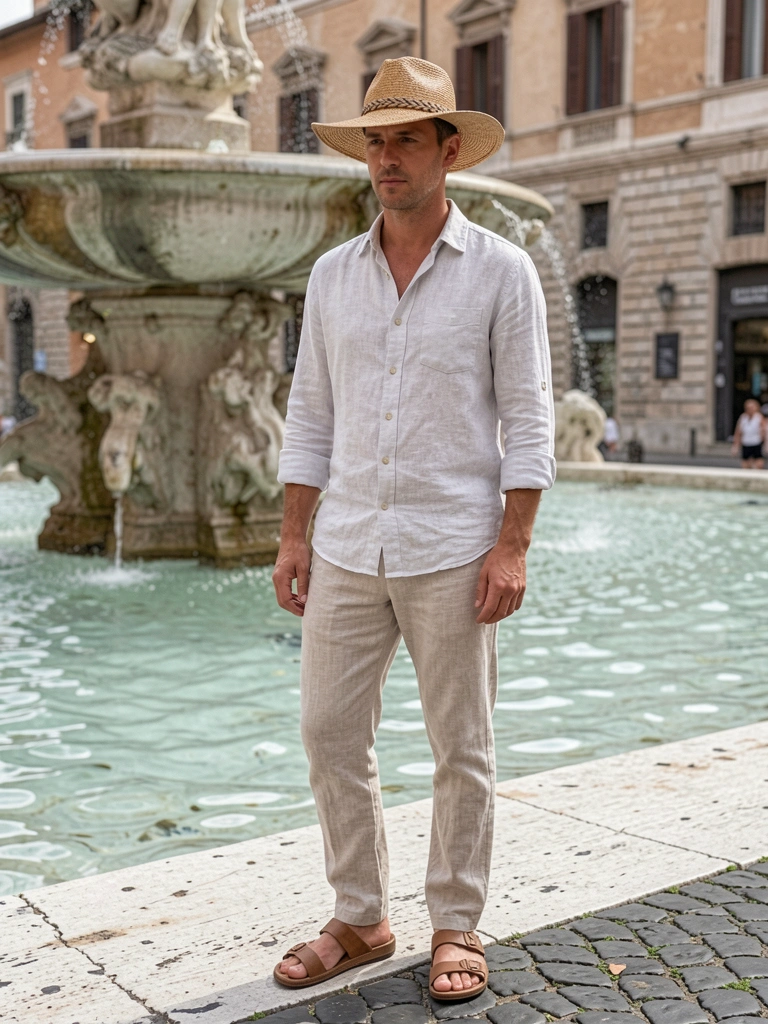
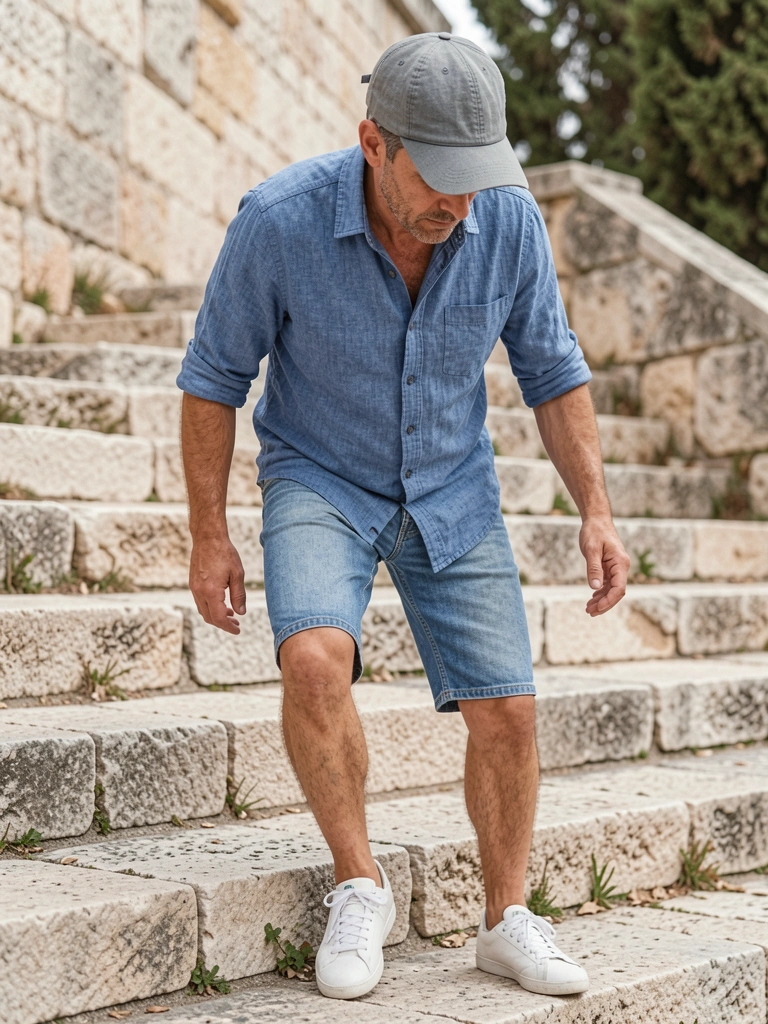
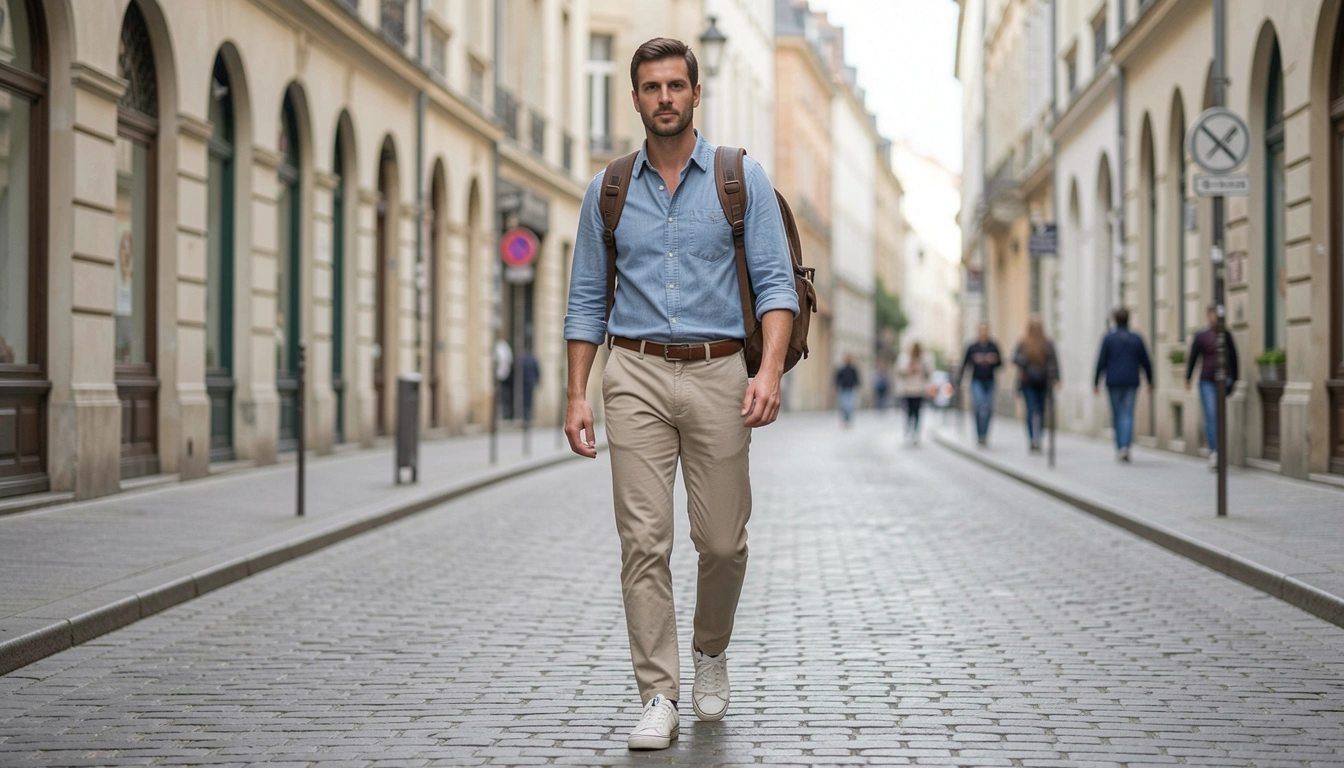
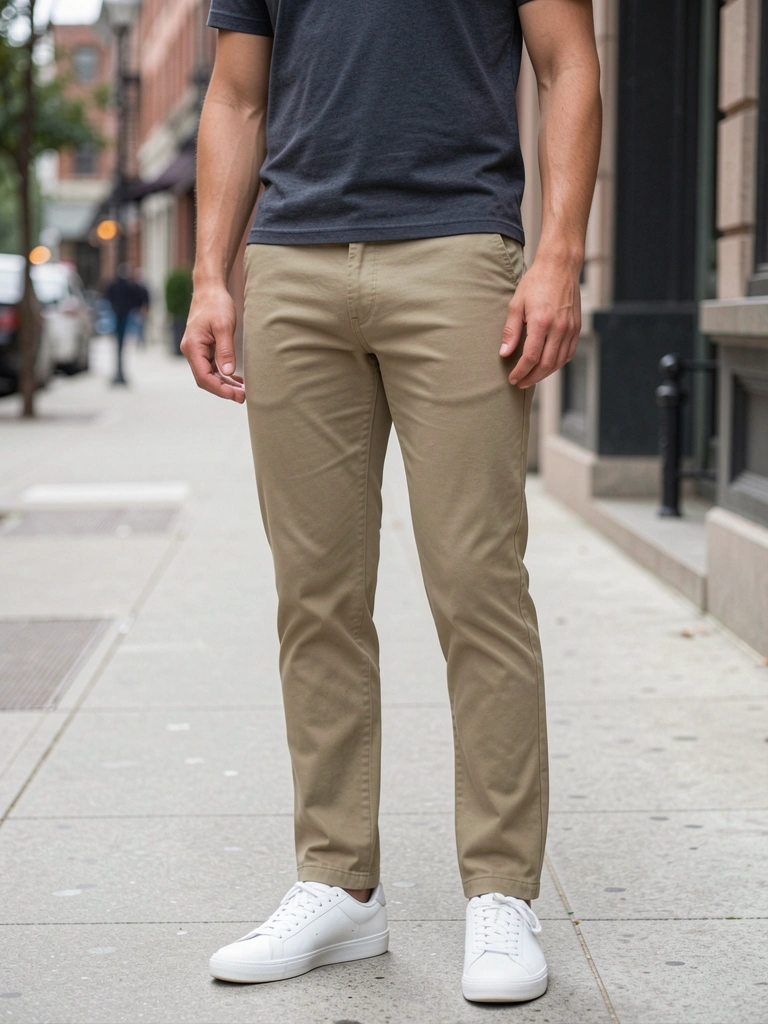
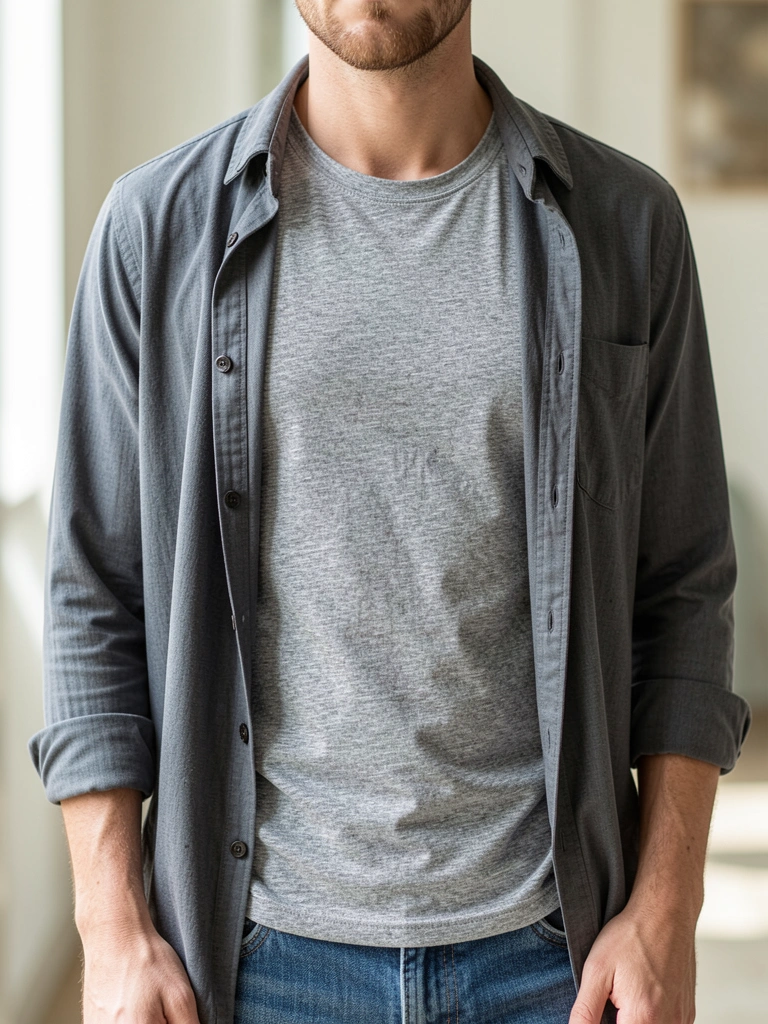
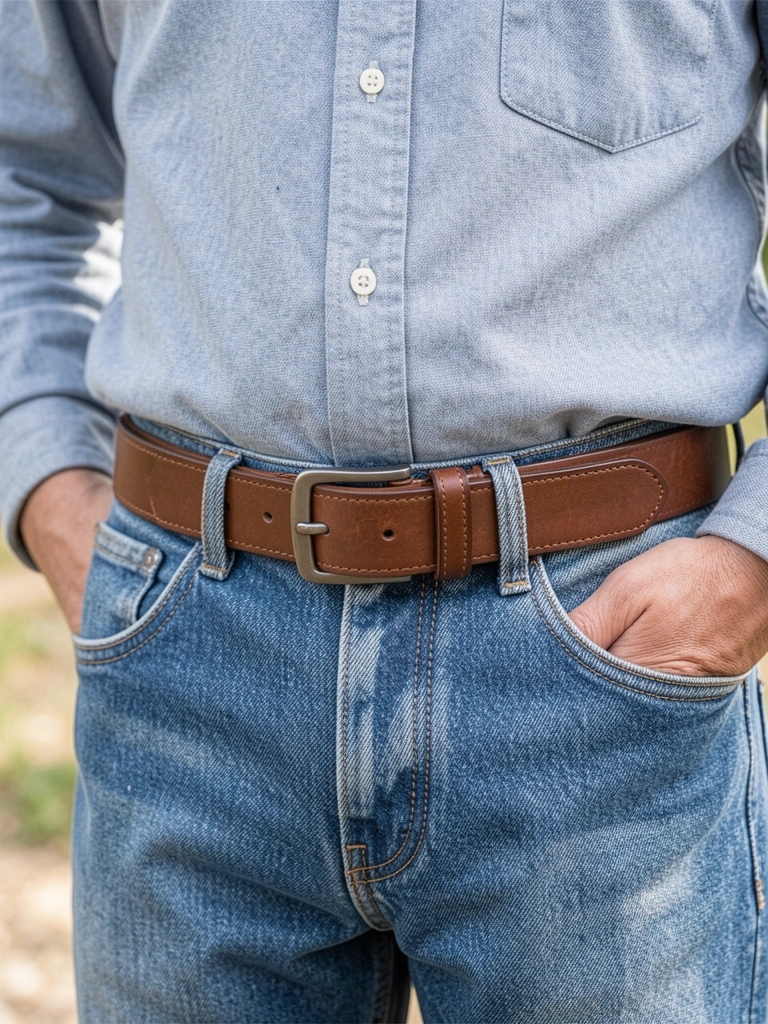
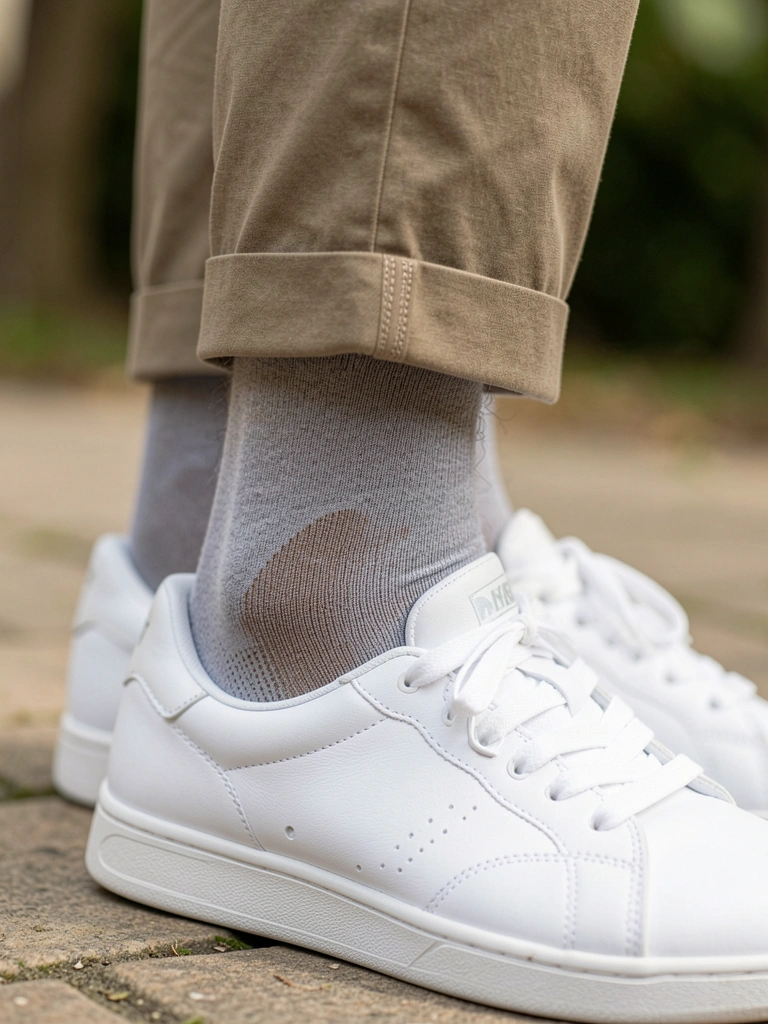
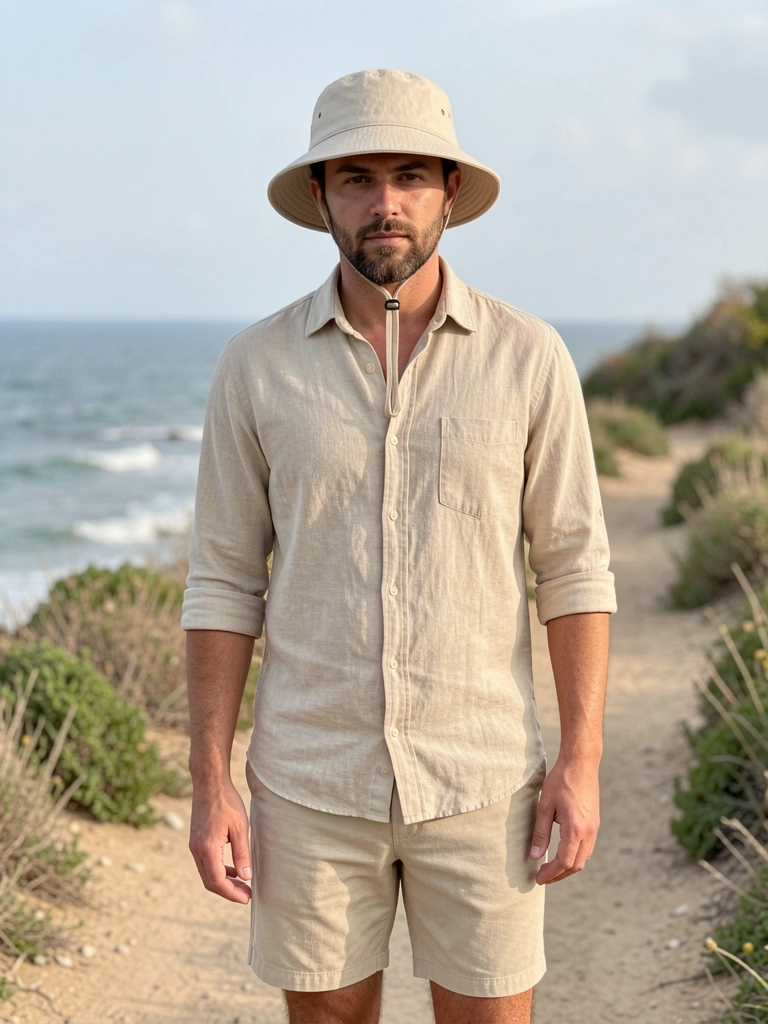
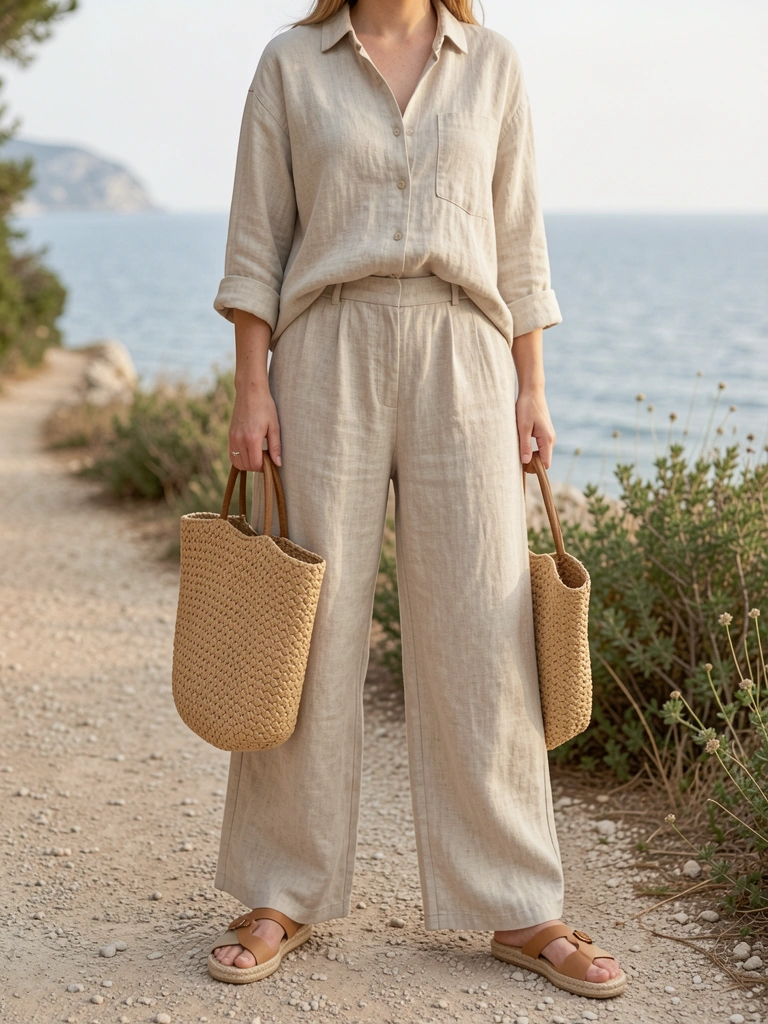
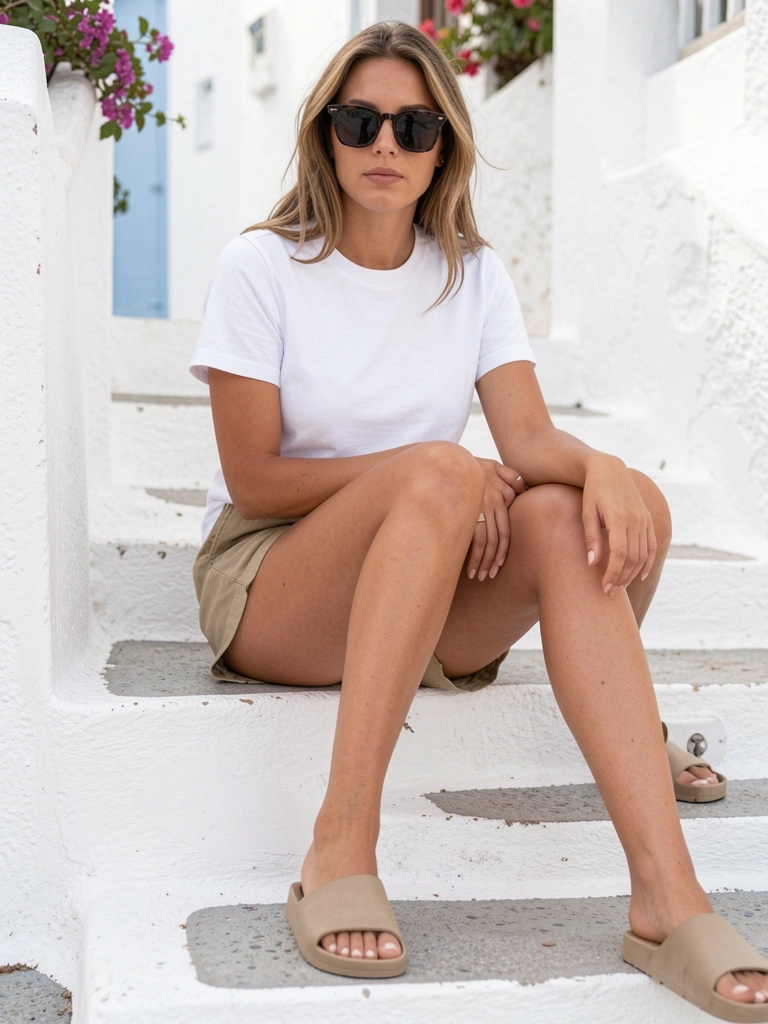
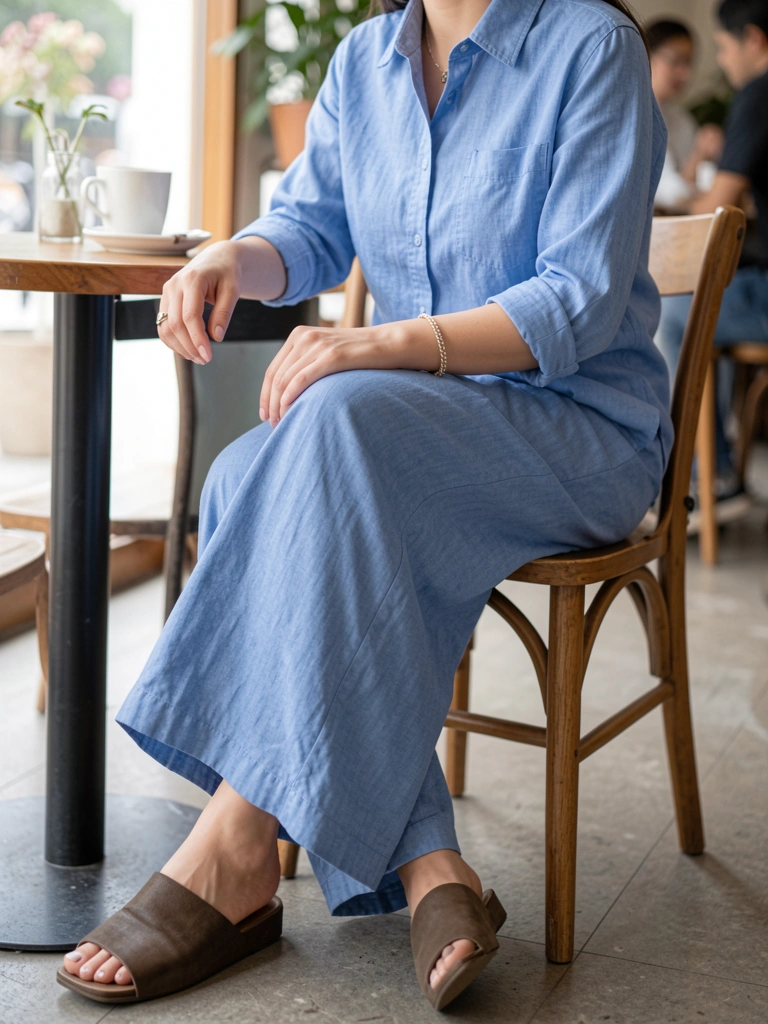
1. Breathable Linen Shirt and Shorts for City Strolls
I wore this in Barcelona—endless walking, no sweat. The linen shirt hangs loose, catches breeze on hot afternoons. Paired with tailored shorts, it feels put-together without trying.
On me, the neutral khaki hid coffee spills from cafe stops. Legs looked longer in high-waisted shorts. I ditched heavy jeans after day one; these breathe.
Key: Tuck the shirt halfway for shape. Roll sleeves if arms get sticky. Comfortable for 10-mile days.
One mistake—I grabbed cheap linen that wrinkled bad. Go for mid-weight.
What You’ll Need for This Look
Oversized linen button-up shirt in khaki
High-waisted linen blend shorts medium length
Flat leather sandals tan
Canvas tote bag neutral
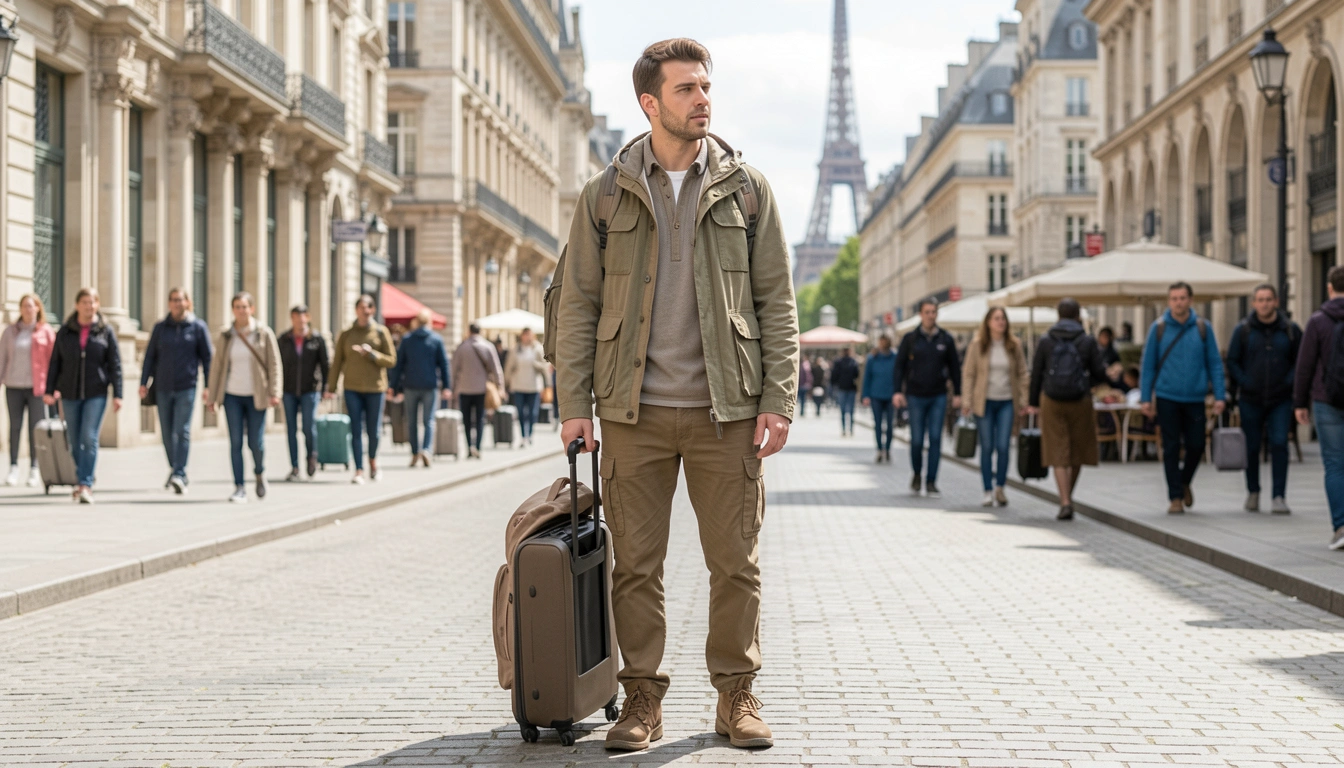
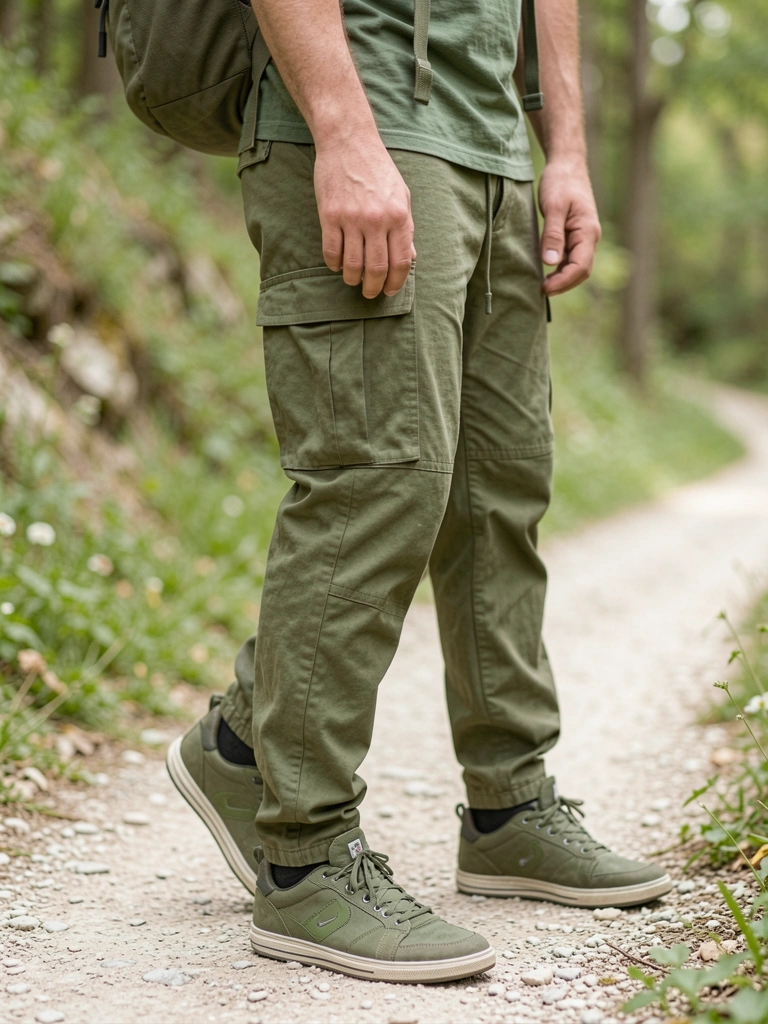
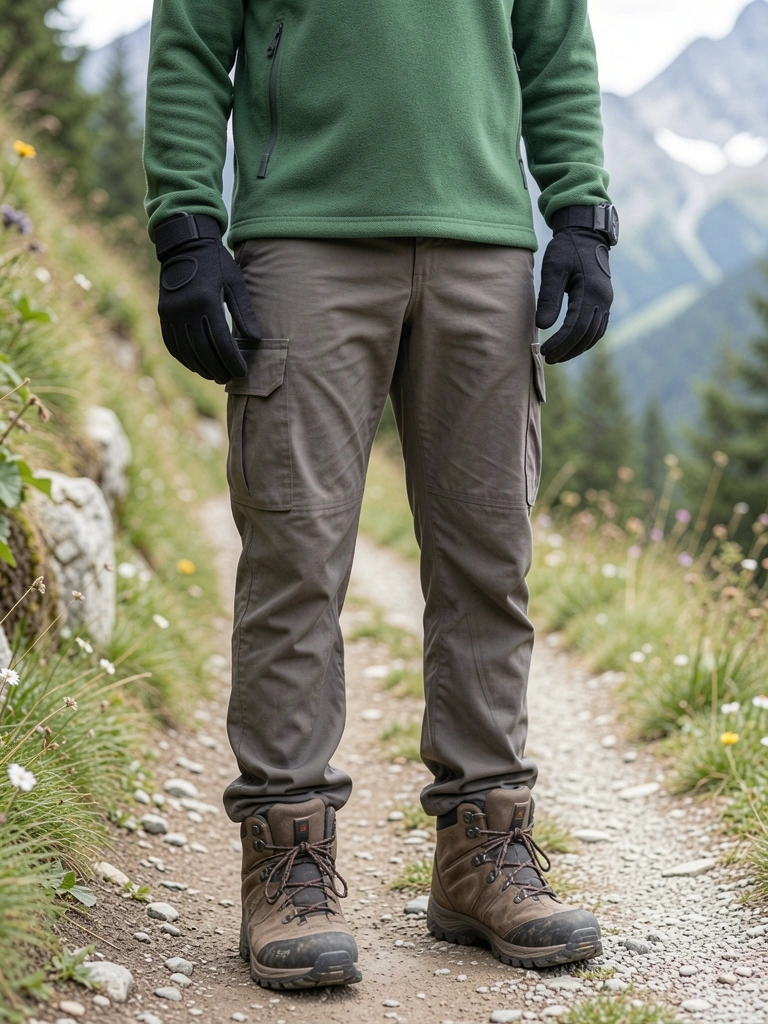
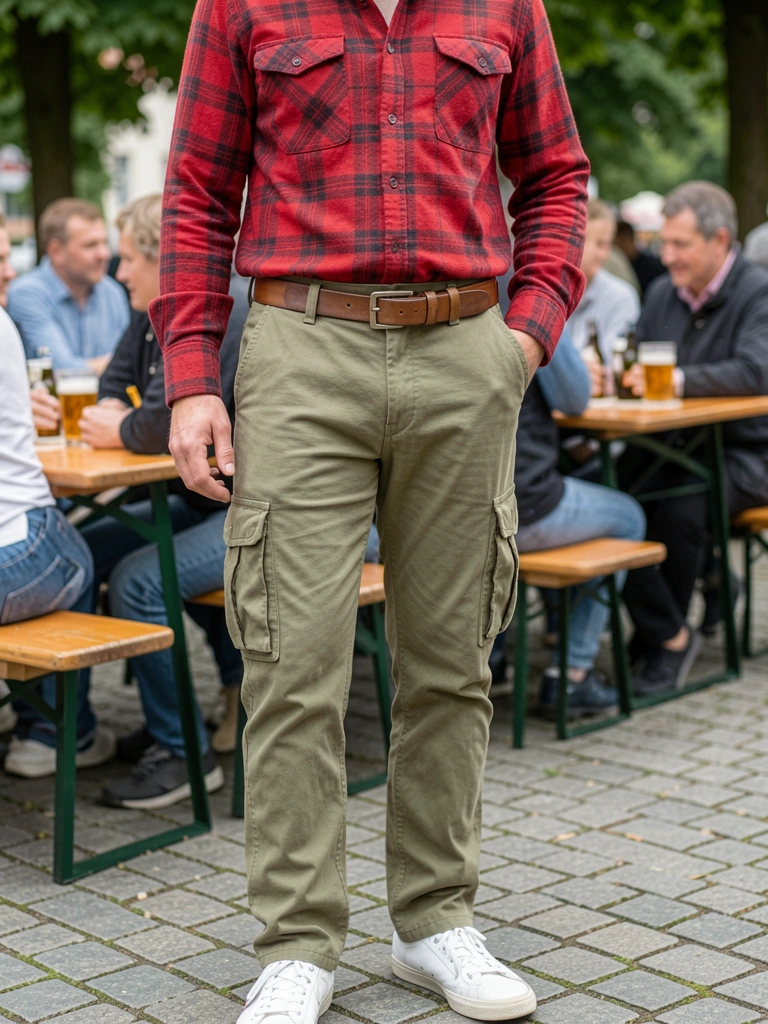
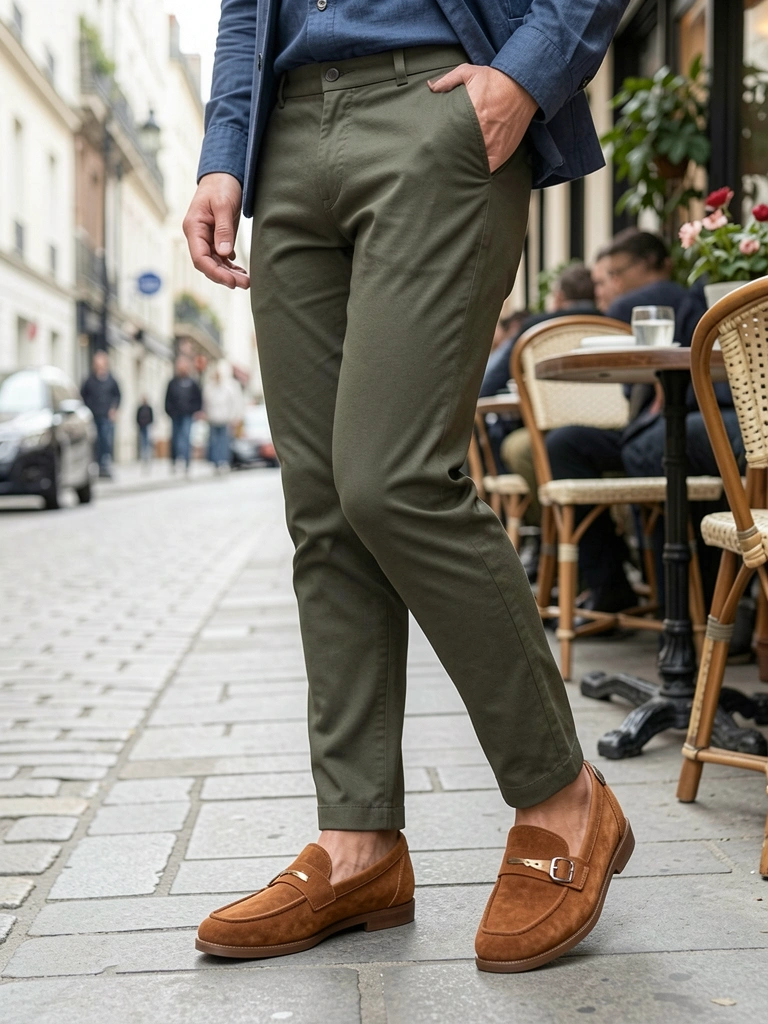
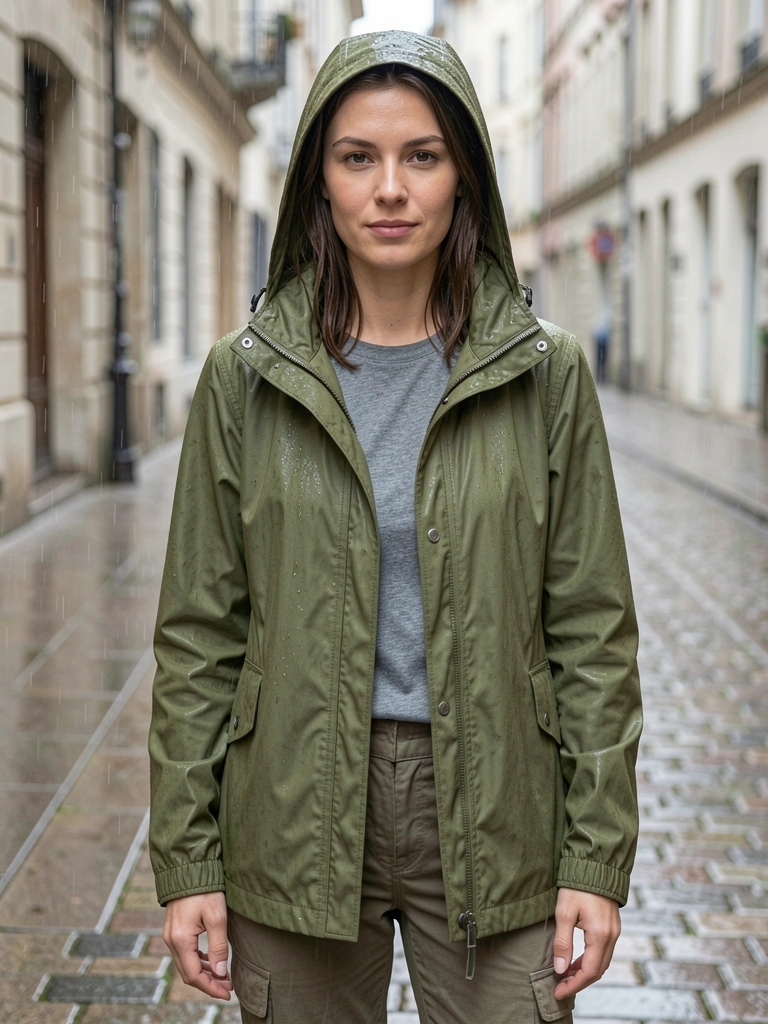
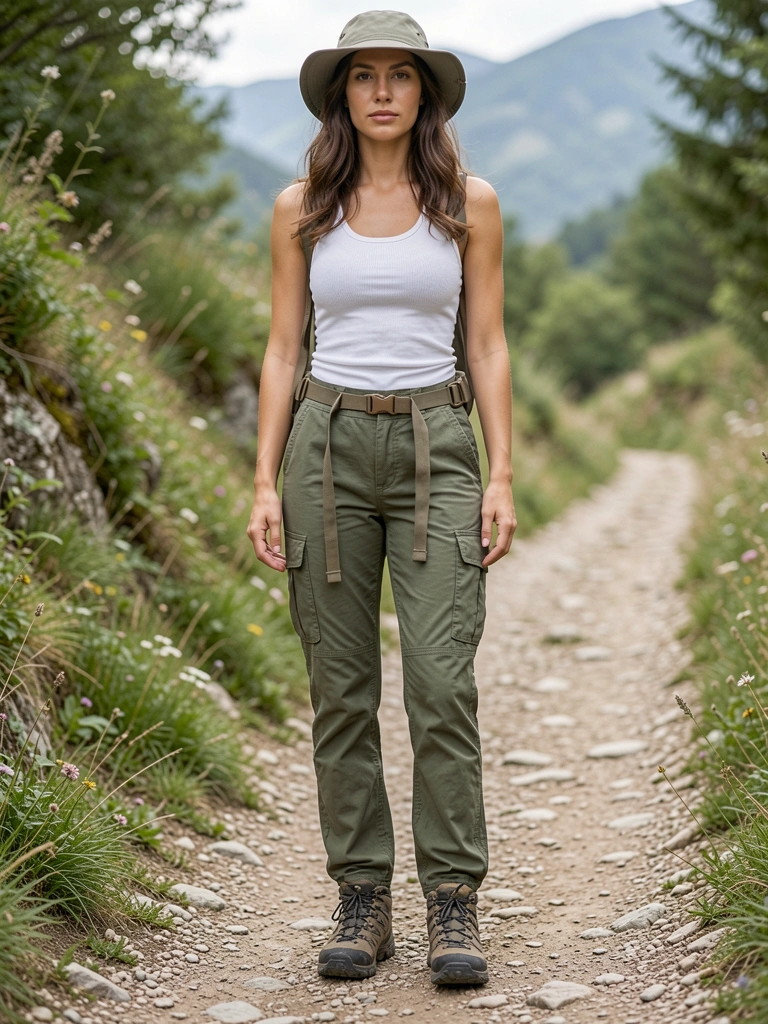
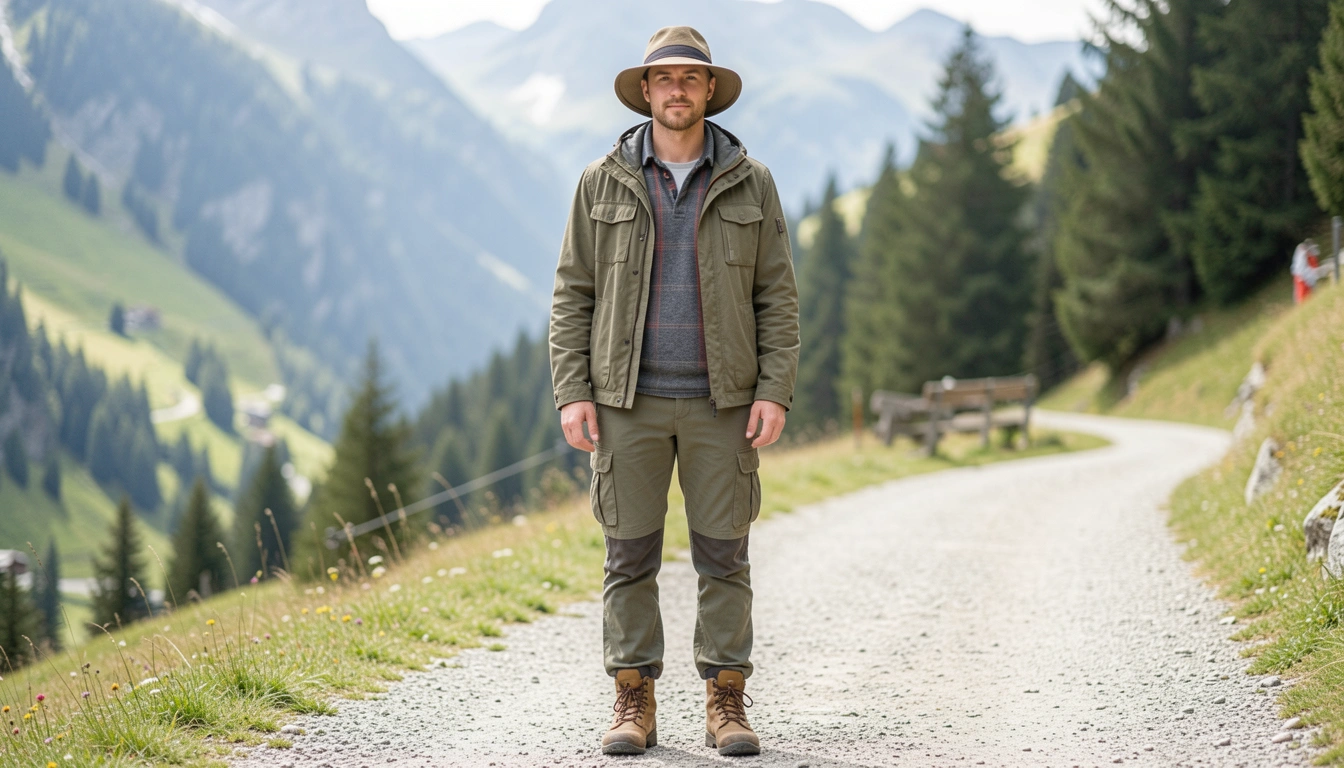
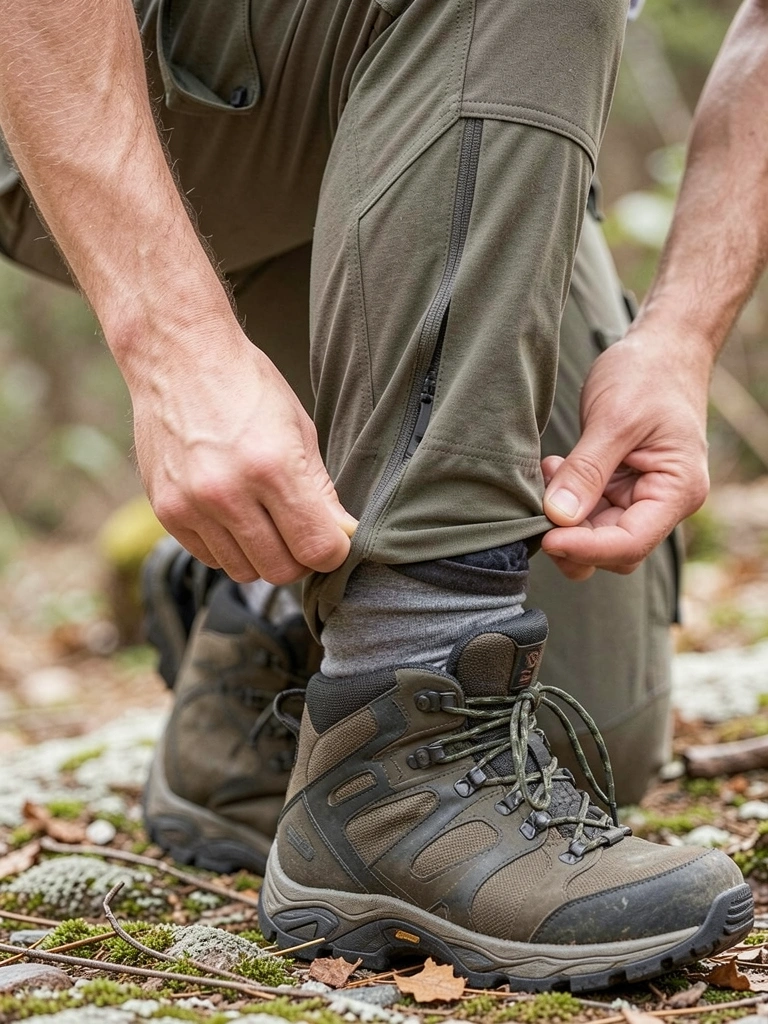
2. Lightweight Tee and Cargo Pants for Light Hikes
Tried this in the Alps—cargo pants have pockets for phone, map, snacks. No fumbling in a bag. The tee is soft cotton, wicks sweat on uphill bits.
Visually, olive pants slim legs without clinging. Rolled hem keeps it fresh. I felt capable, not touristy.
Watch the fit—too baggy trips you on rocks. Mine were straight-leg, perfect.
Insight: Dark colors hide dirt from trails. Paired with white tee for clean contrast.
What You’ll Need for This Look
Breathable cotton crewneck tee white
Lightweight cargo pants olive straight-leg
Trail sneakers low-top gray
Small daypack nylon black
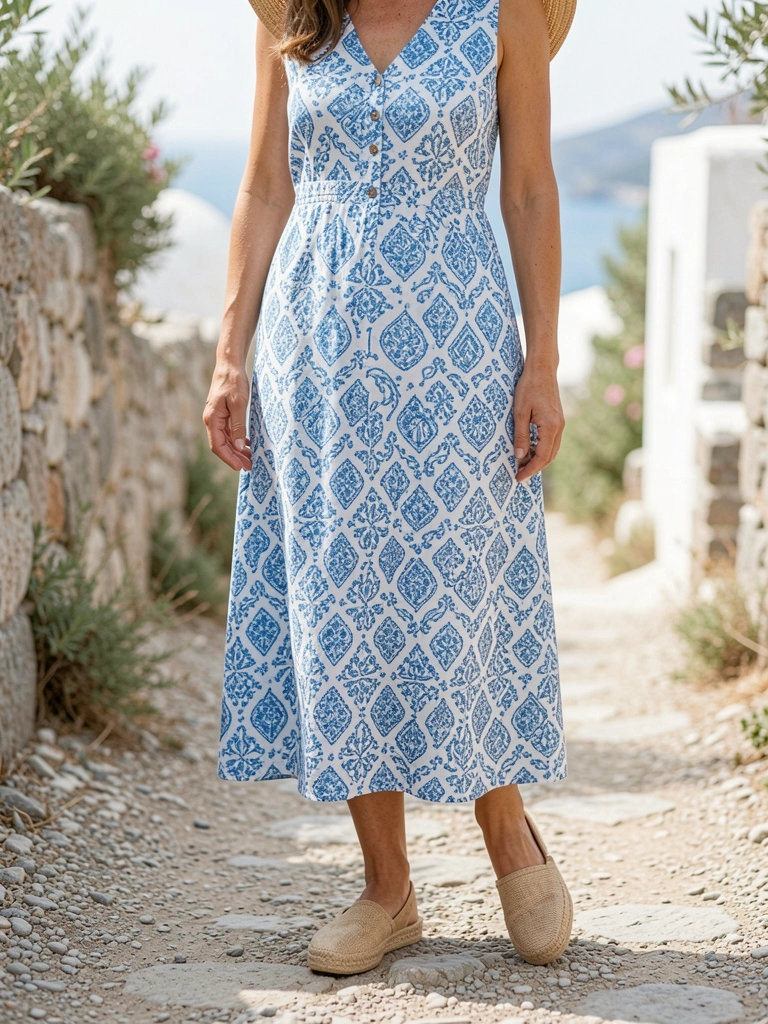
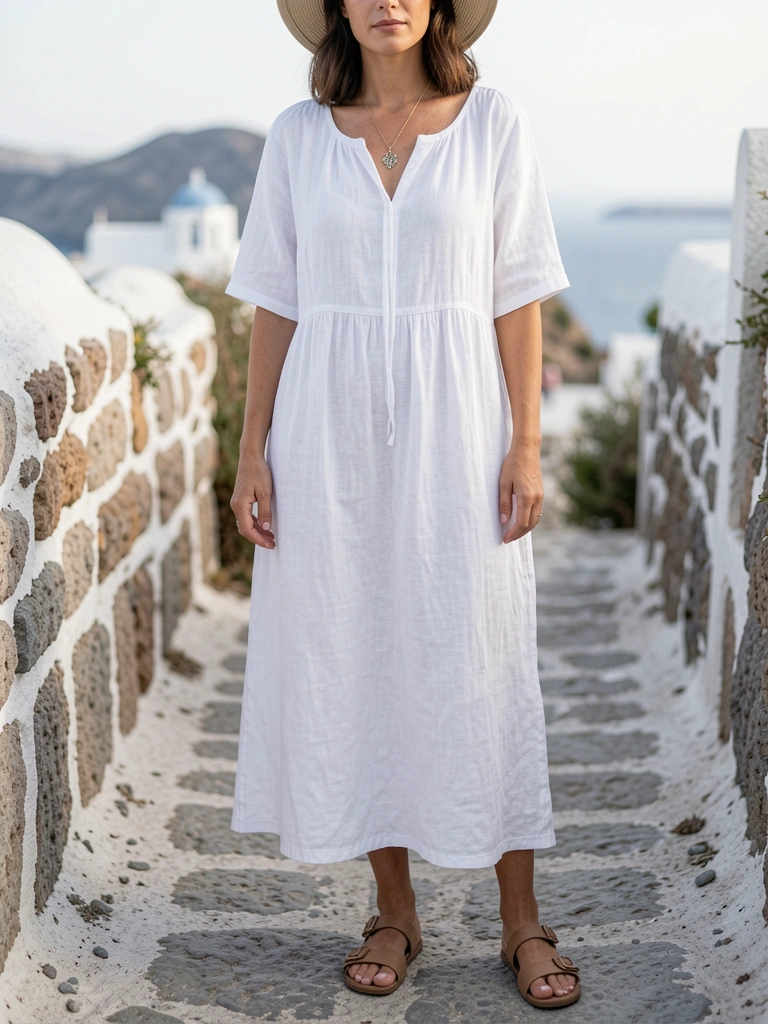
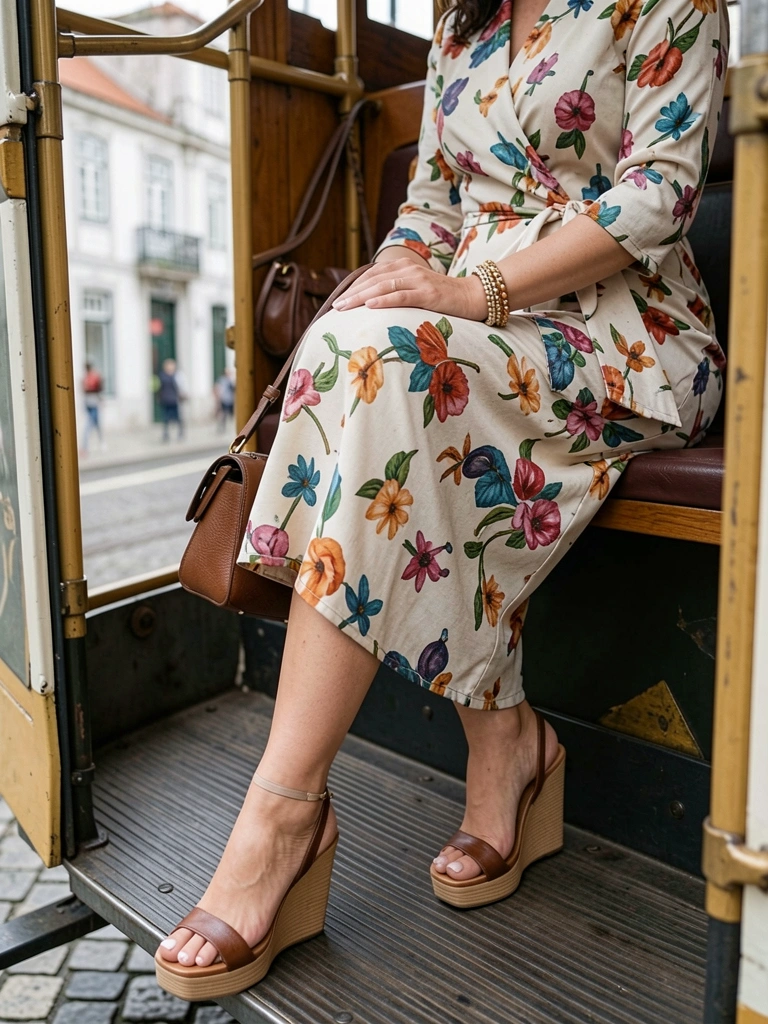
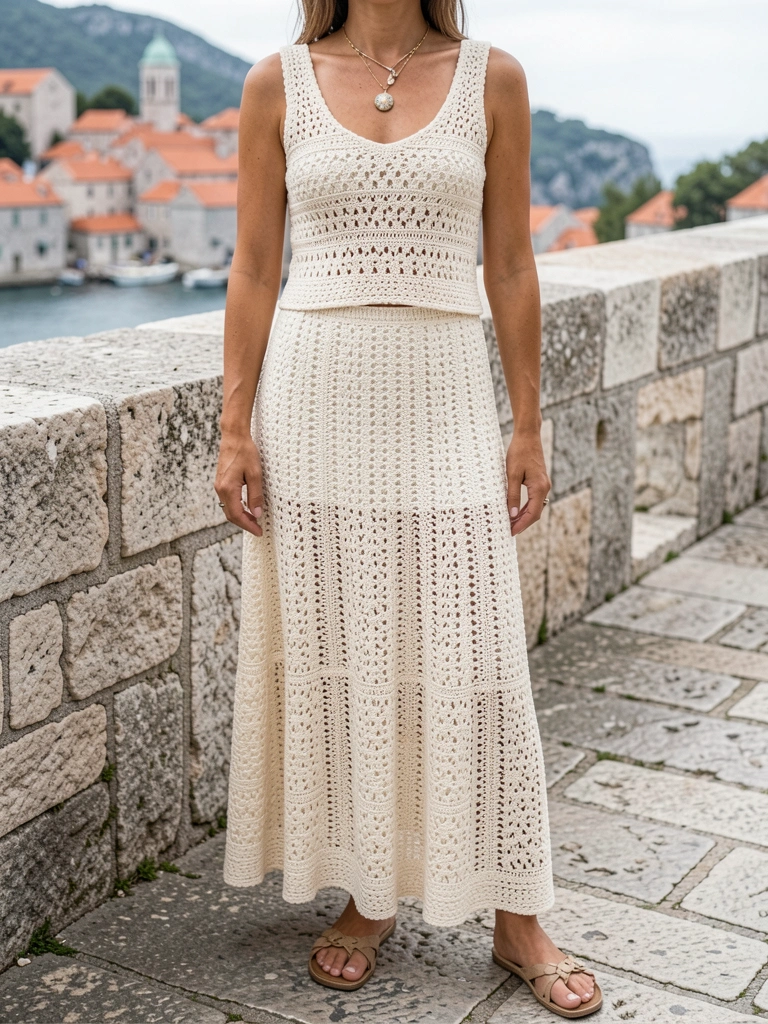
3. Flowy Midi Dress for Island Hopping
On Santorini ferries, this dress swayed without sticking. Lined cotton kept it modest in wind. Blue print matched the sea—felt right.
It packs tiny, no iron needed. Knees covered for churches, breezy for beaches.
Belt it loose for shape. I returned a stiff one; soft drapes win.
Shoes: Wedges for paths, not heels.
What You’ll Need for This Look
Lined cotton midi dress blue print
Woven espadrille wedges natural
Straw hat wide brim
Thin leather belt brown
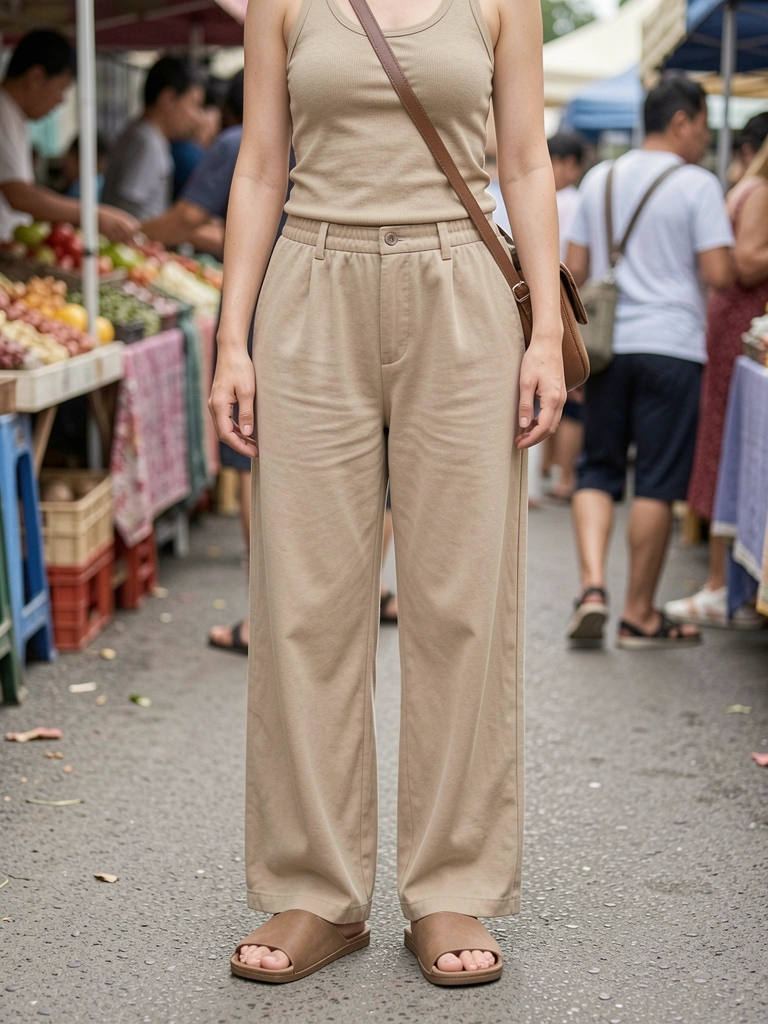
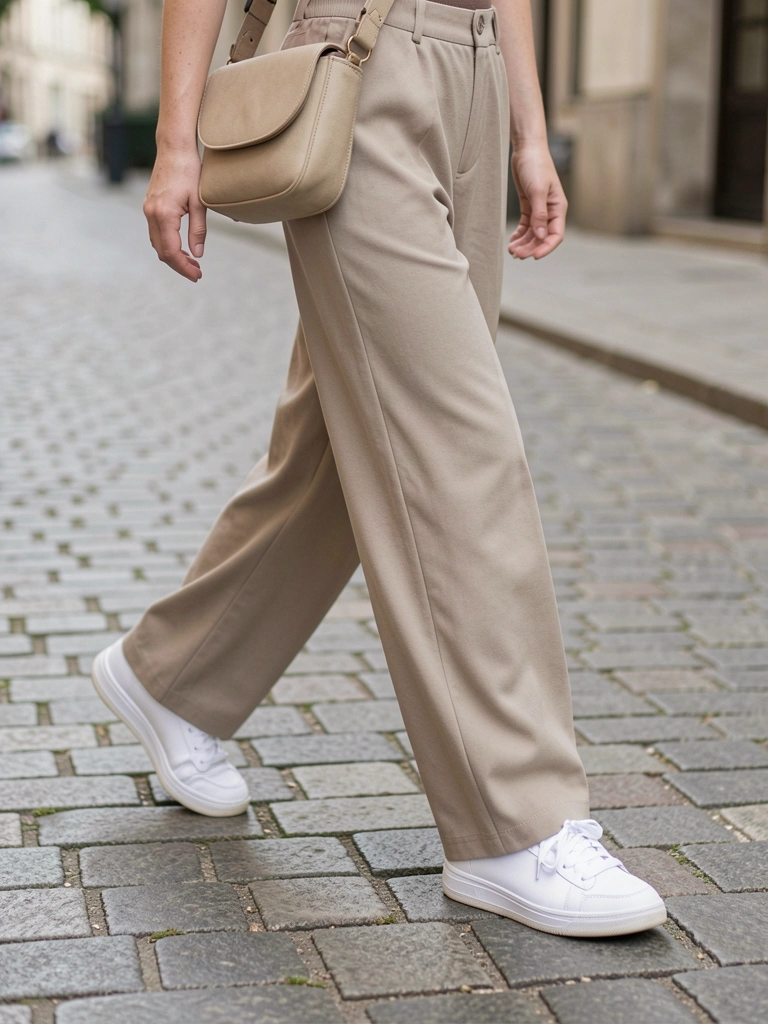
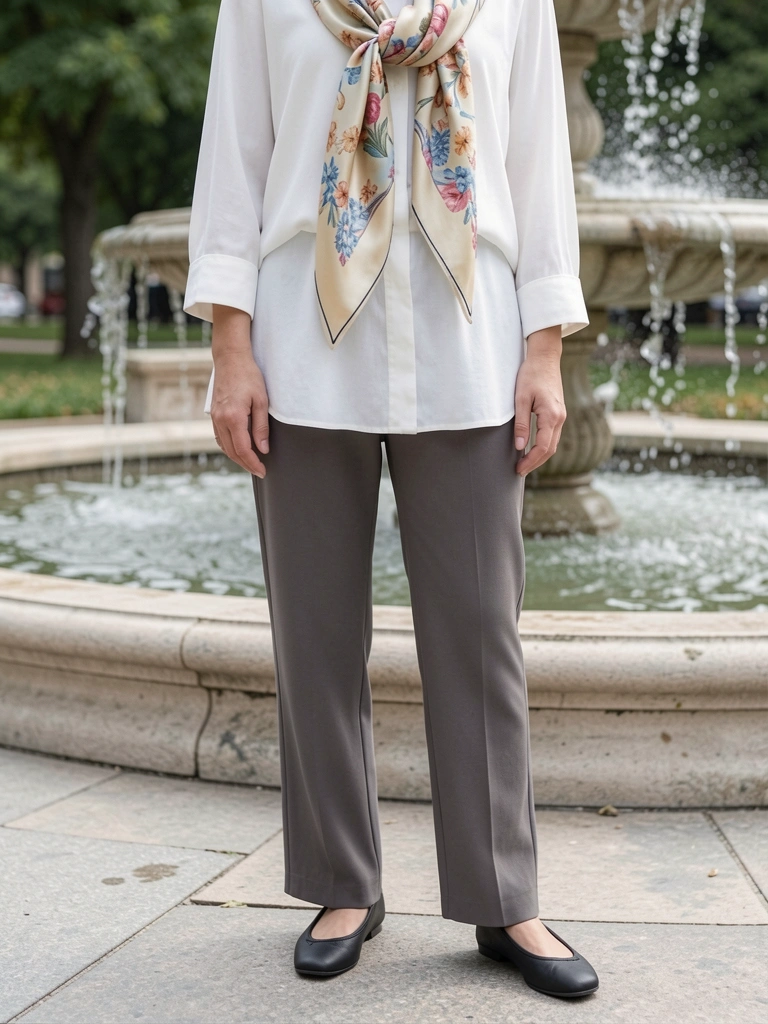
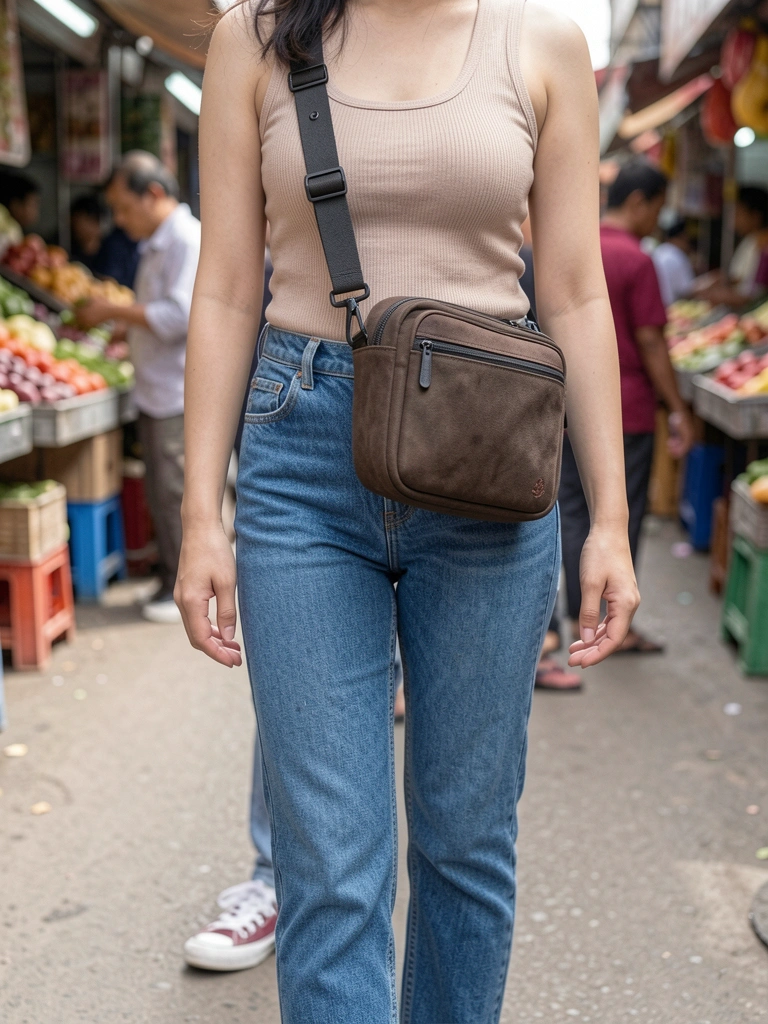
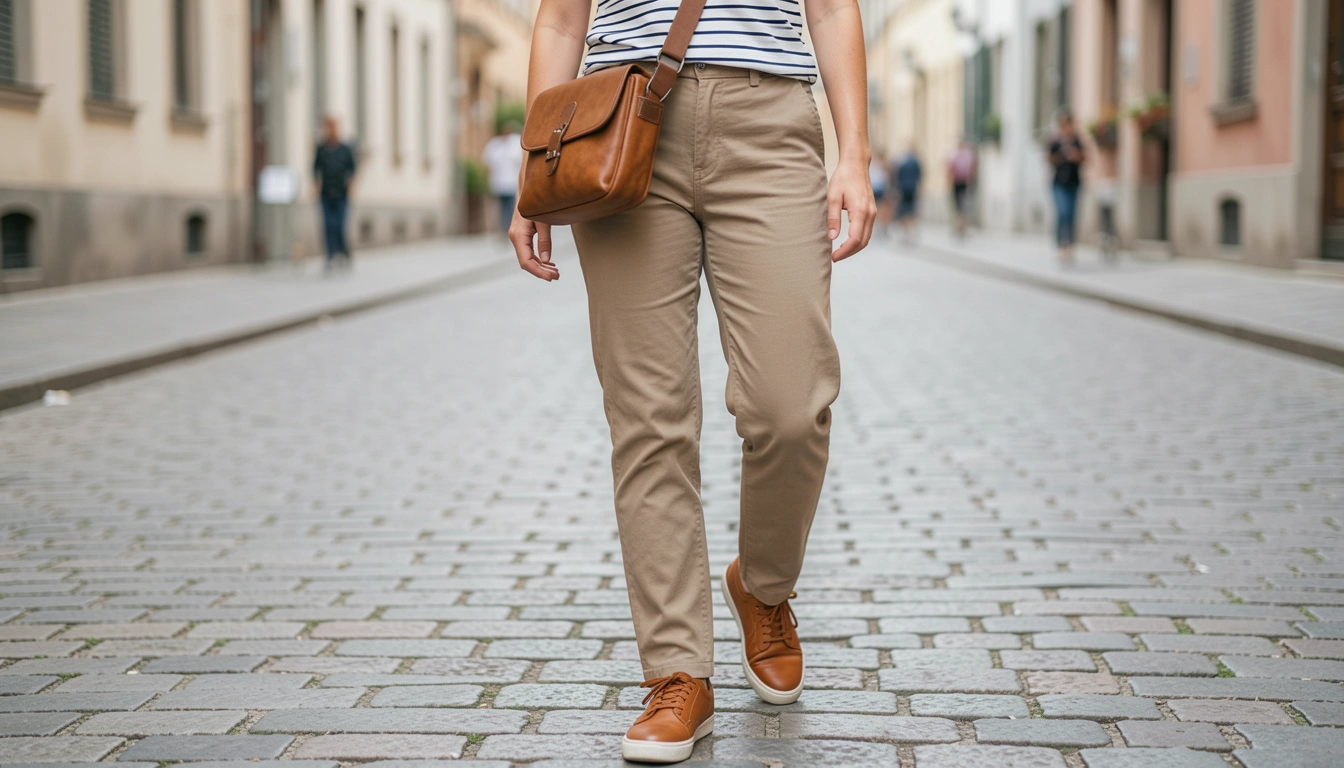
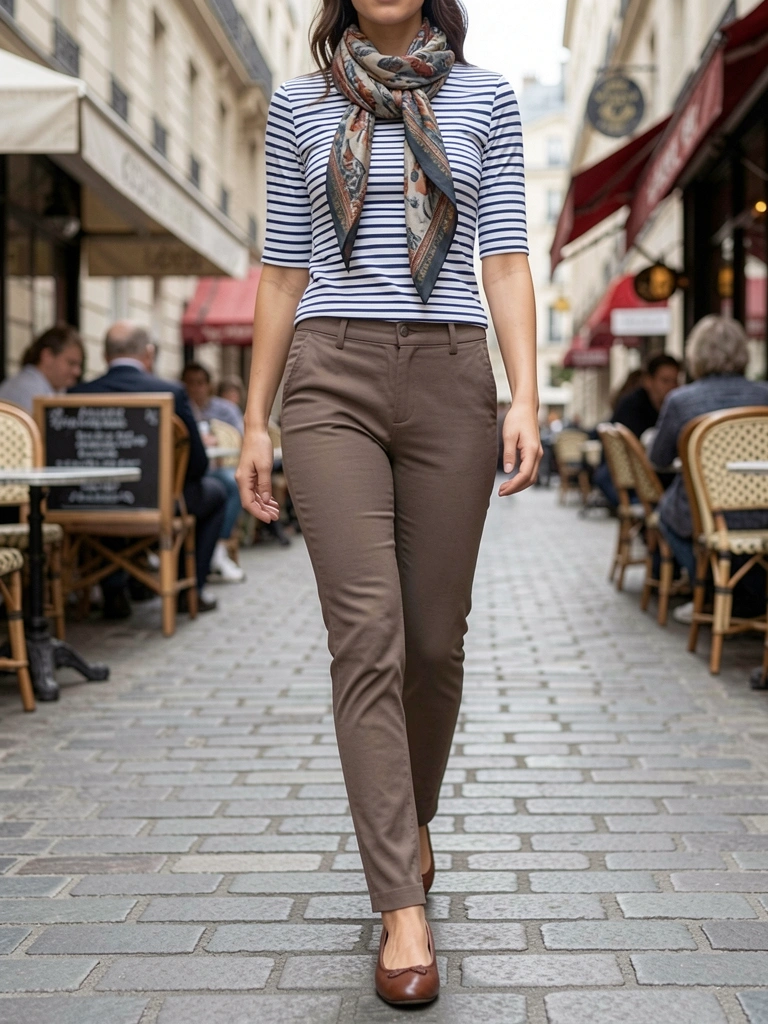
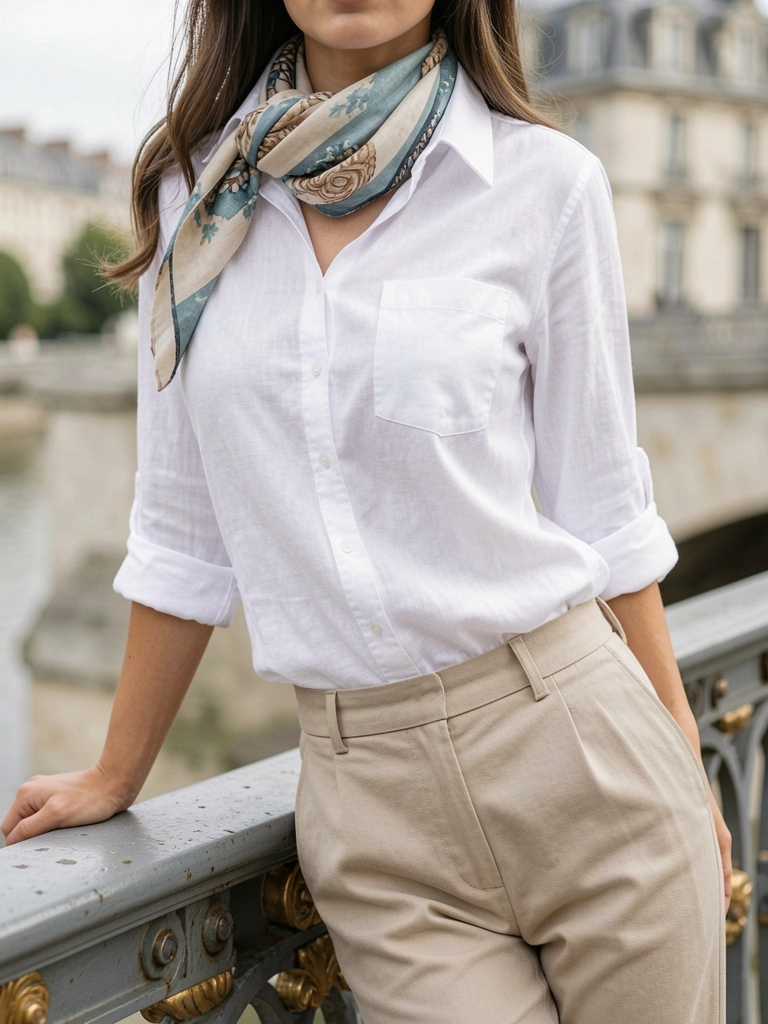
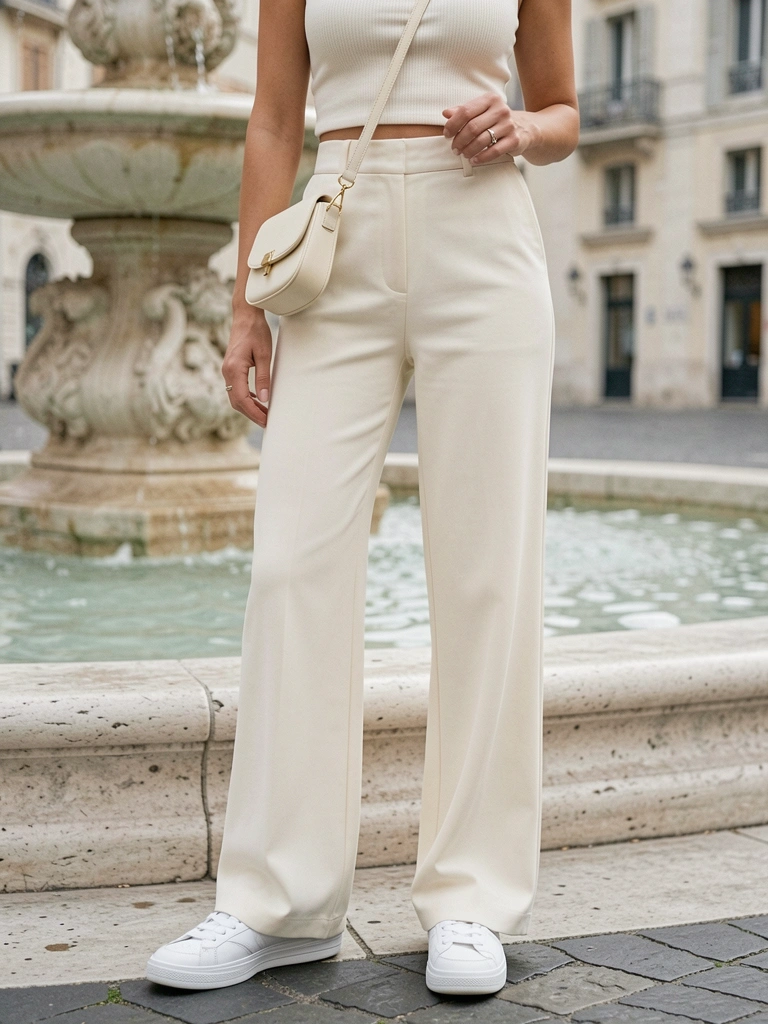
4. Tank and Wide-Leg Pants for Market Days
Rome markets—tank stays cool under sun, wide pants flow in crowds. Beige hides market dust.
Emotionally, it felt free, easy to maneuver stalls. Added a light scarf for evenings.
Fit tip: High waist slims. Avoid tight tanks; they ride up.
My mistake: Slippery slides—grab grippy ones.
What You’ll Need for This Look
Cotton tank top fitted white
Wide-leg linen pants beige
Leather slide sandals black
Silk scarf lightweight patterned
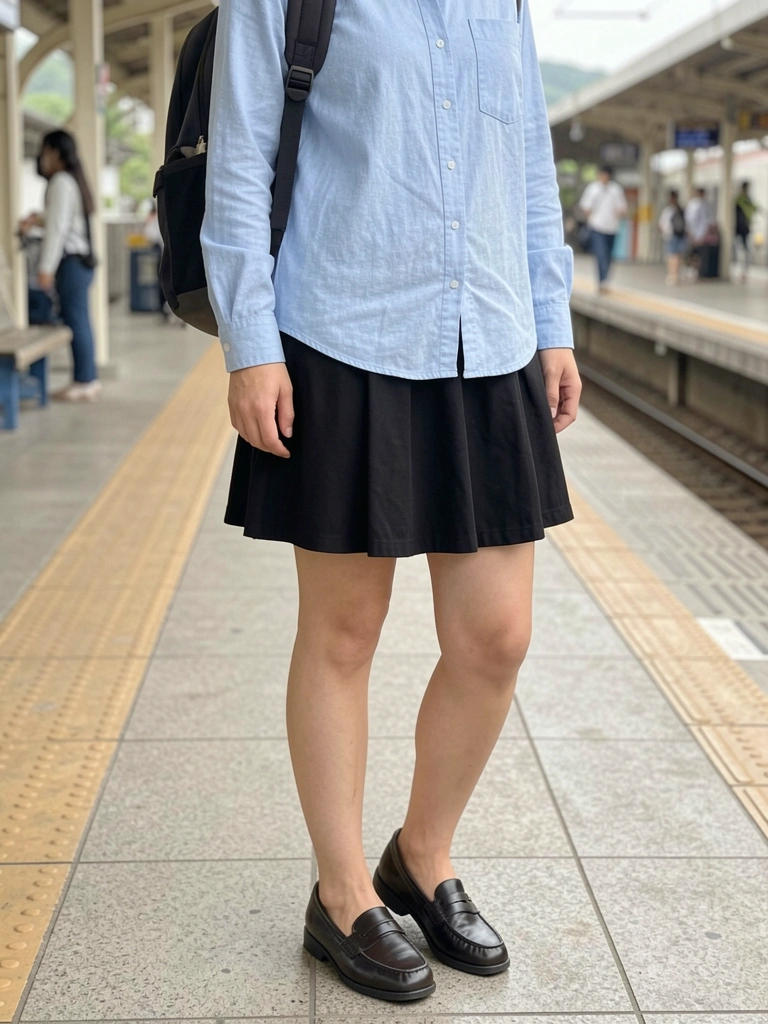
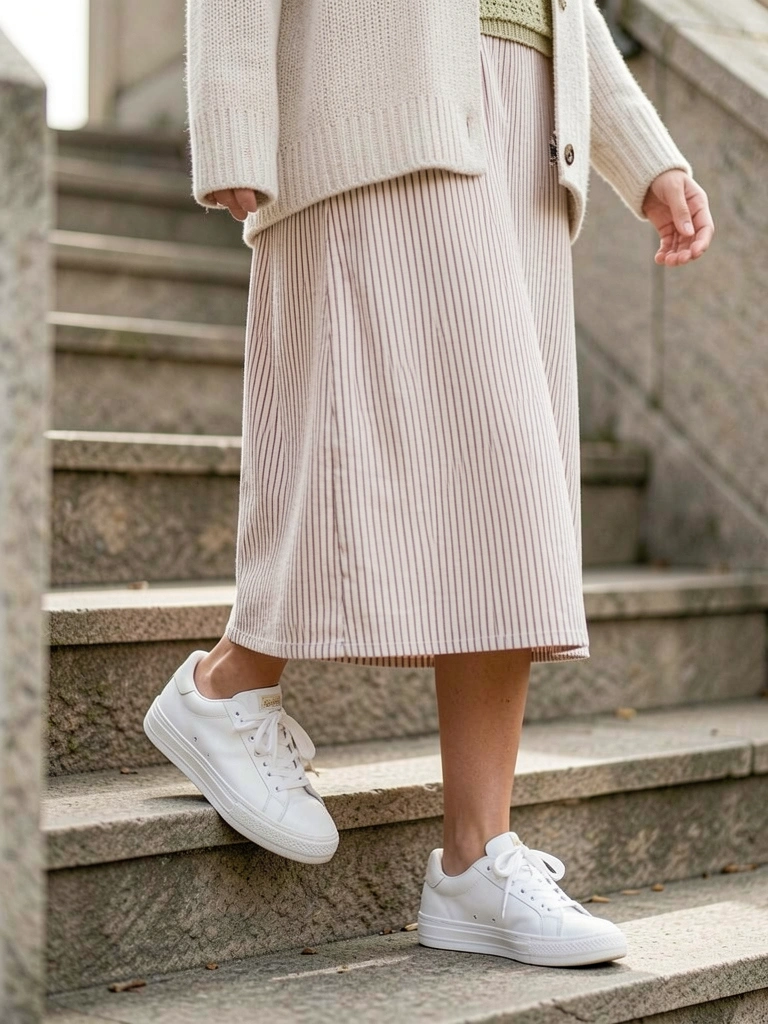
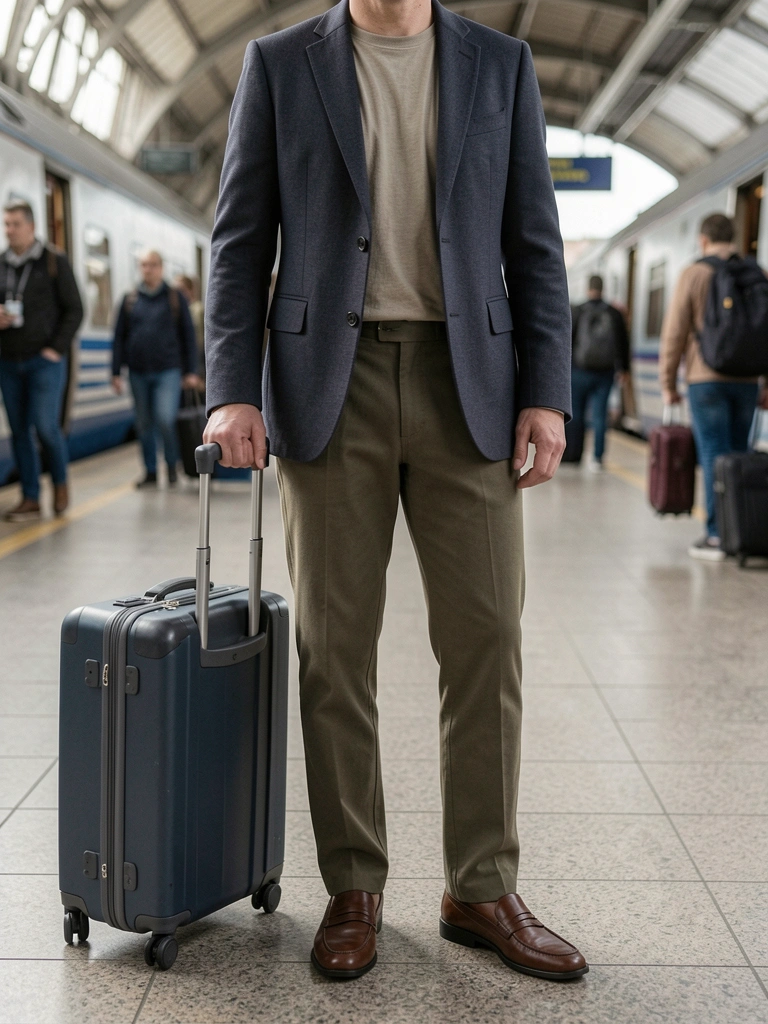
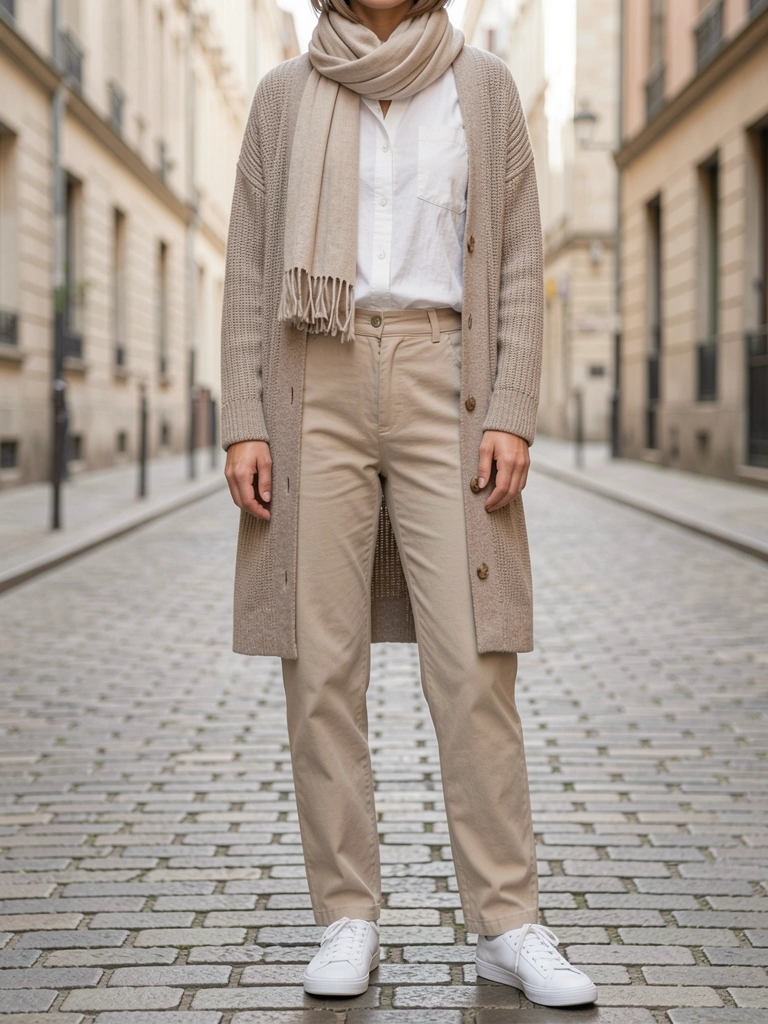
5. Button-Down and Skort for Train Rides
Trains from Paris to Nice—this combo wrinkles less than dresses. Skort looks skirt-like but has shorts for stairs.
Rolled sleeves, untucked—casual chic. Felt polished without effort.
Pockets in skort for tickets. Loafers slip on easy.
Returned a stiff shirt; soft cotton is key.
What You’ll Need for This Look
Light cotton button-down shirt white
Hybrid skort black knee-length
Penny loafers leather tan
Compact backpack canvas
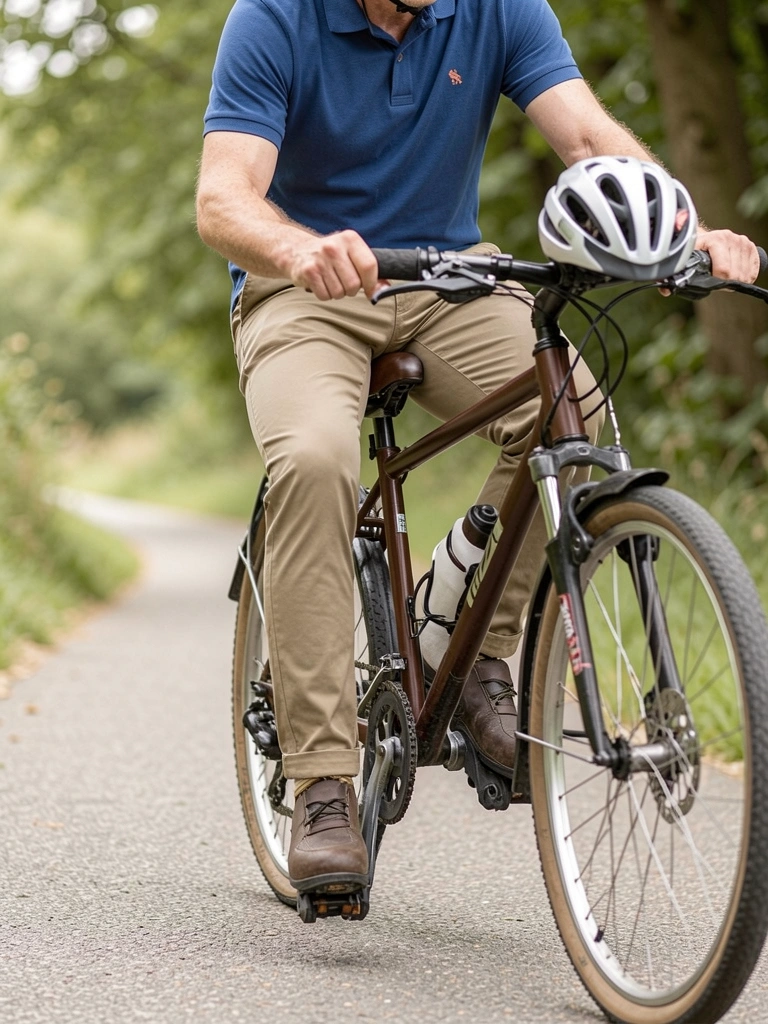
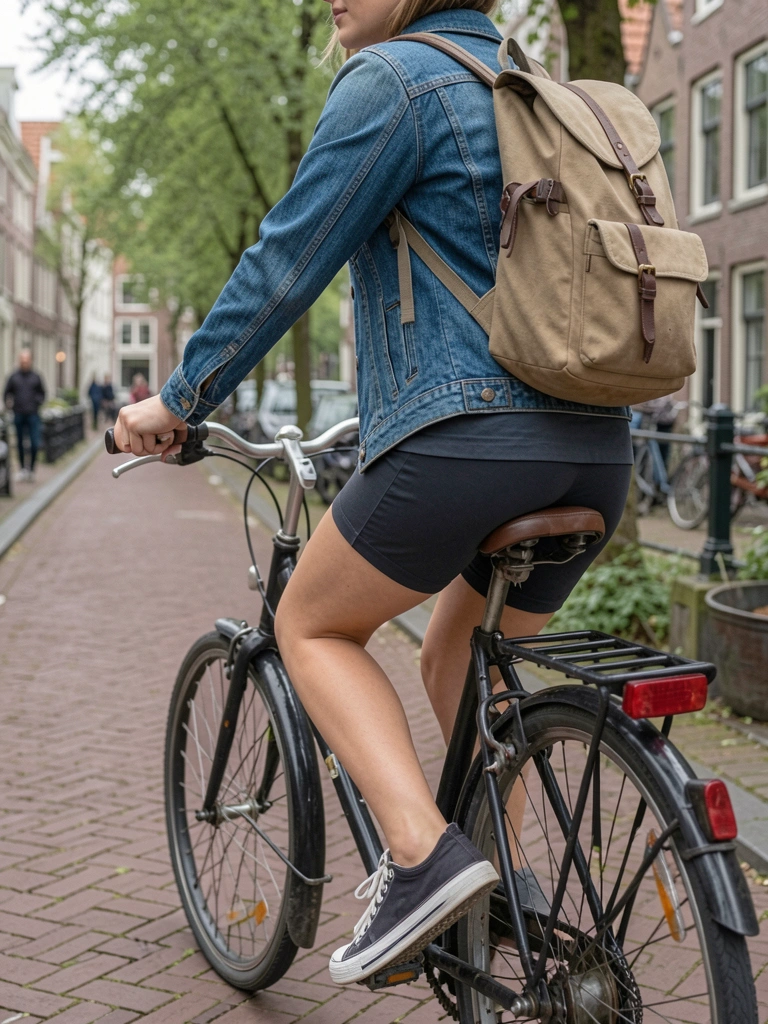
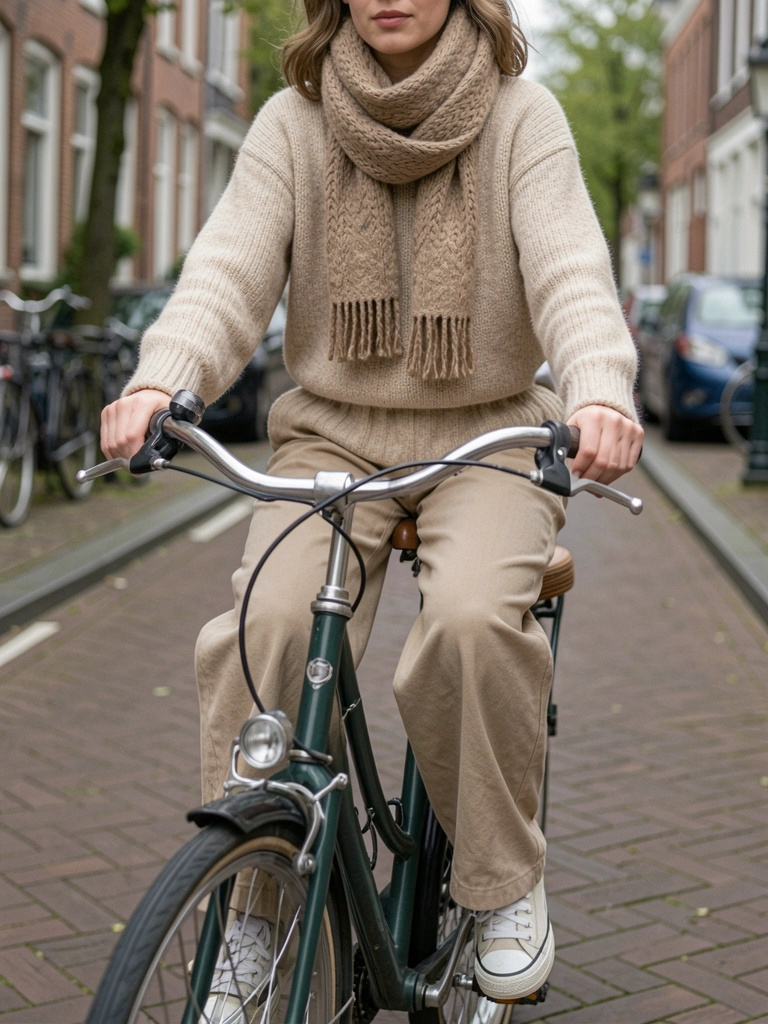
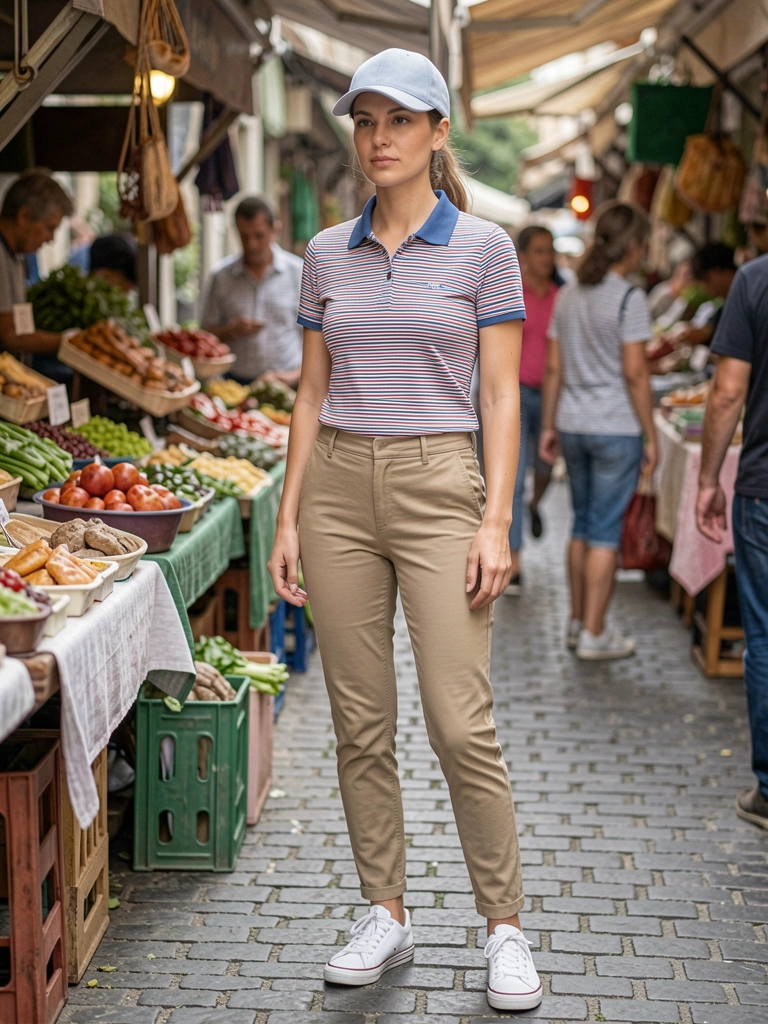
6. Polo Shirt and Chinos for Bike Tours
Amsterdam bikes—this polo wicks sweat, chinos pedal smooth. Slim fit doesn't bunch.
Looked sporty yet neat for stops. Green chinos popped against canals.
Tip: Cuffed hems prevent chain grease. Breathable fabrics only.
Insight: No white bottoms—dirt shows.
What You’ll Need for This Look
Pima cotton polo shirt navy
Slim chino pants green
Casual cycling sneakers black
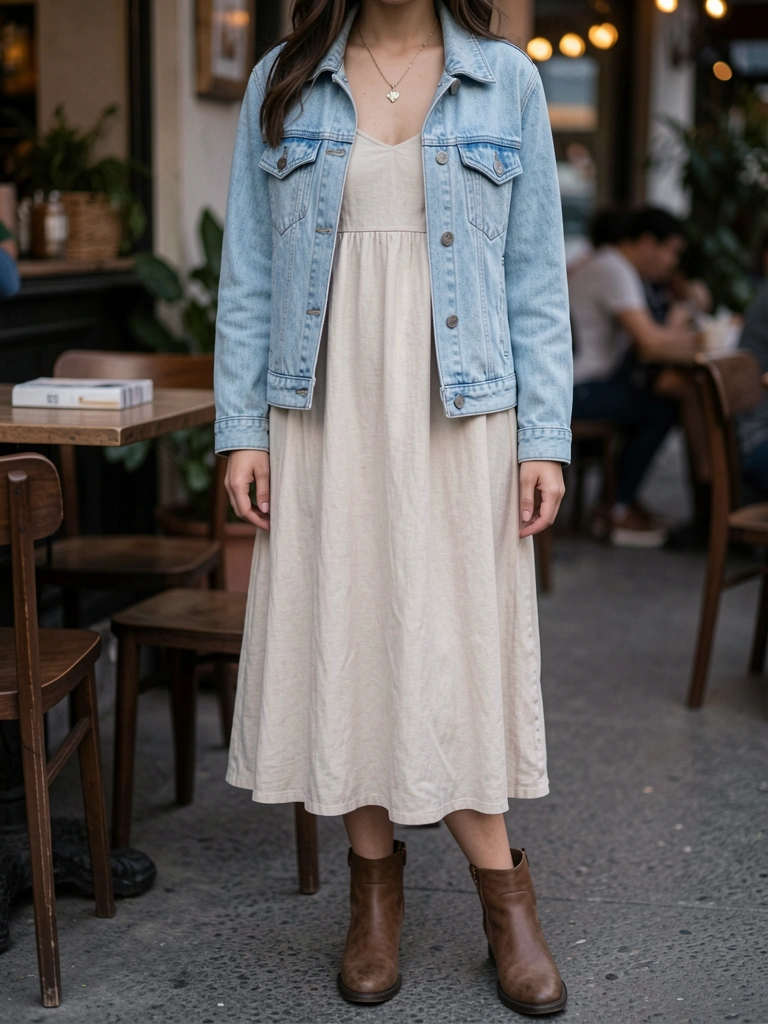
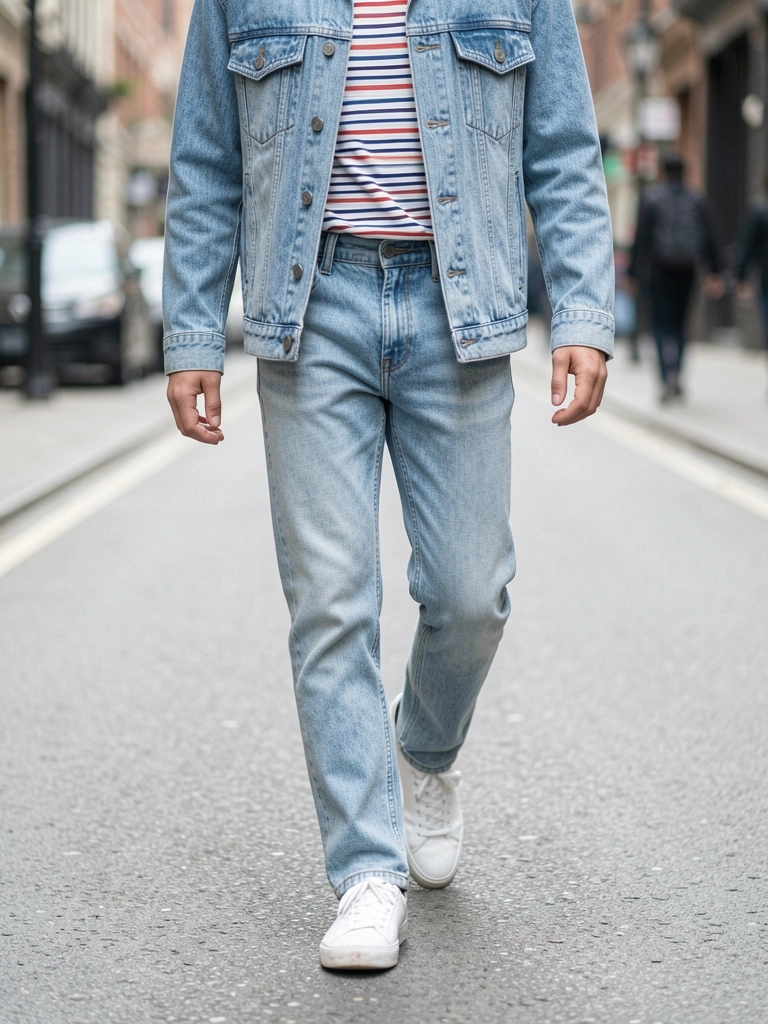
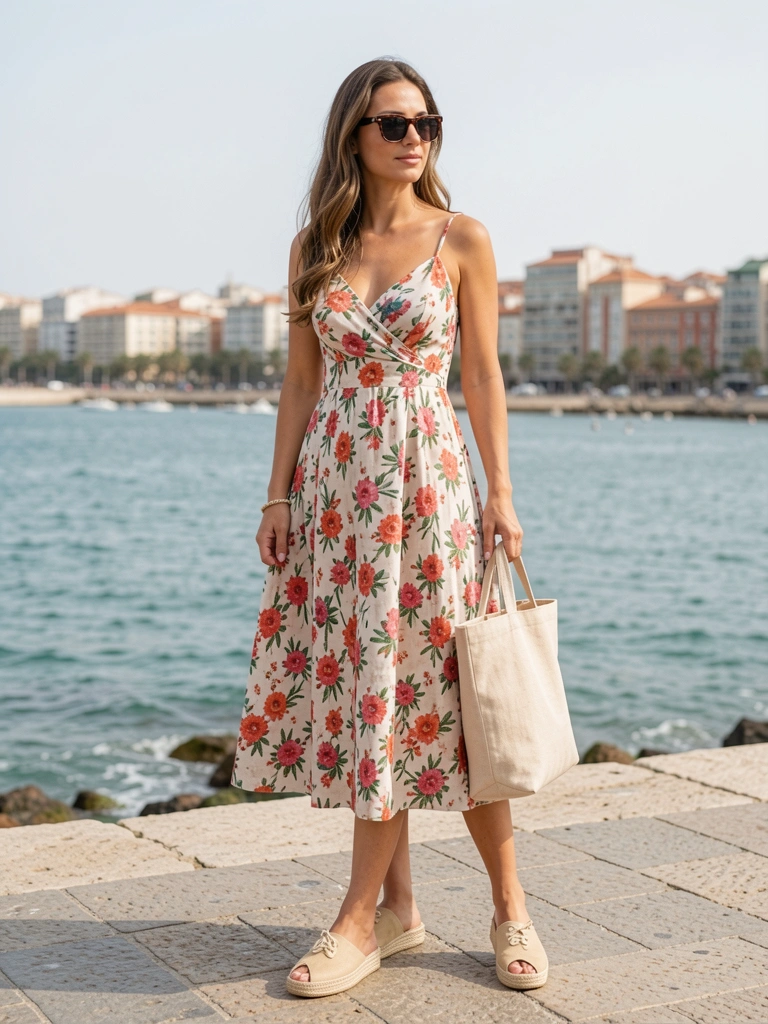
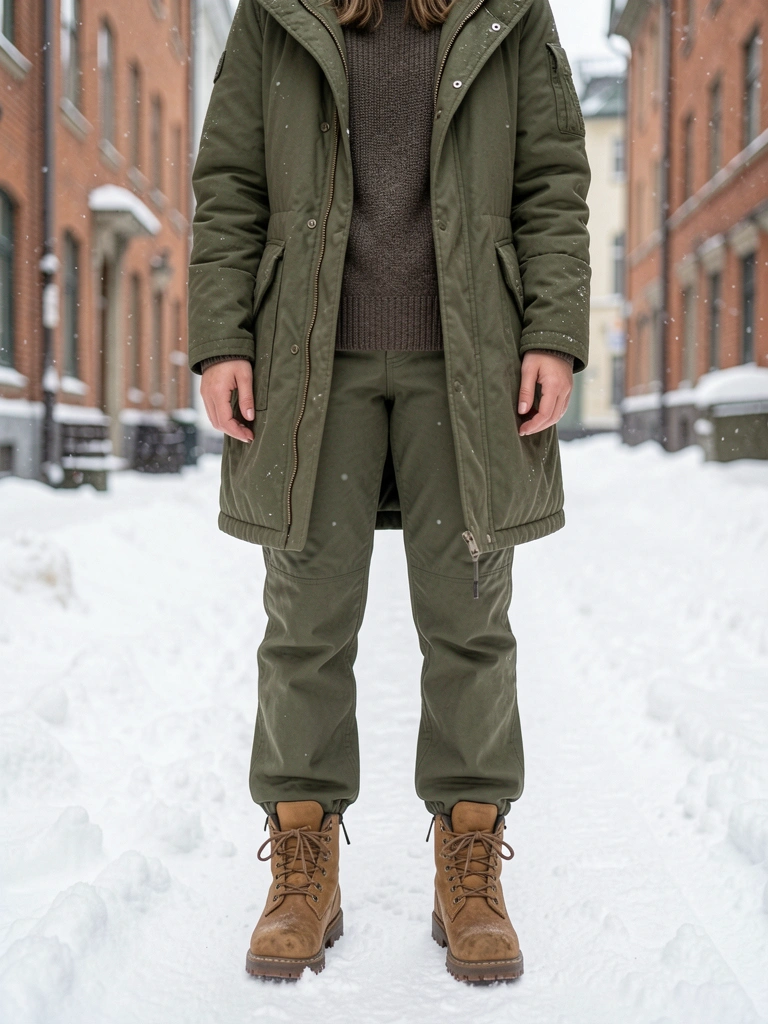
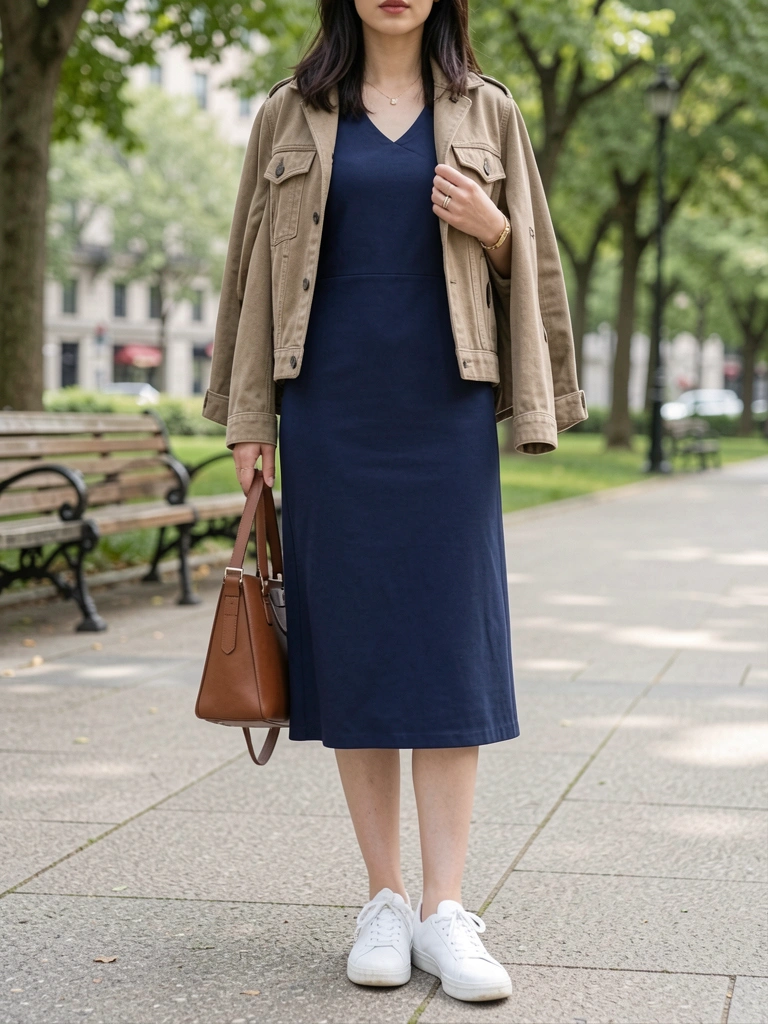
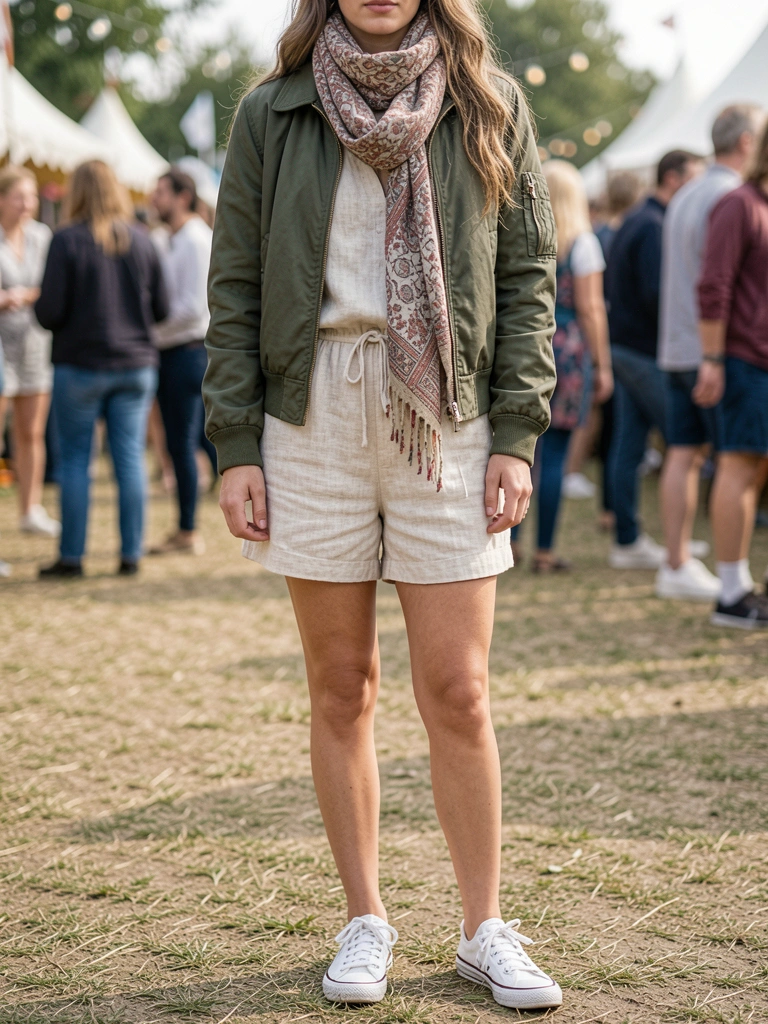
7. Sundress and Denim Jacket for Evenings
Cool evenings in Lisbon—sundress for day, jacket for night chill. Layers without bulk.
Floral dress flatters, jacket adds edge. Felt versatile.
Snap buttons on jacket for quick on-off. My cheap denim faded fast—quality matters.
What You’ll Need for This Look
Cotton sundress floral midi
Lightweight denim jacket cropped
Ankle boots leather flat black
Gold chain necklace simple
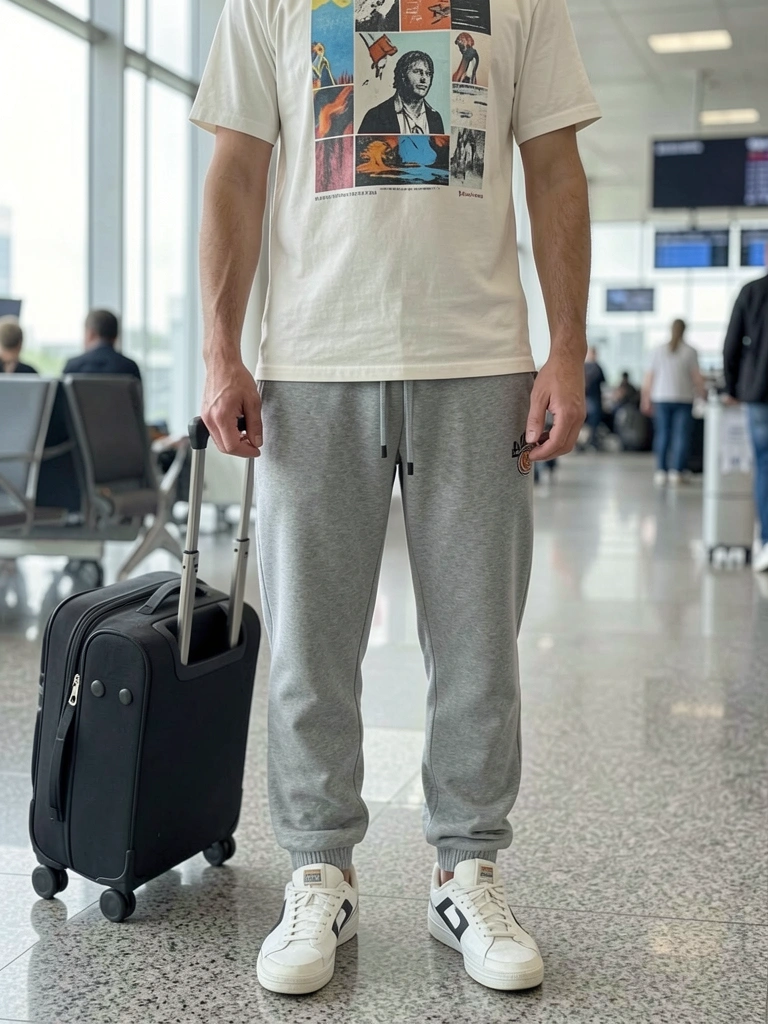
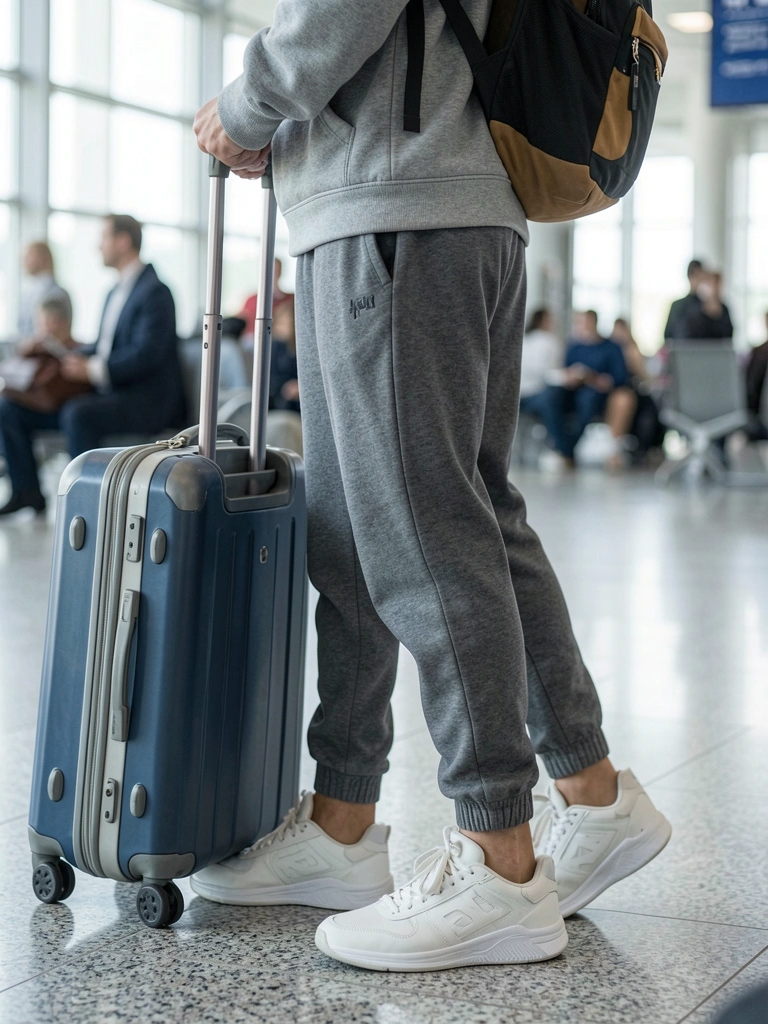
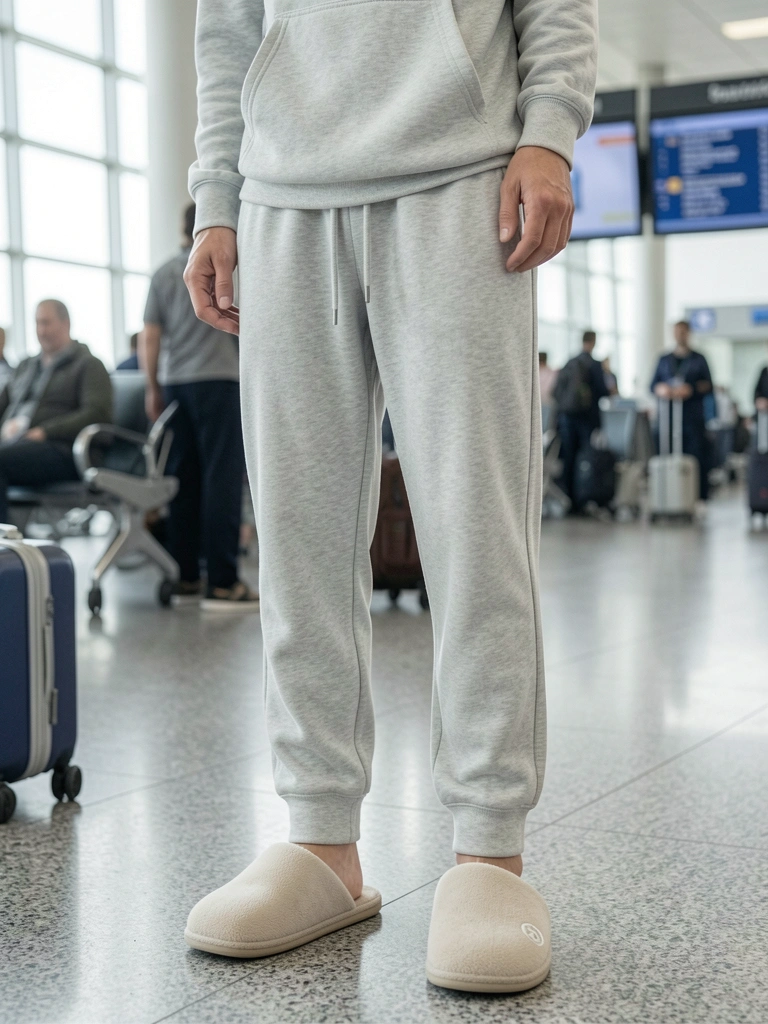
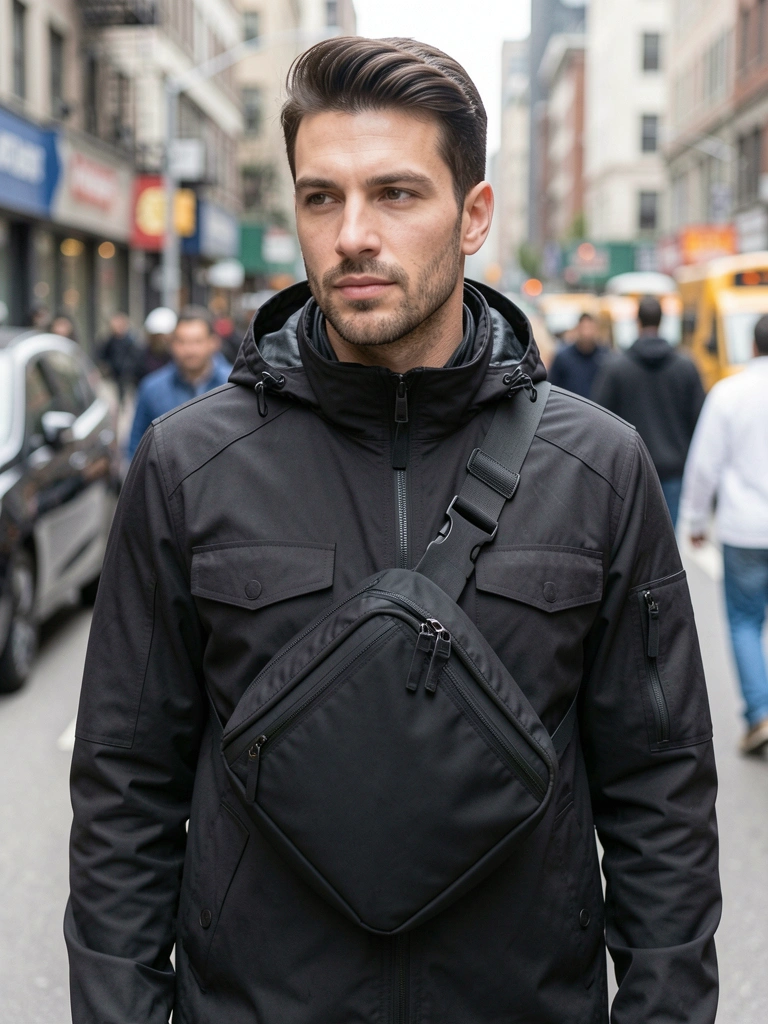
8. Graphic Tee and Joggers for Airport Days
Long layovers in Frankfurt—joggers stretch for security lines, tee hides travel mess.
Gray joggers slim, not sloppy. Fun graphic keeps it light.
Tip: Tapered fit. I mistook baggy for comfy—tripped.
What You’ll Need for This Look
Soft cotton graphic tee black
Tapered joggers cotton blend gray
White canvas sneakers low
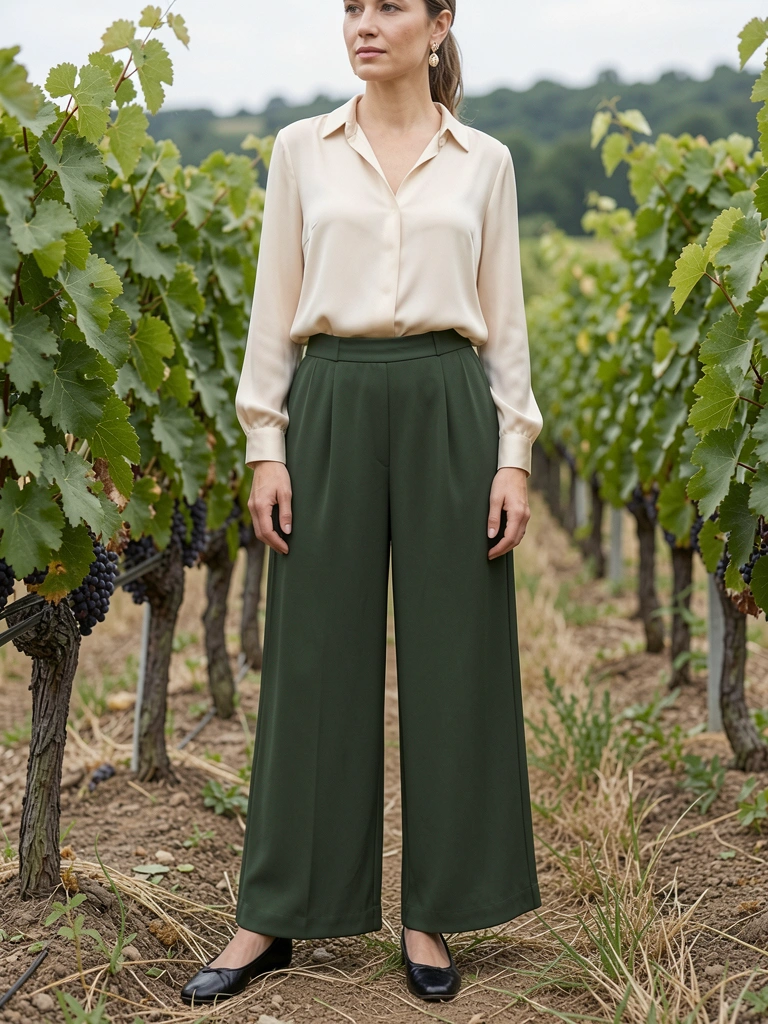
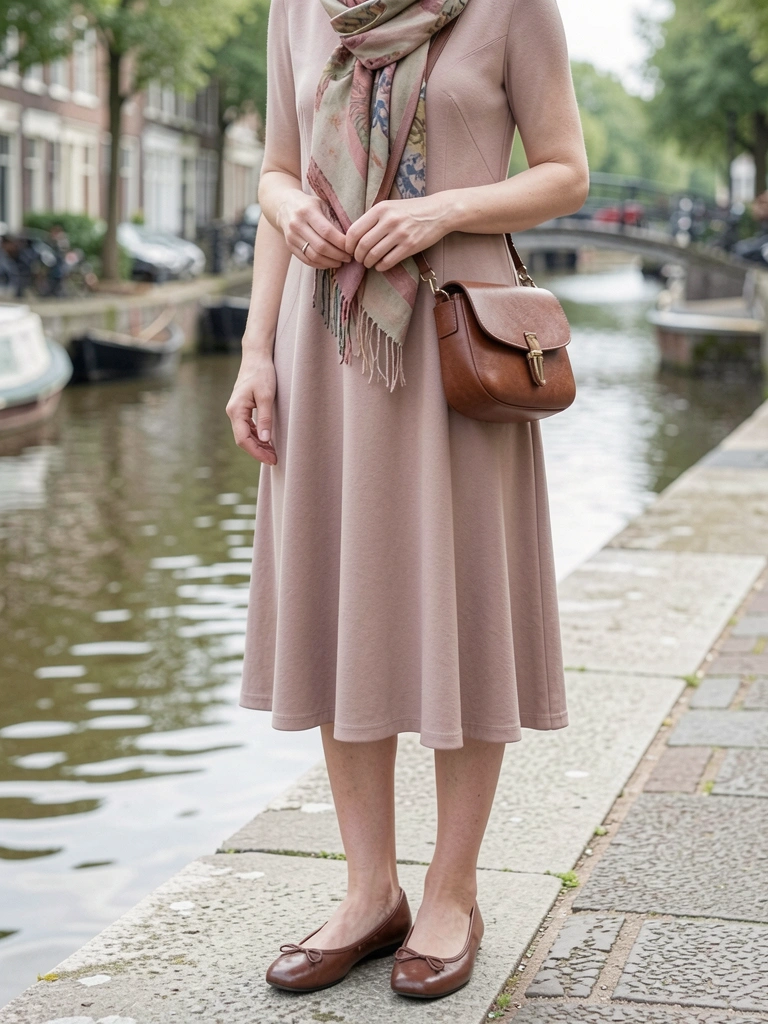
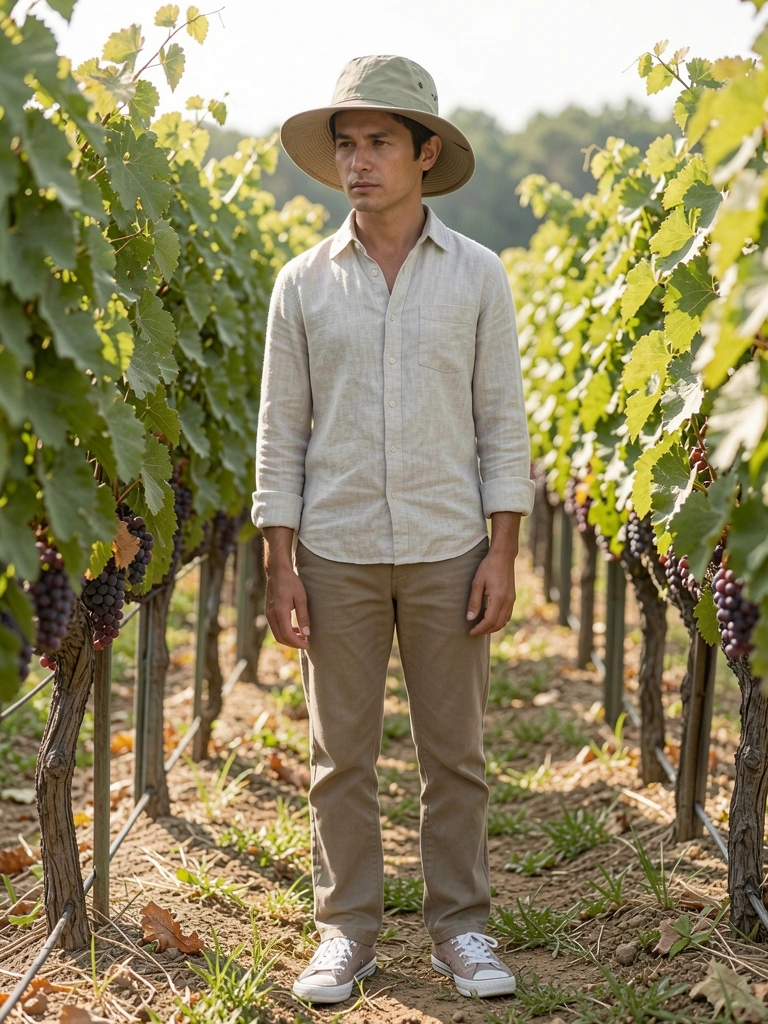
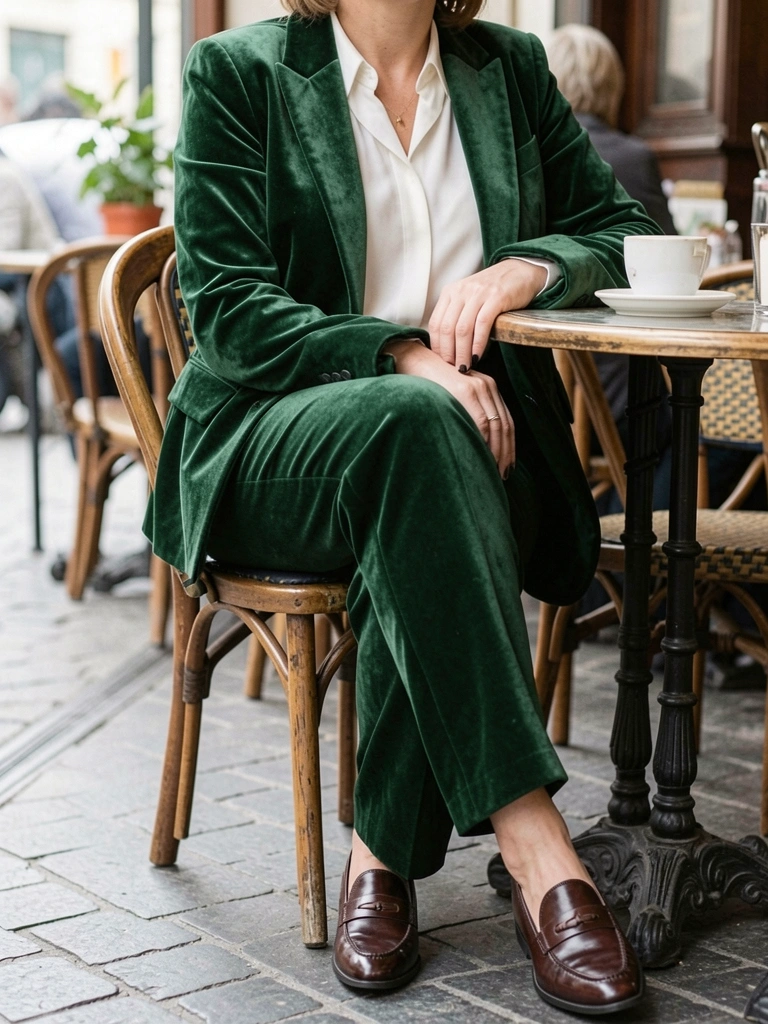
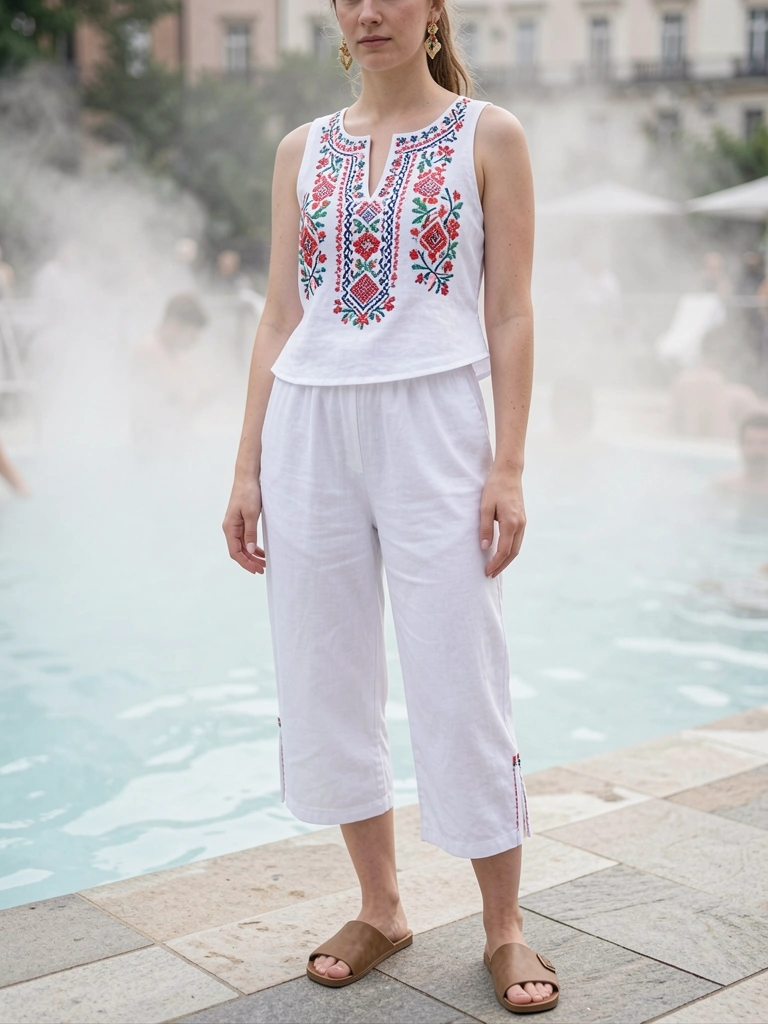
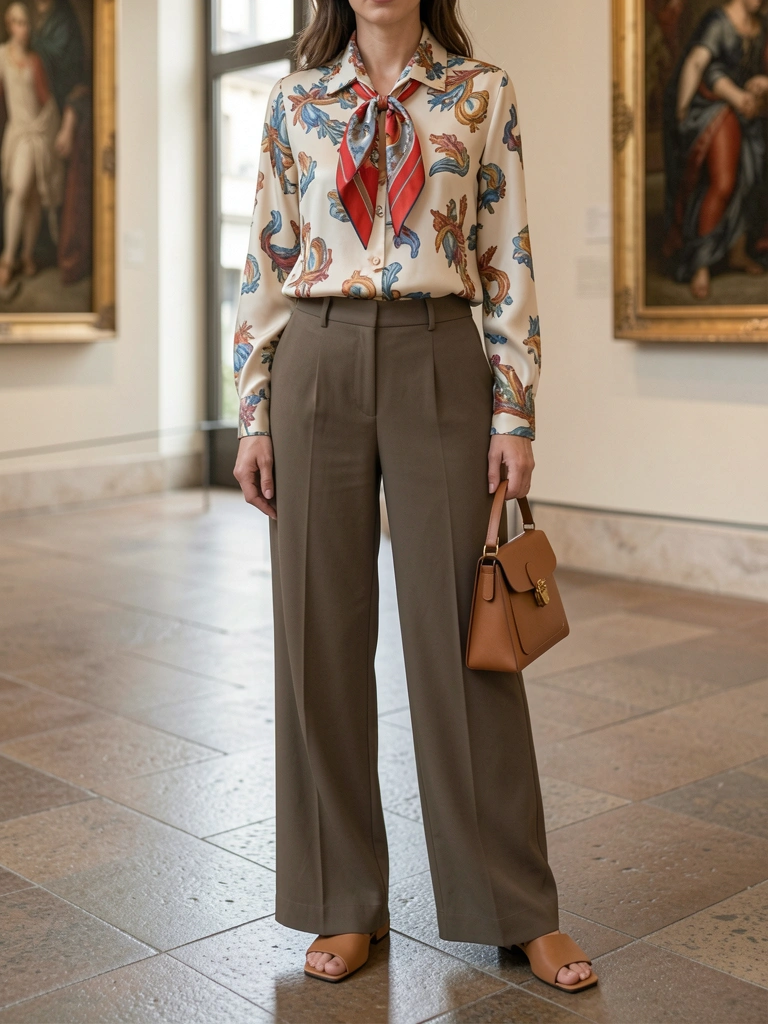
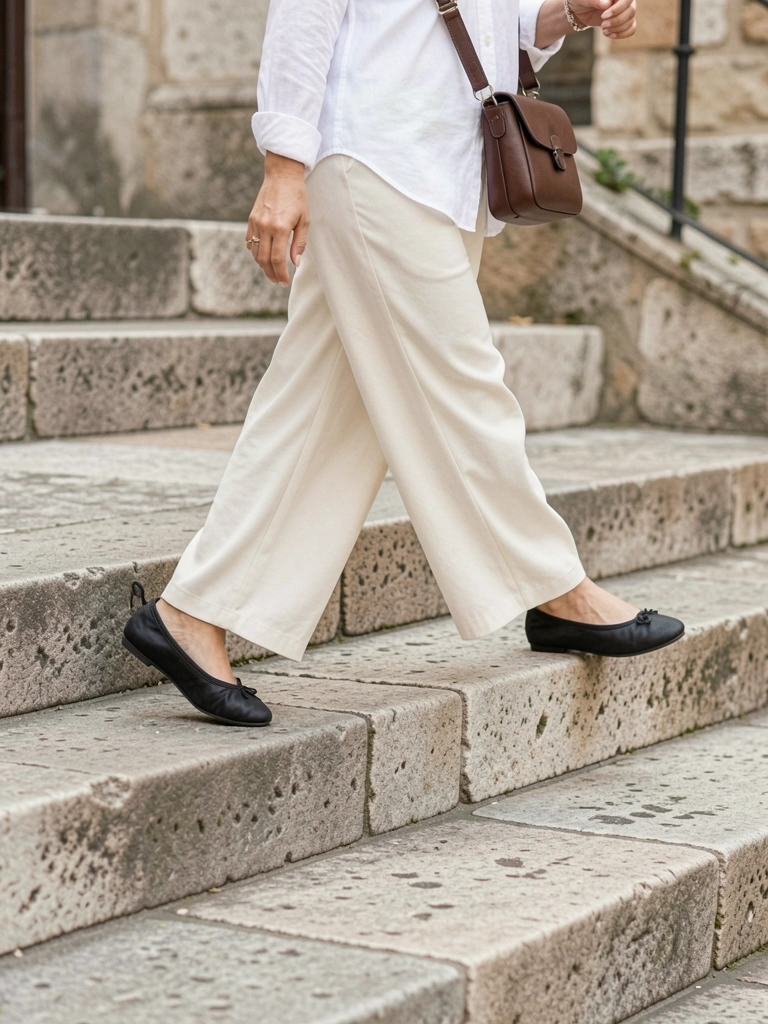
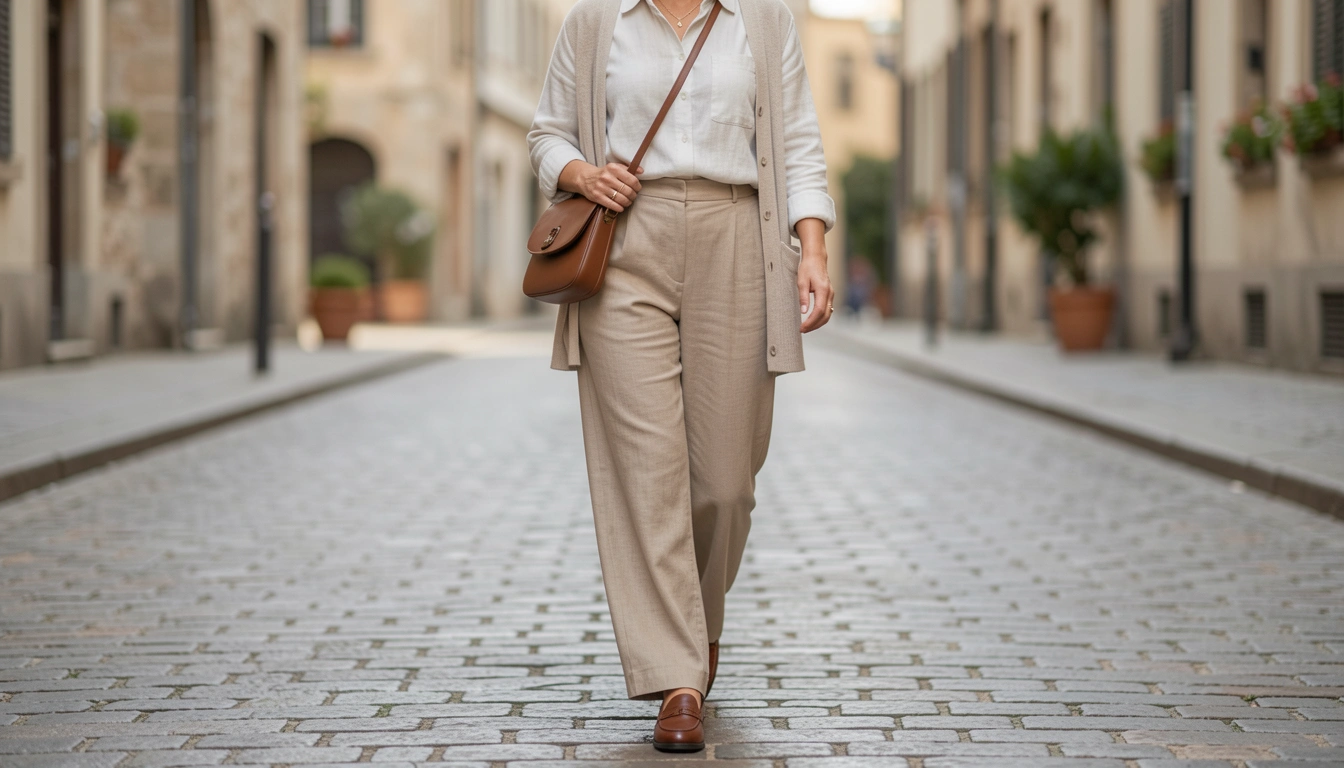
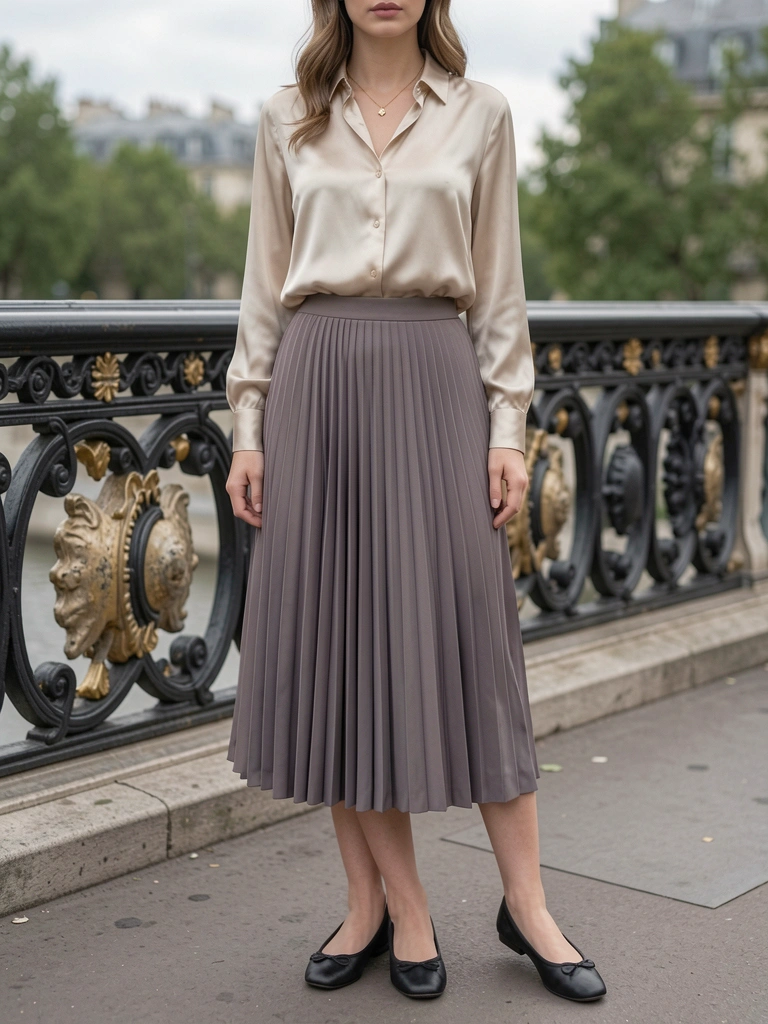
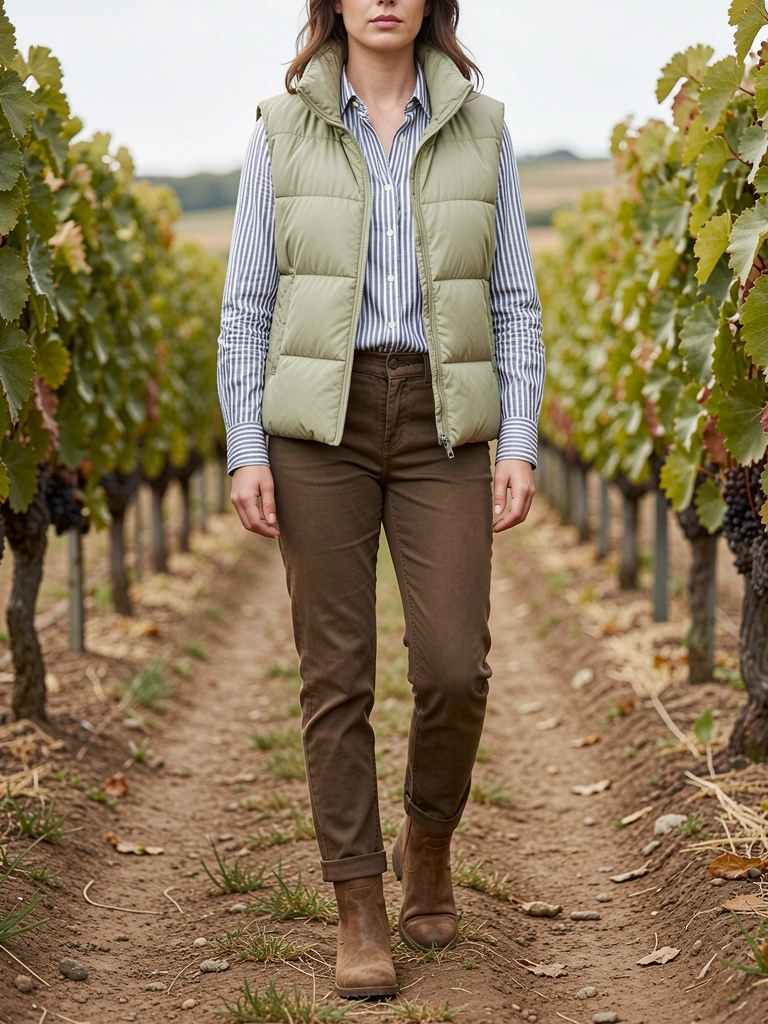
9. Blouse and Culottes for Wine Tours
Tuscany hills—blouse flows in breeze, culottes wide for vineyard walks.
Peach tones warm skin. Felt classy casual.
Tuck loosely. Avoid silk that snags vines.
What You’ll Need for This Look
Layered silk blend blouse peach
Wide culottes linen white
Ballet flats leather nude
Hoop earrings gold small
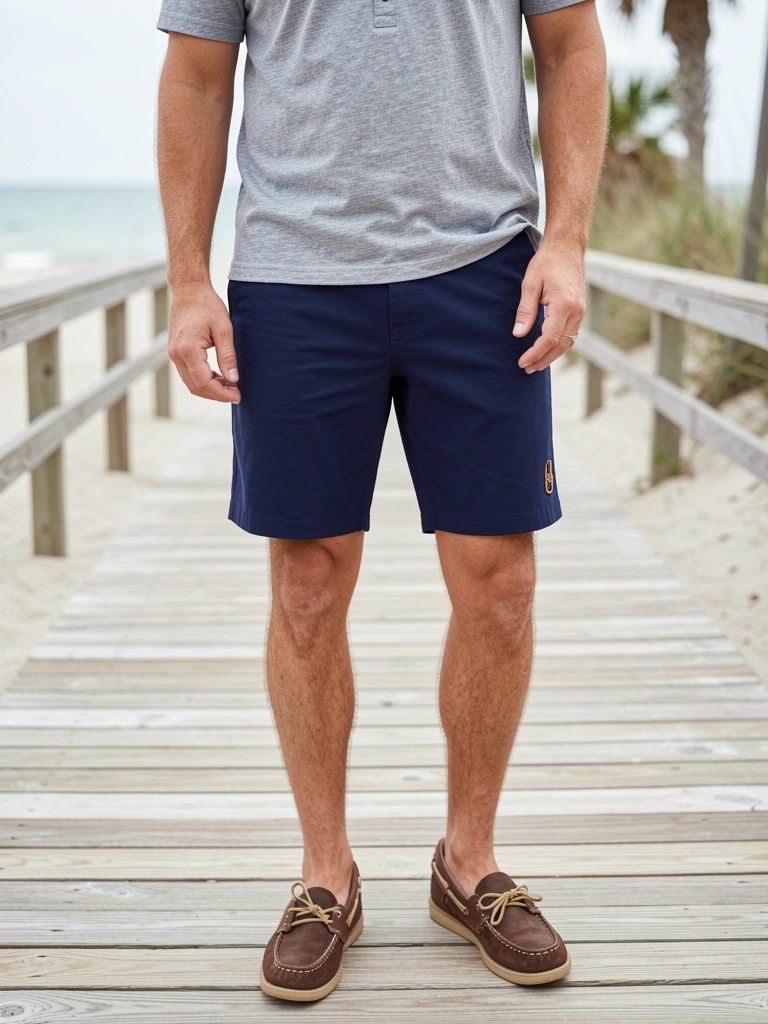
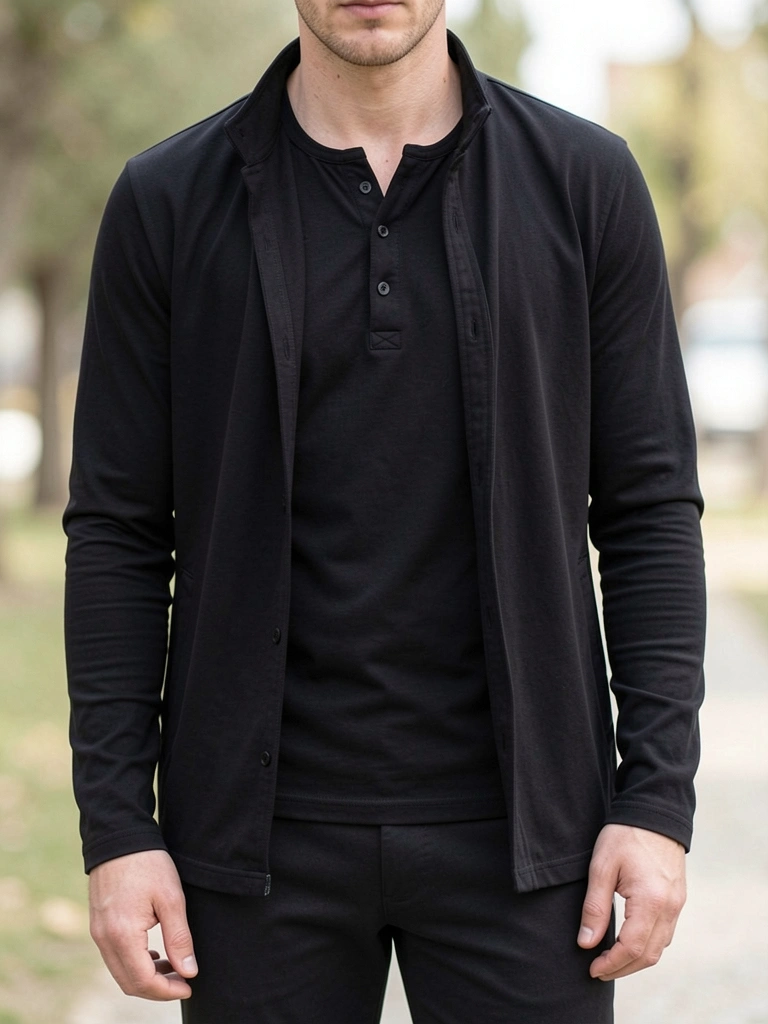
10. Henley and Bermuda Shorts for Beach Walks
Croatia shores—henley buttons for sun cover, shorts knee-length for sand.
Navy hides salt stains. Comfy for miles.
Roll cuffs. Mistake: Thin fabric burned—UPF rated.
What You’ll Need for This Look
Cotton henley shirt long sleeve white
Bermuda shorts cotton navy
Boat shoes canvas brown
Baseball cap cotton
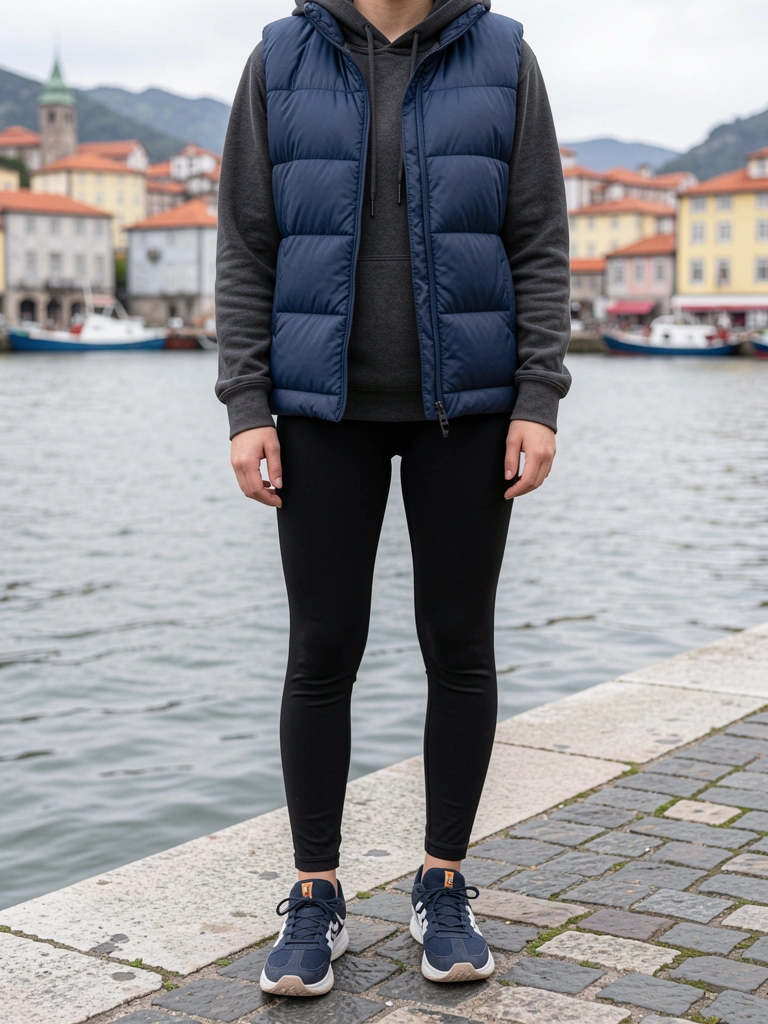
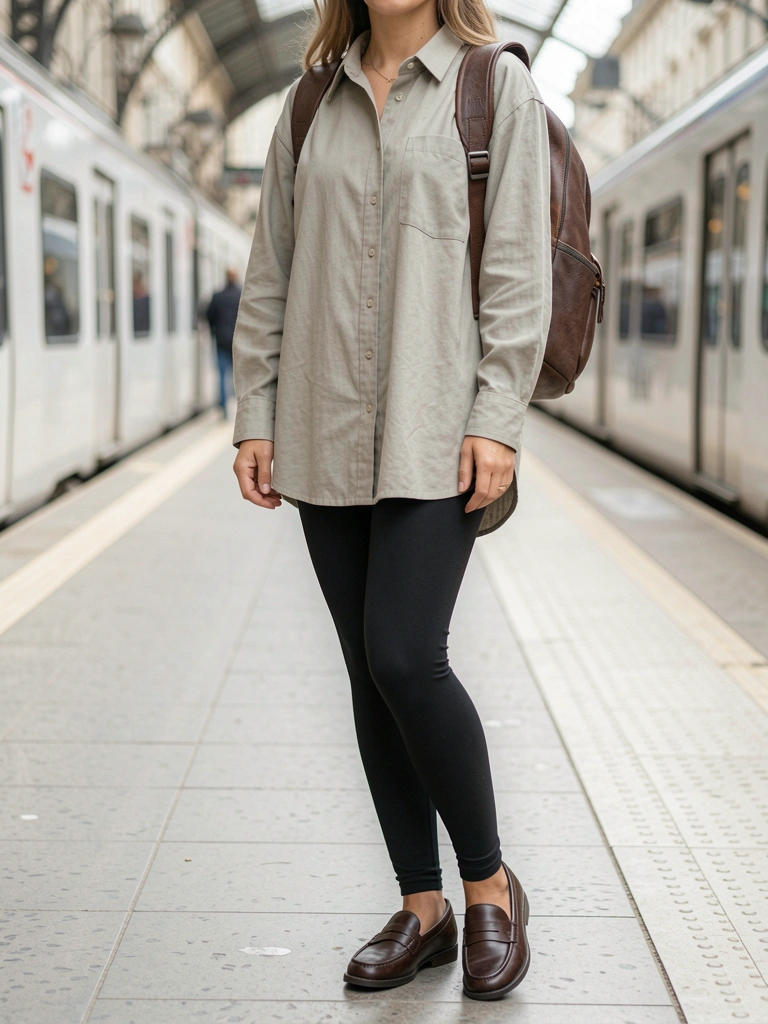
11. Wrap Top and Leggings for Yoga Spots
Provence parks—wrap covers for modesty, leggings flex for poses or walks.
Black slims. Felt grounded.
Adjust wrap ties. No sheer—tested.
What You’ll Need for This Look
Structured wrap top cotton black
High-waist leggings nylon blend black
Athletic sneakers mesh white
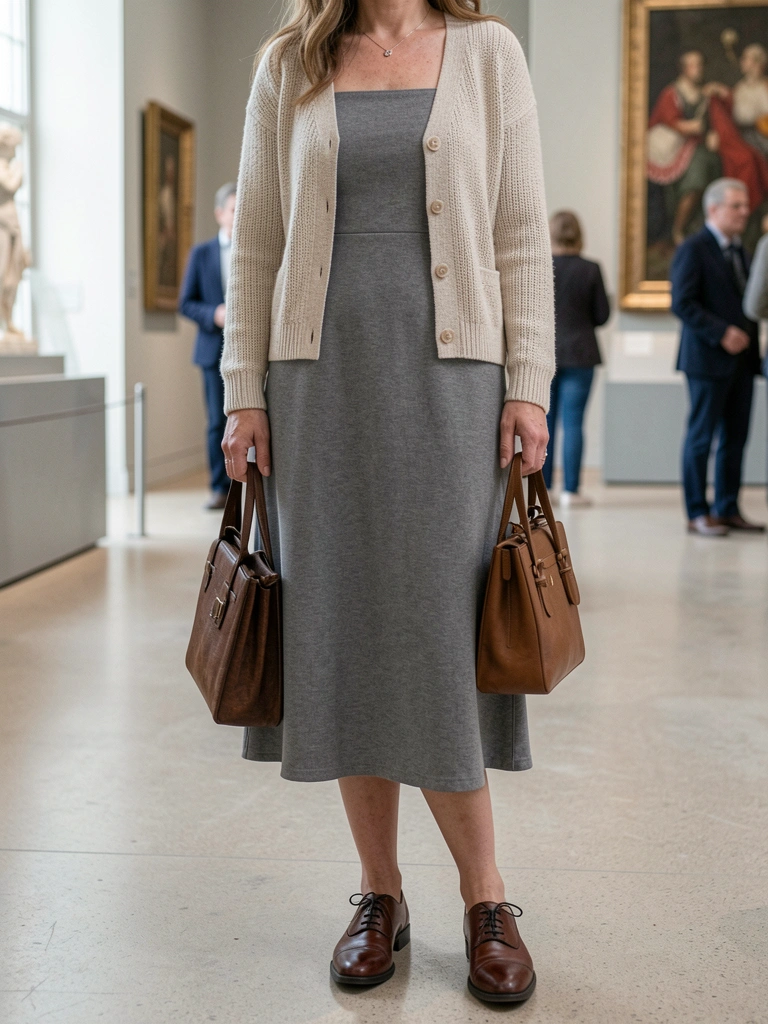
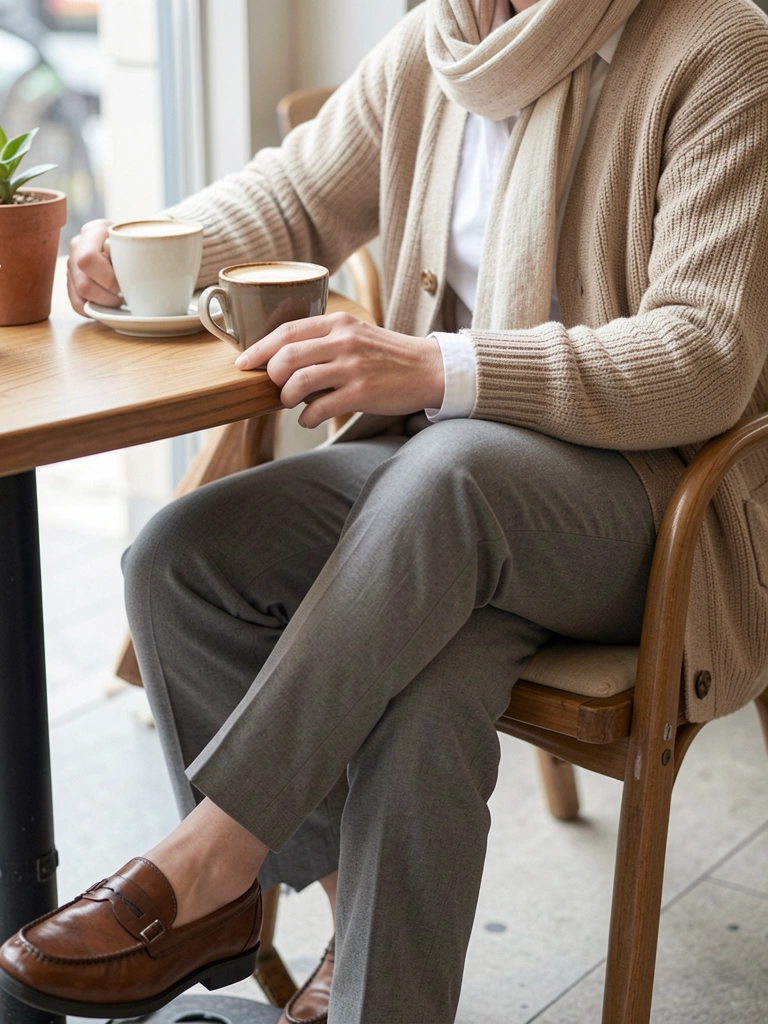
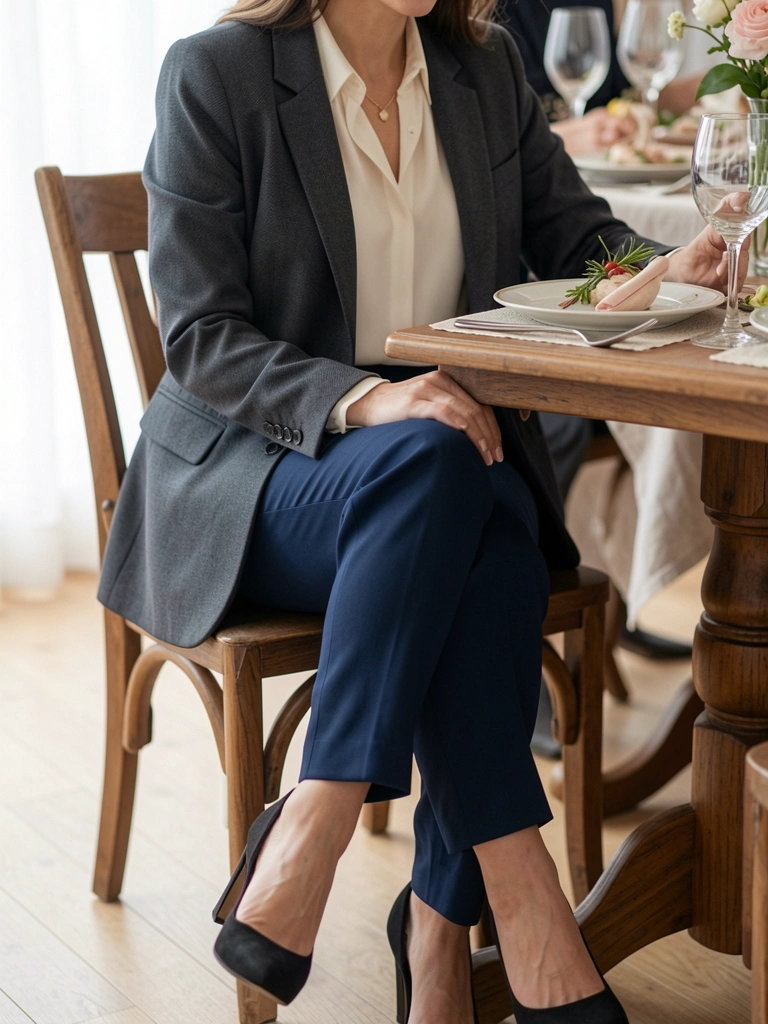
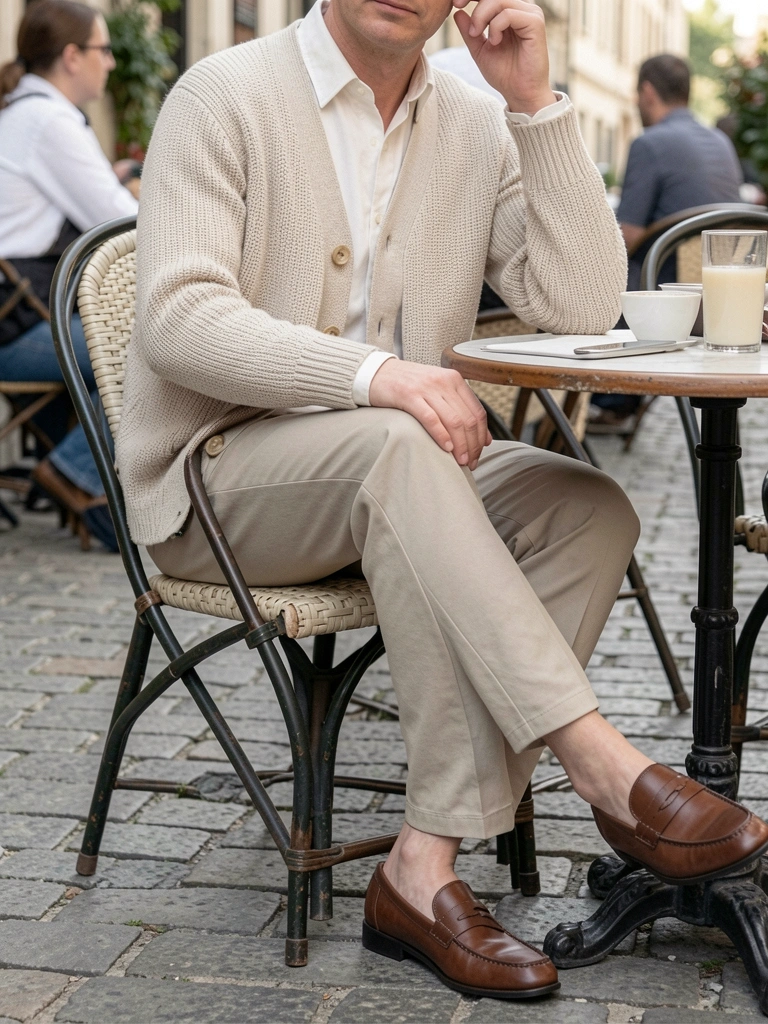
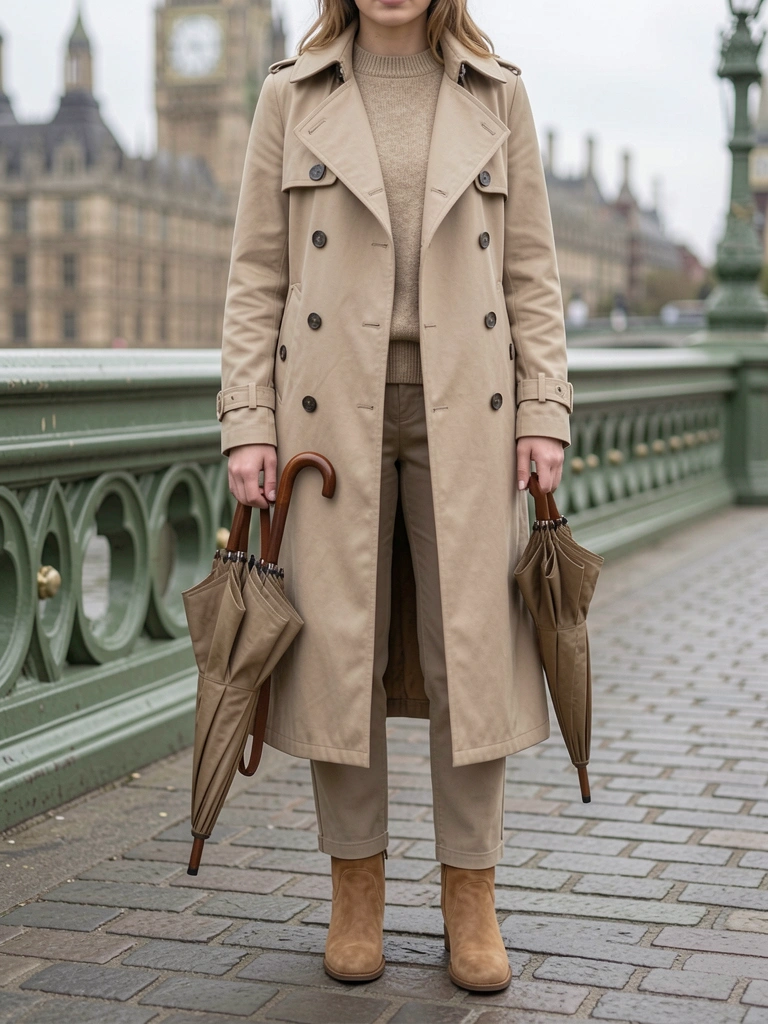
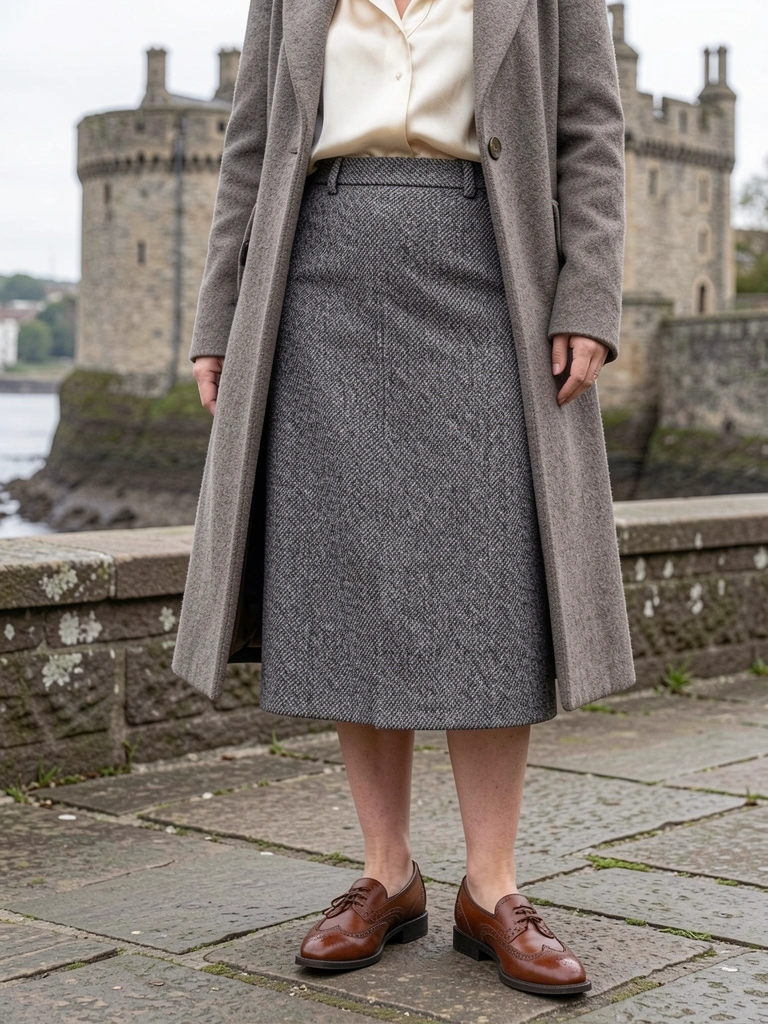
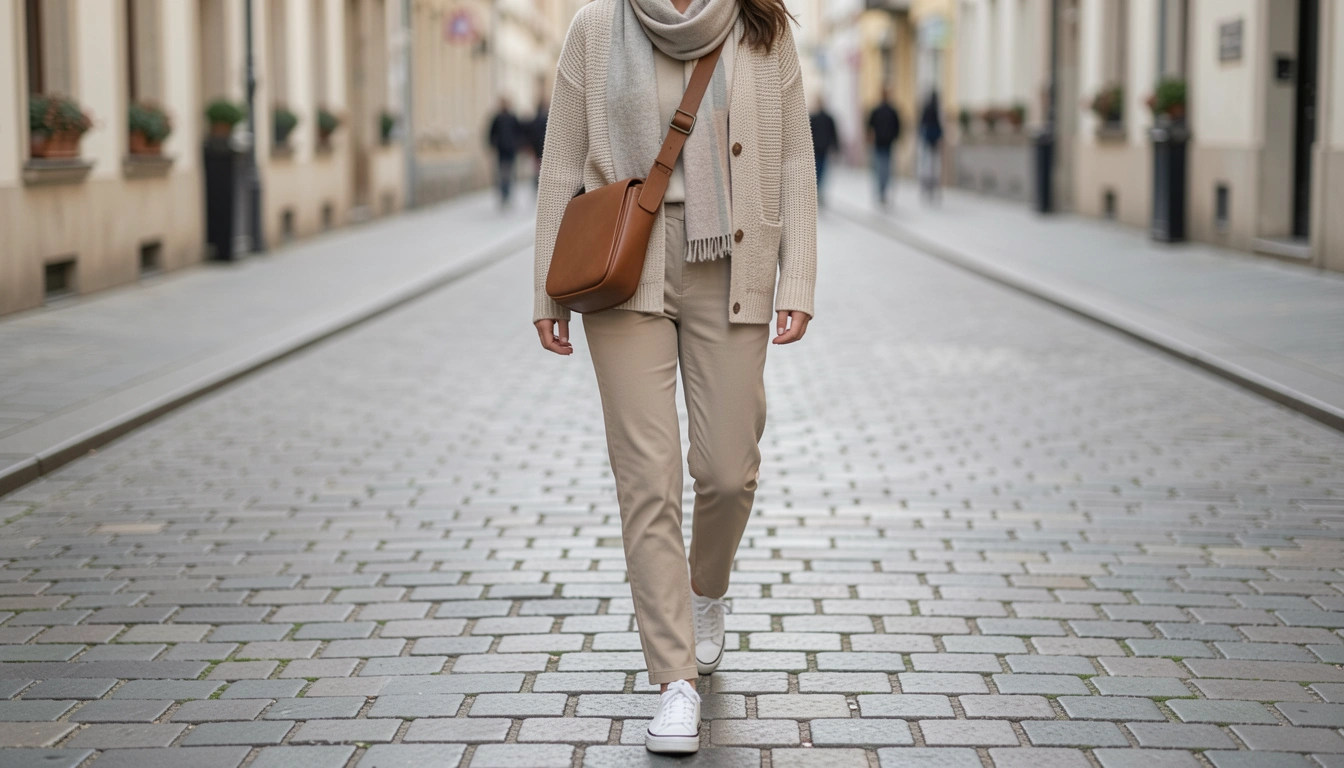
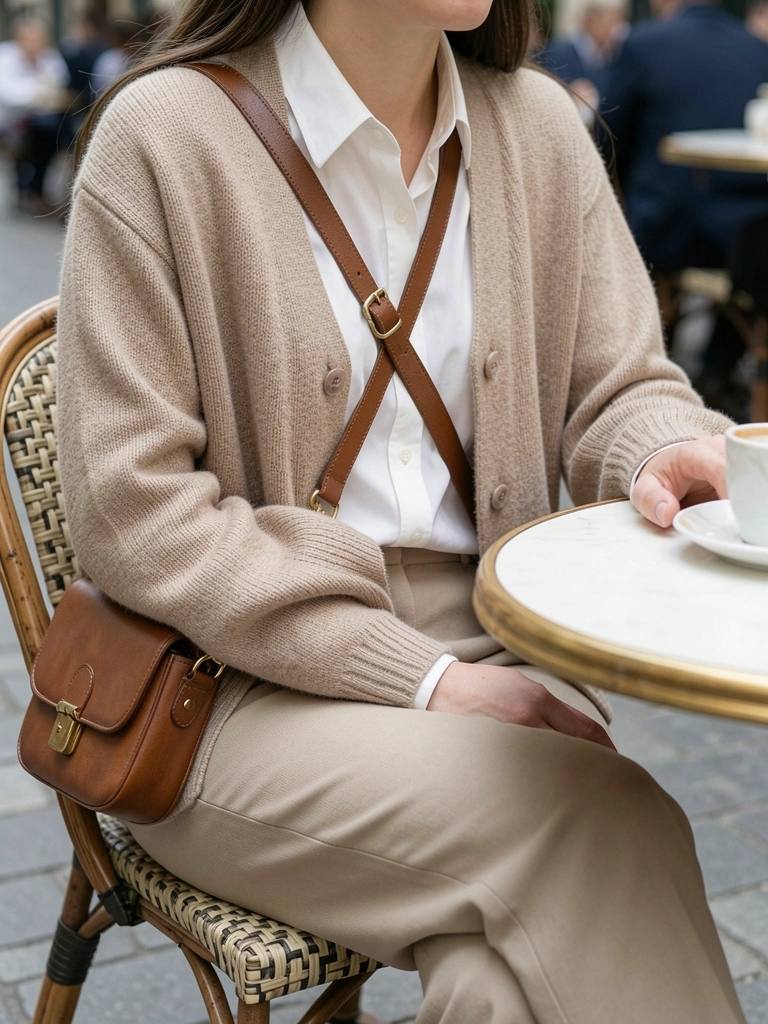
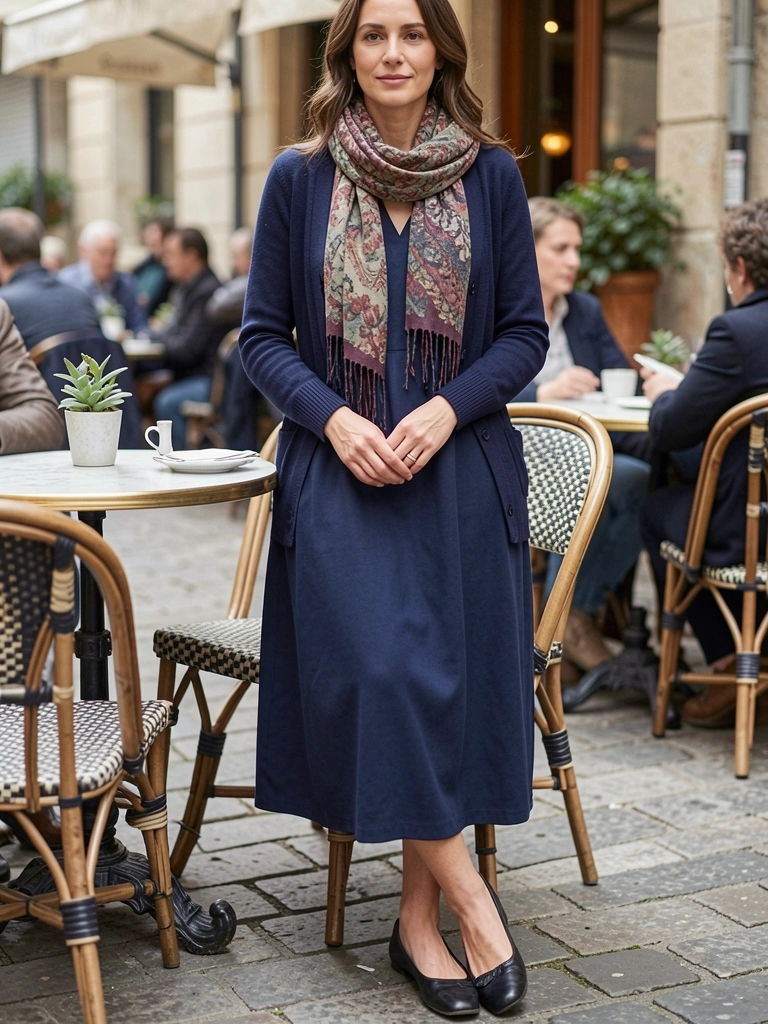
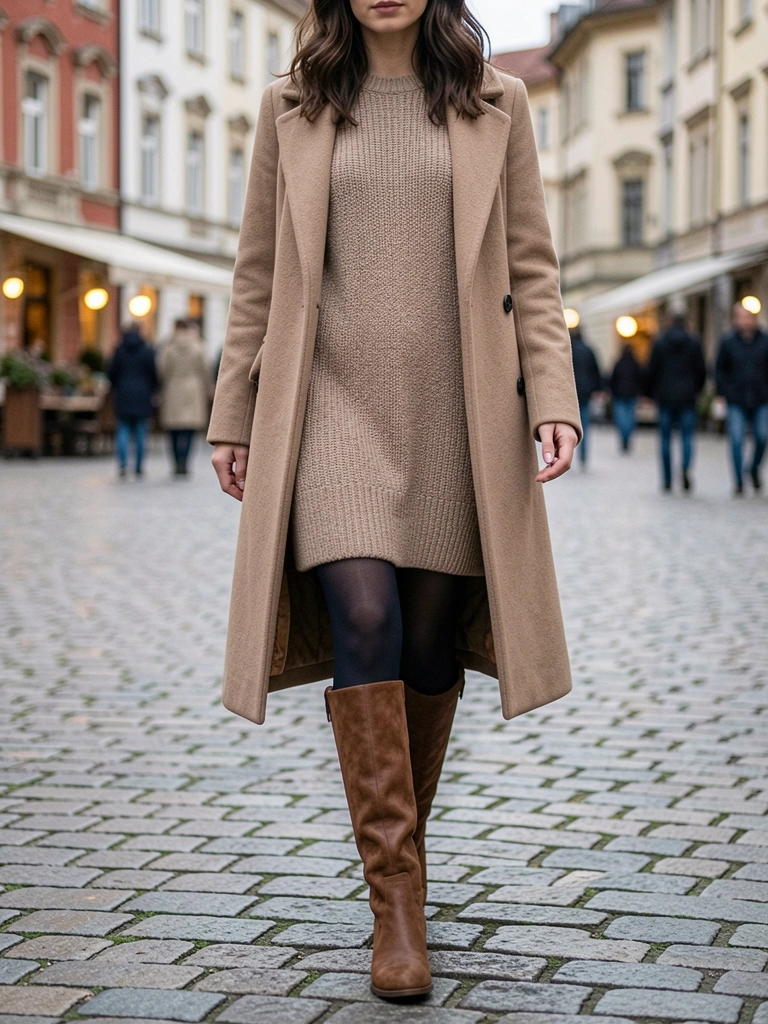
12. Cardigan and Shift Dress for Museums
London galleries—shift dress simple, cardigan for AC chills.
Gray flatters all. Easy sit-stand.
Light knit. Returned heavy one.
What You’ll Need for This Look
Light knit cardigan beige
Cotton shift dress gray knee-length
Oxfords leather black
Structured crossbody bag tan
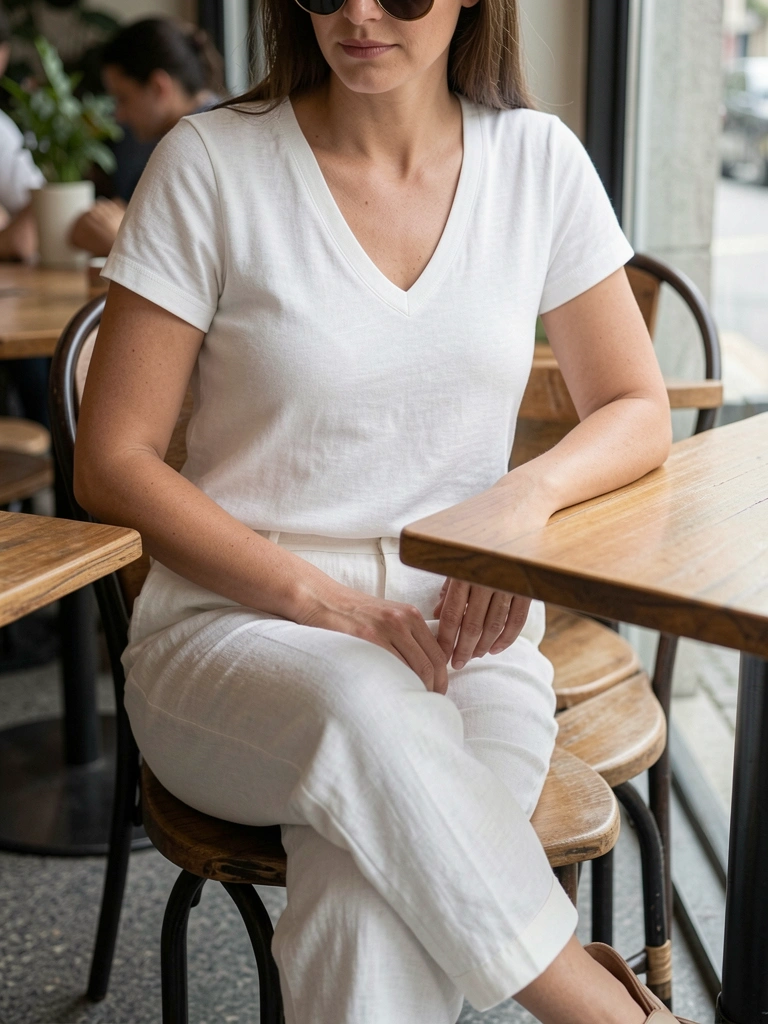
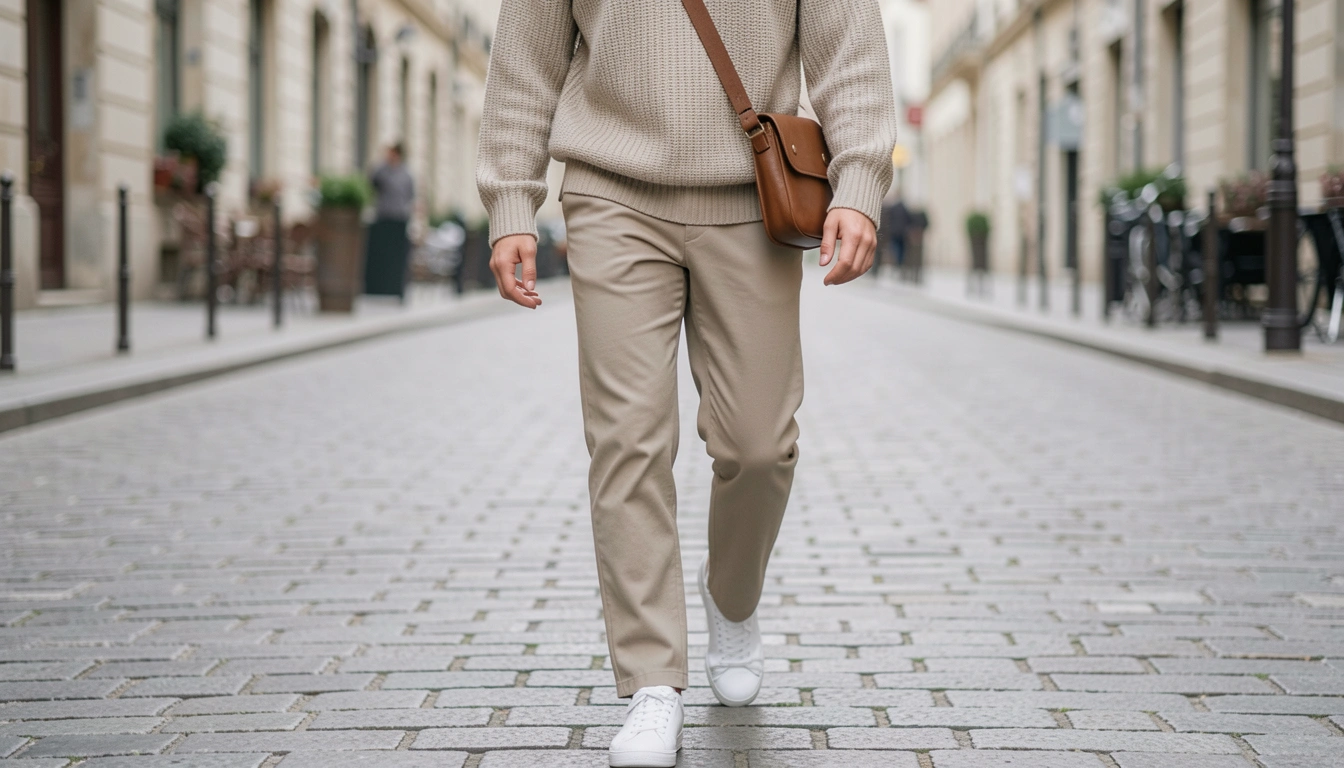
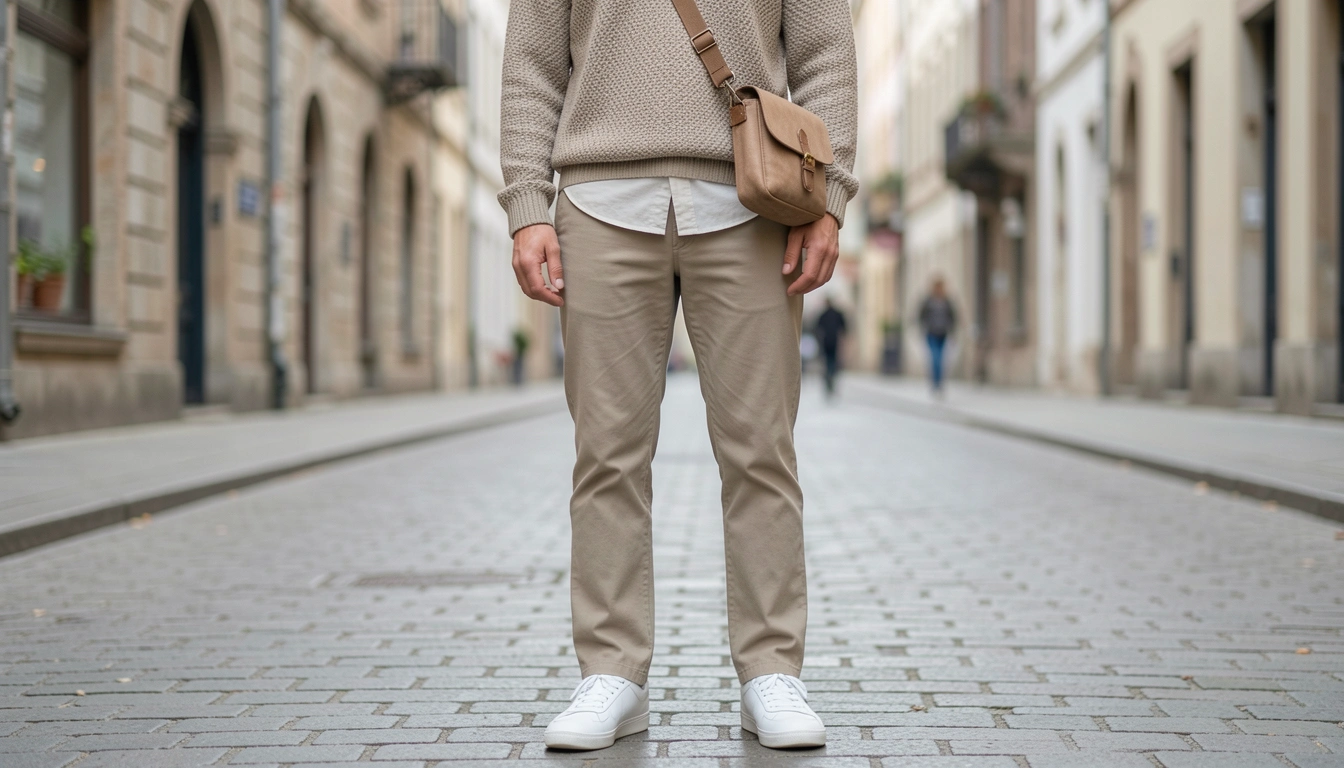
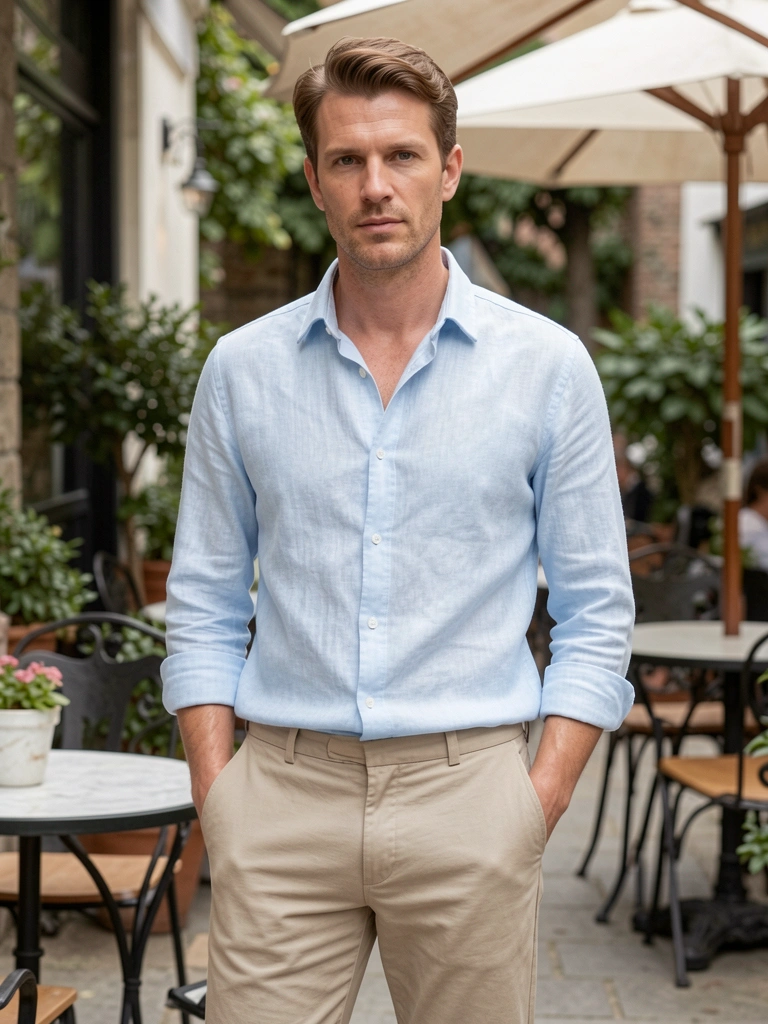
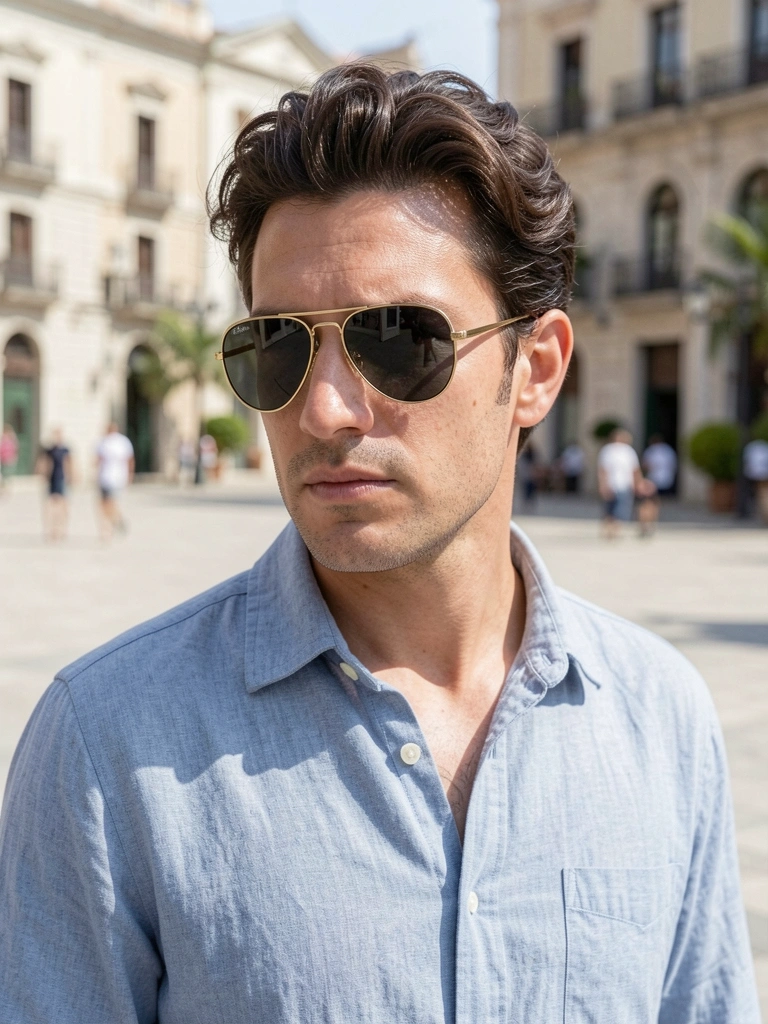
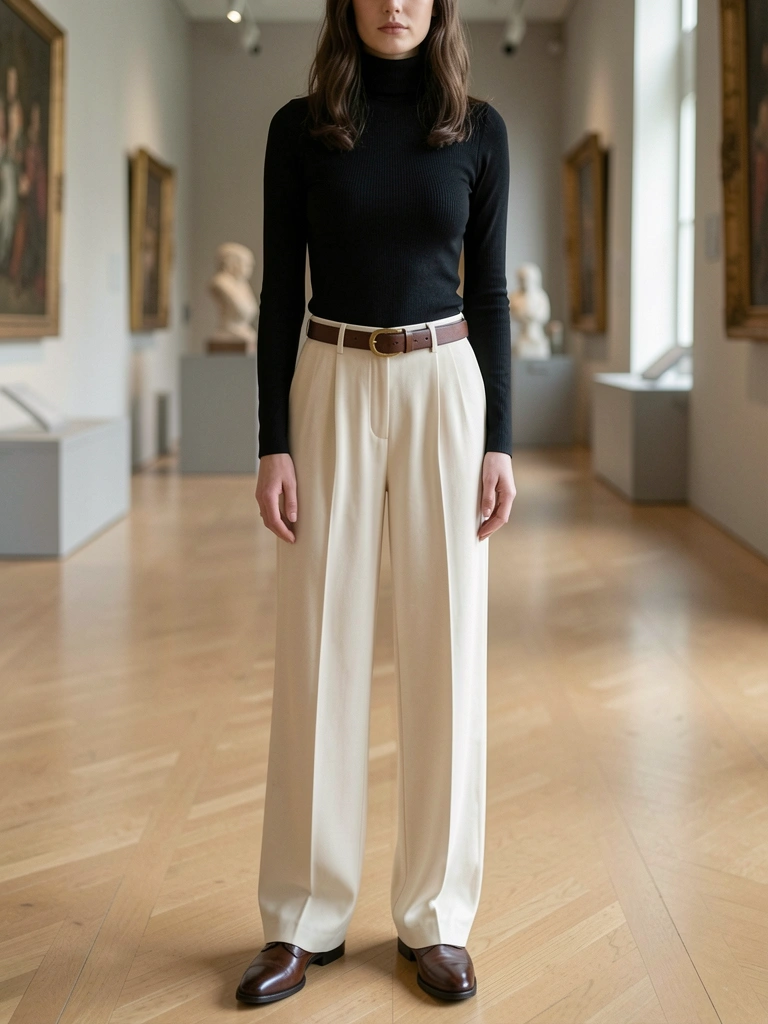
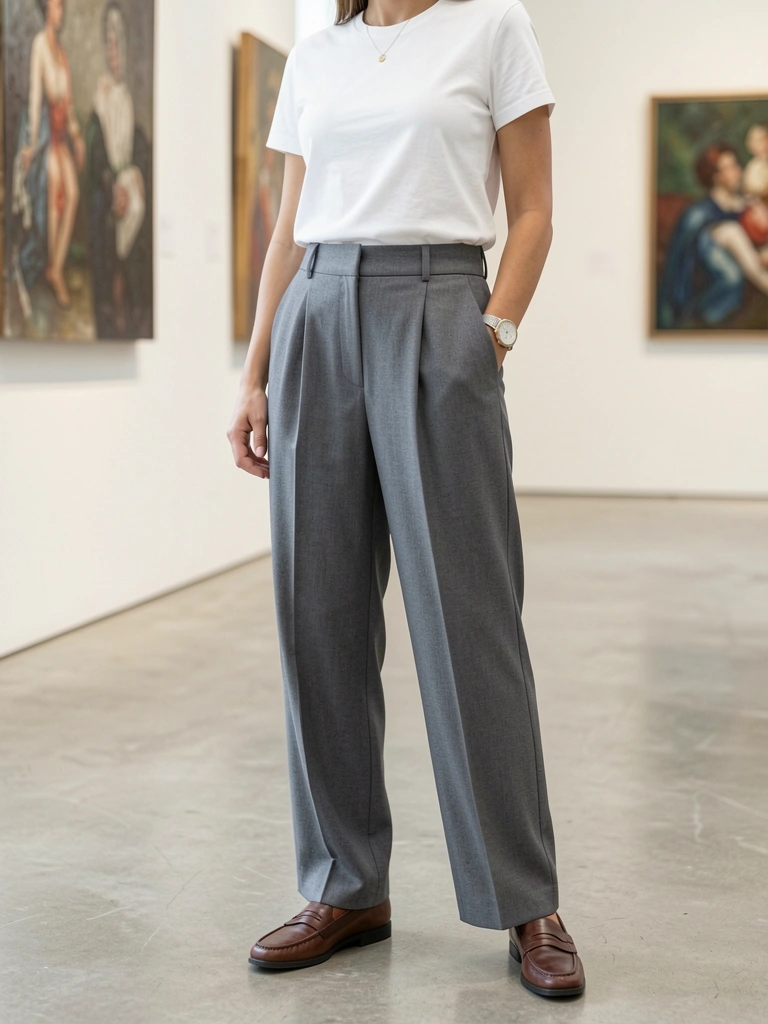
13. V-Neck and Linen Trousers for Cafes
Vienna cafes—trousers loose, v-neck airy. White brightens.
Rolled pants. Insight: No iron linen blends.
What You’ll Need for This Look
Cotton v-neck tee navy
Linen trousers straight-leg white
Mule sandals block heel nude
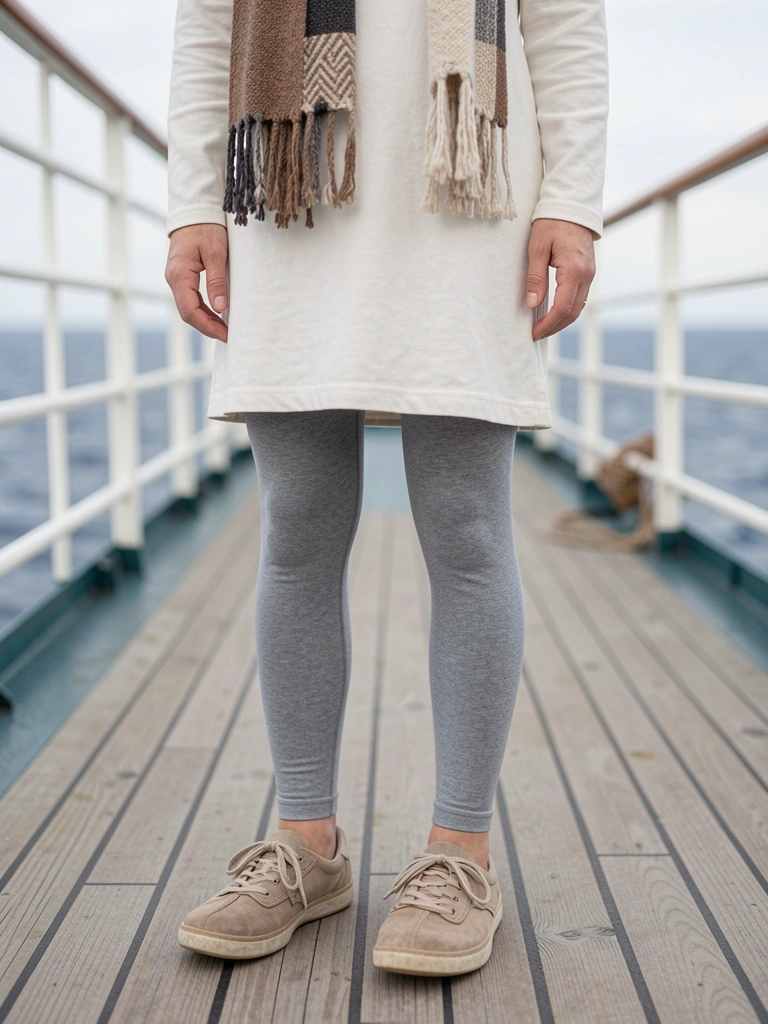
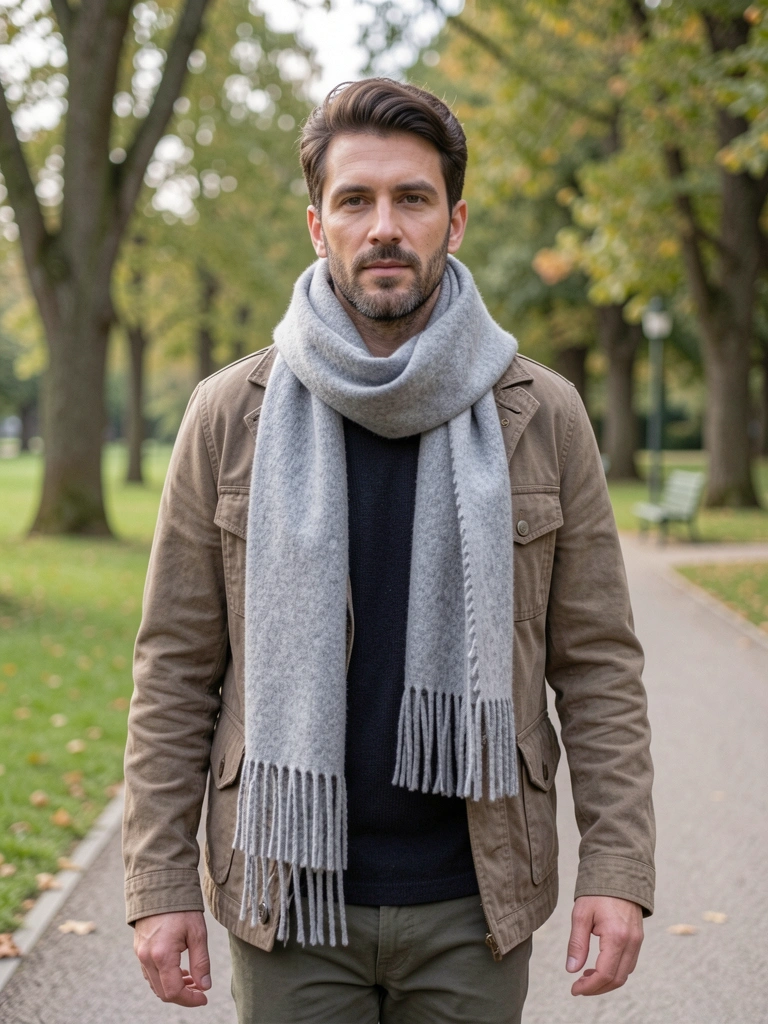
14. Tunic and Leggings for Ferry Rides
Sicily ferries—tunic covers wind, leggings pack small.
Gray neutral. Tie scarf.
Mistake: Long tunic trips—midi best.
What You’ll Need for This Look
Cotton tunic top patterned midi
Leggings high-rise gray
Deck shoes slip-on navy
Cotton scarf light
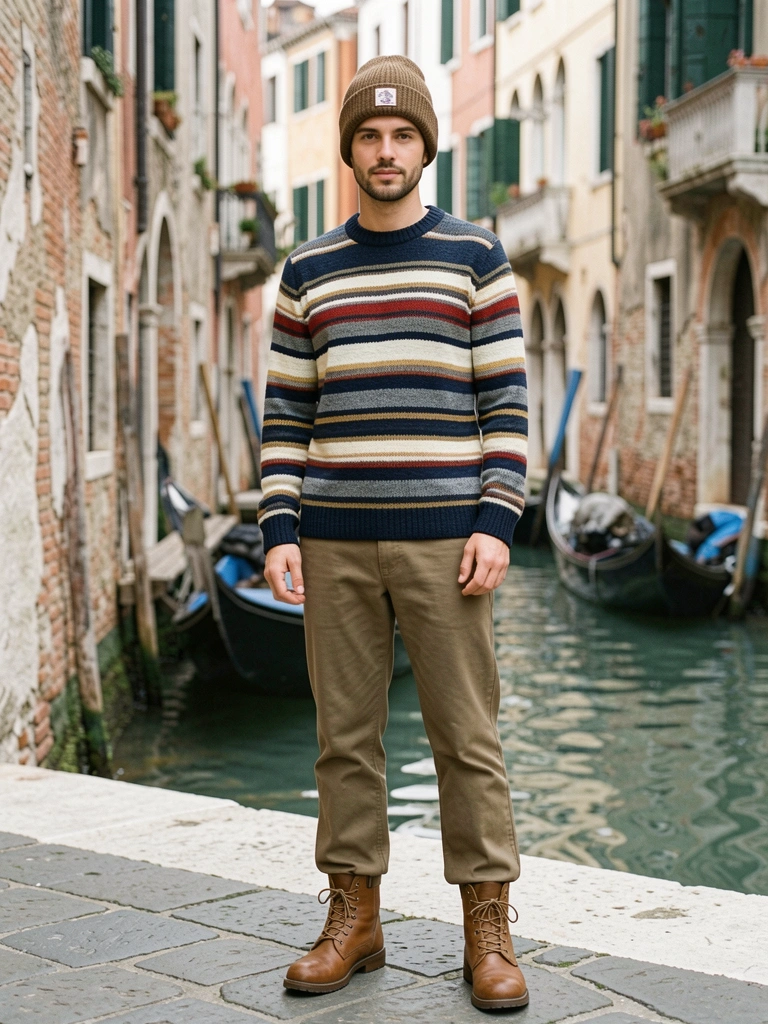
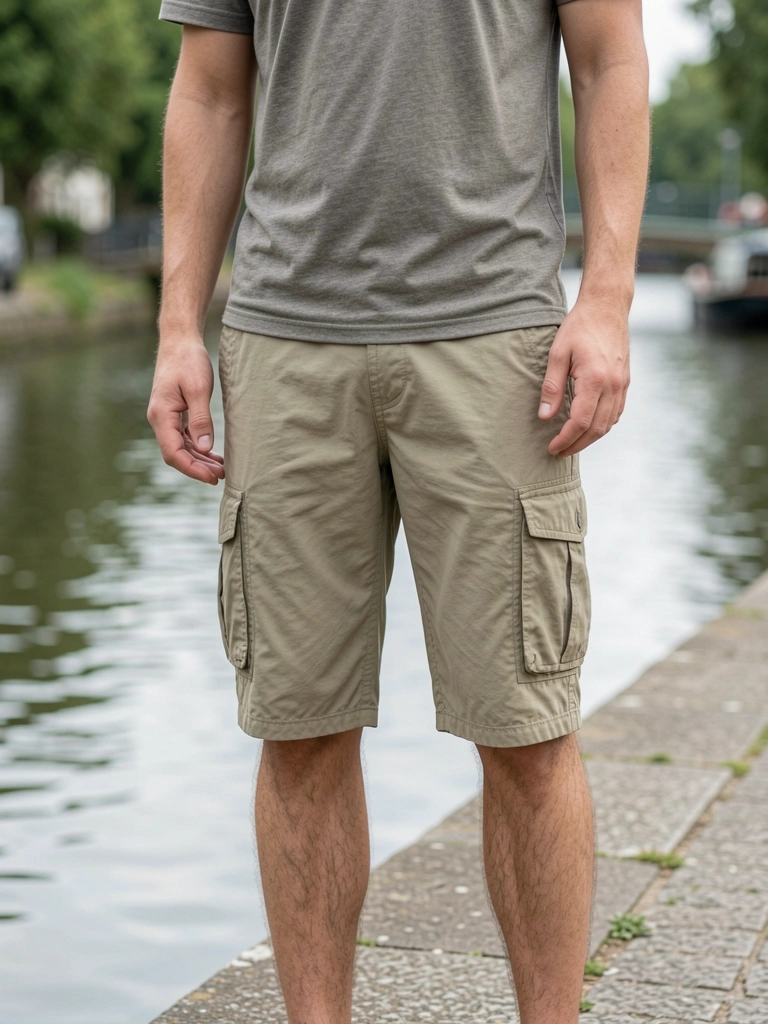
15. Crewneck and Knee Shorts for Parks
Berlin parks—crewneck layers light, shorts knee for picnics.
Khaki versatile. Chukkas grip grass.
What You’ll Need for This Look
Cotton crewneck sweatshirt light gray
Knee-length shorts cotton khaki
Chukka boots suede brown
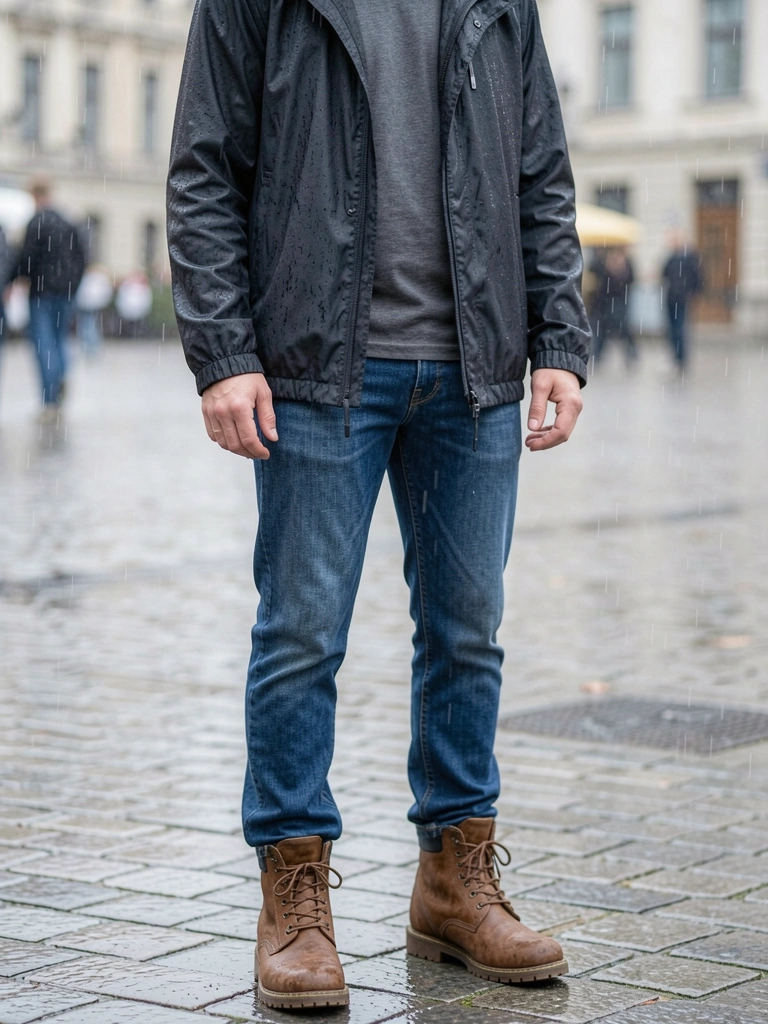
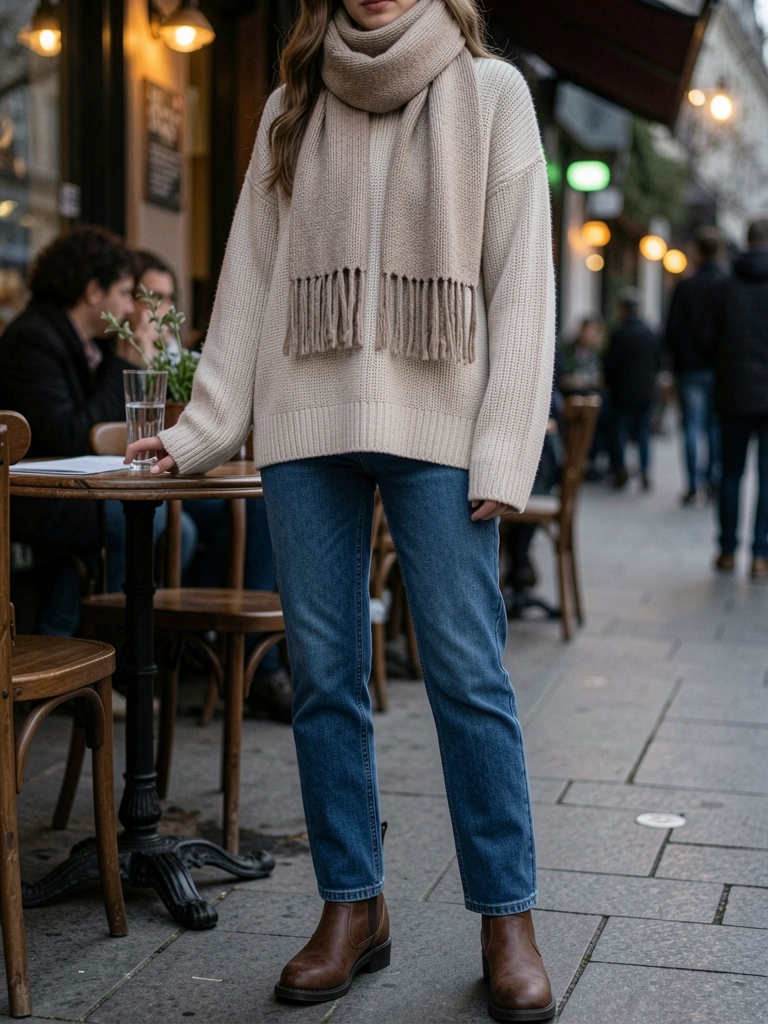
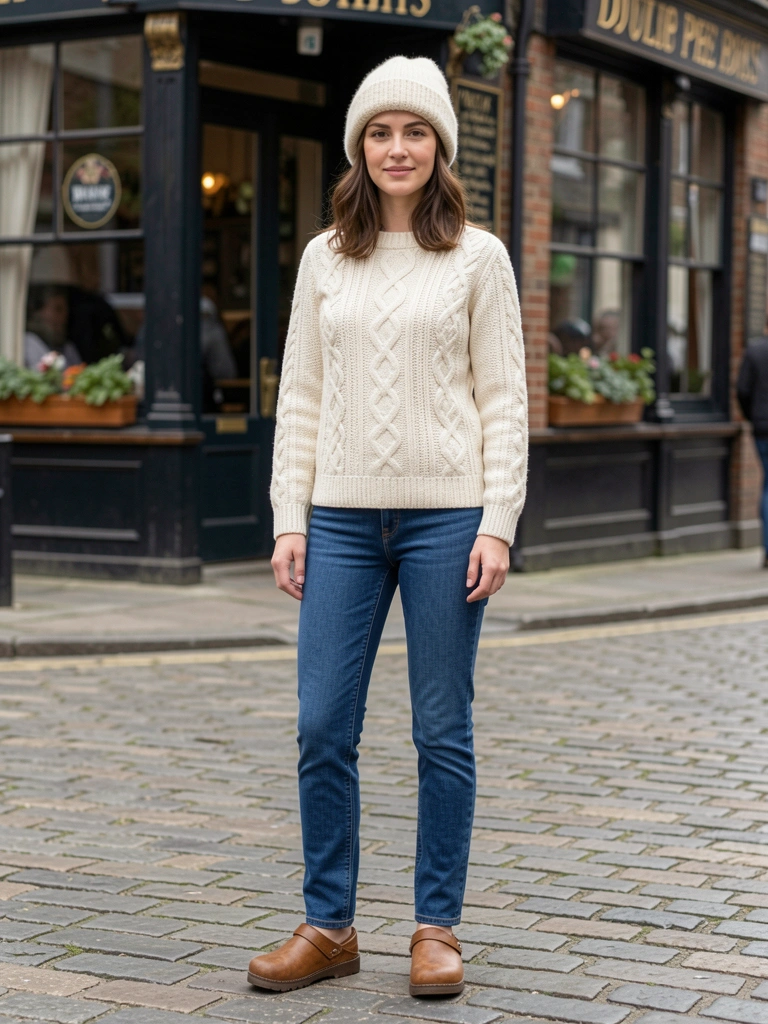
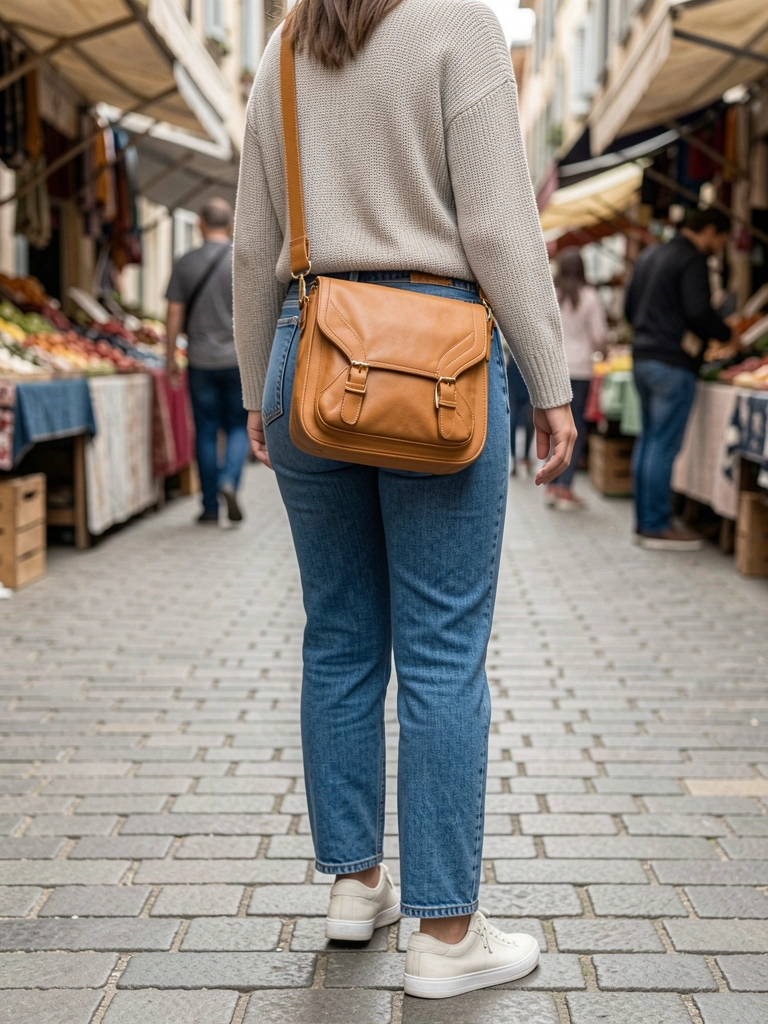
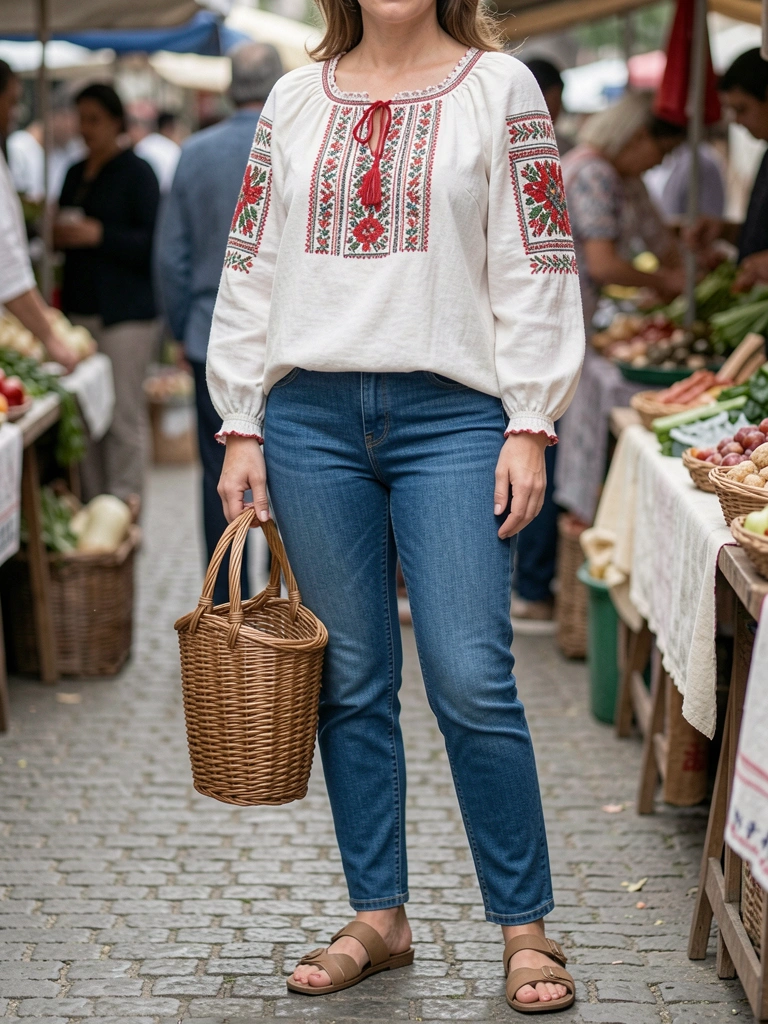
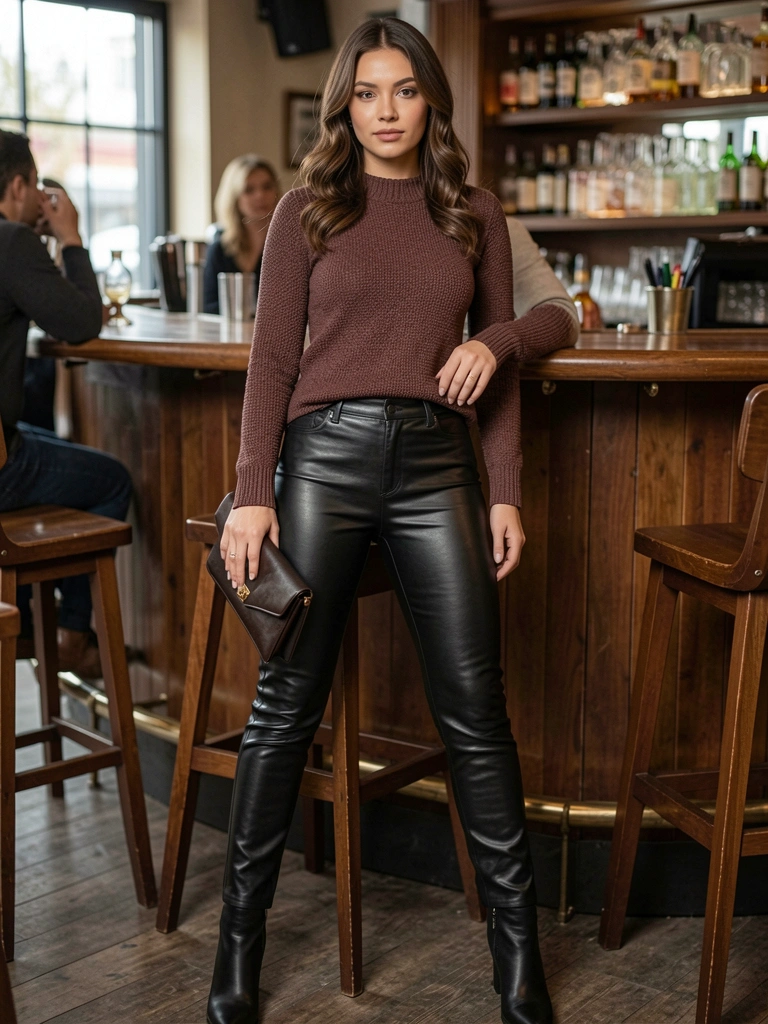
16. Peasant Blouse and Jeans for Festivals
Porto festivals—blouse puffs fun, jeans sturdy for crowds.
Slim jeans tuck in. Ankle boots dance-ready.
Loose fit. No tight jeans—heat trap.
What You’ll Need for This Look
Cotton peasant blouse off-white
Slim straight jeans medium wash
Ankle boots flat leather
Woven belt leather
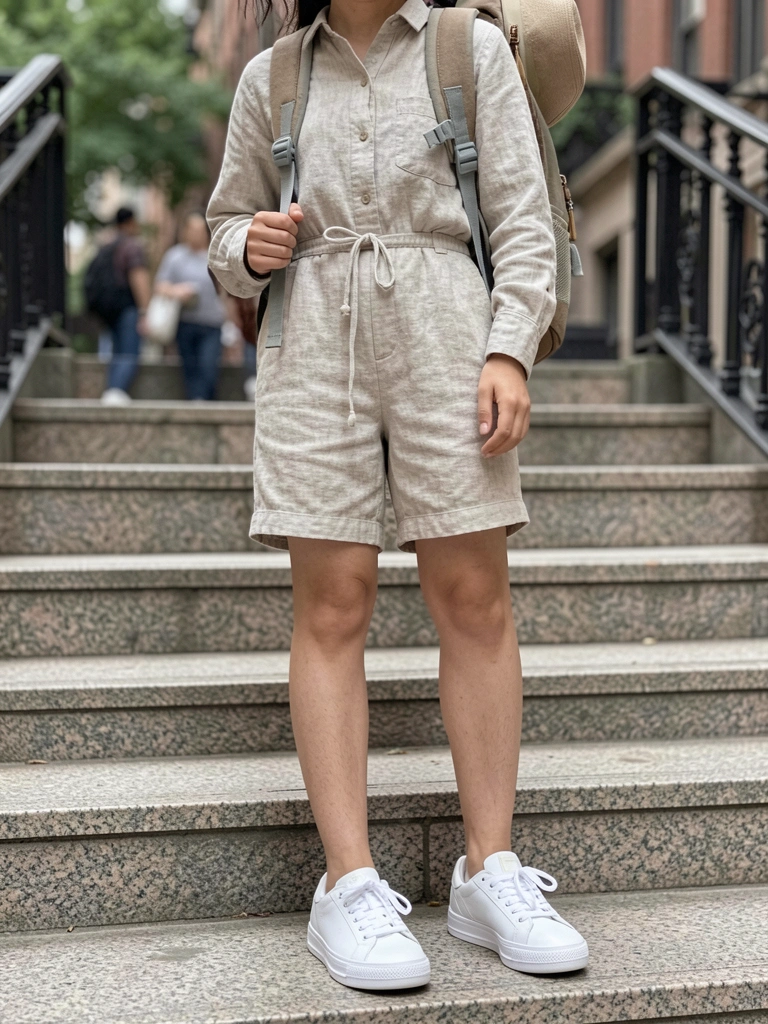
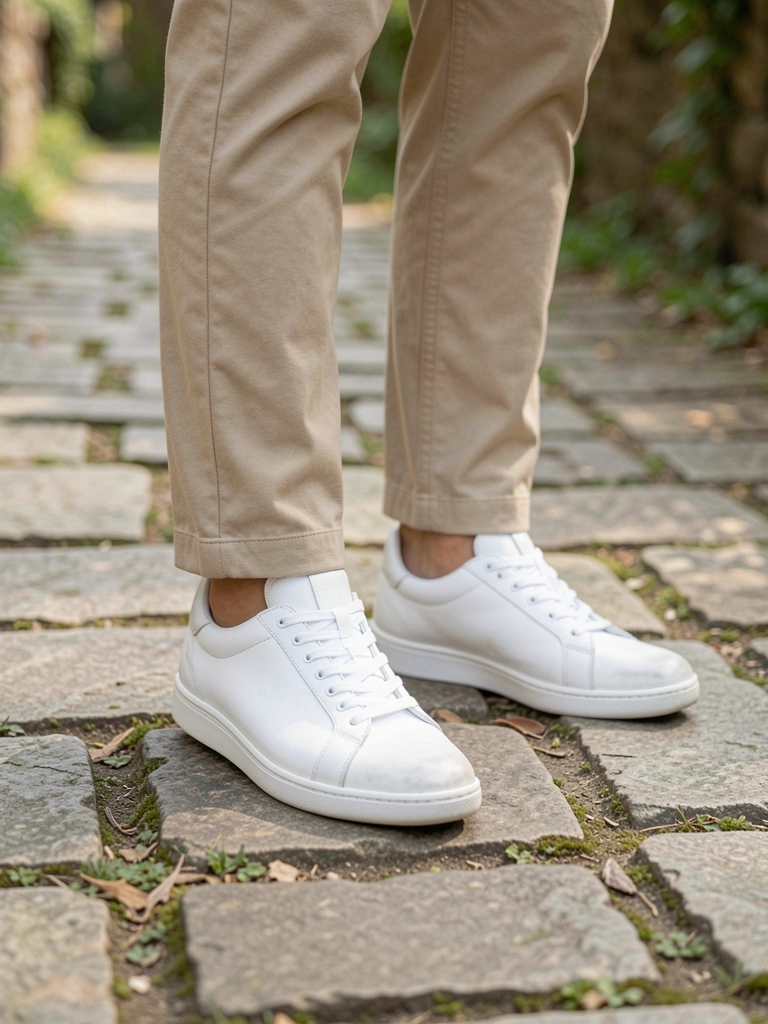
17. Romper and Sneakers for Urban Hikes
Athens climbs—romper one-piece easy, no mix-match.
Linen breaths. Sneakers grip.
Belt for shape. Returned unlined—sticky.
What You’ll Need for This Look
Linen romper lined neutral
Running sneakers cushioned white
Fanny pack leather
Final Thoughts
Pick 3-5 that fit your trips—no need for all. Mix from your closet too.
These held up on my adventures, no regrets.
You'll move free, look like you belong. Pack smart, go.