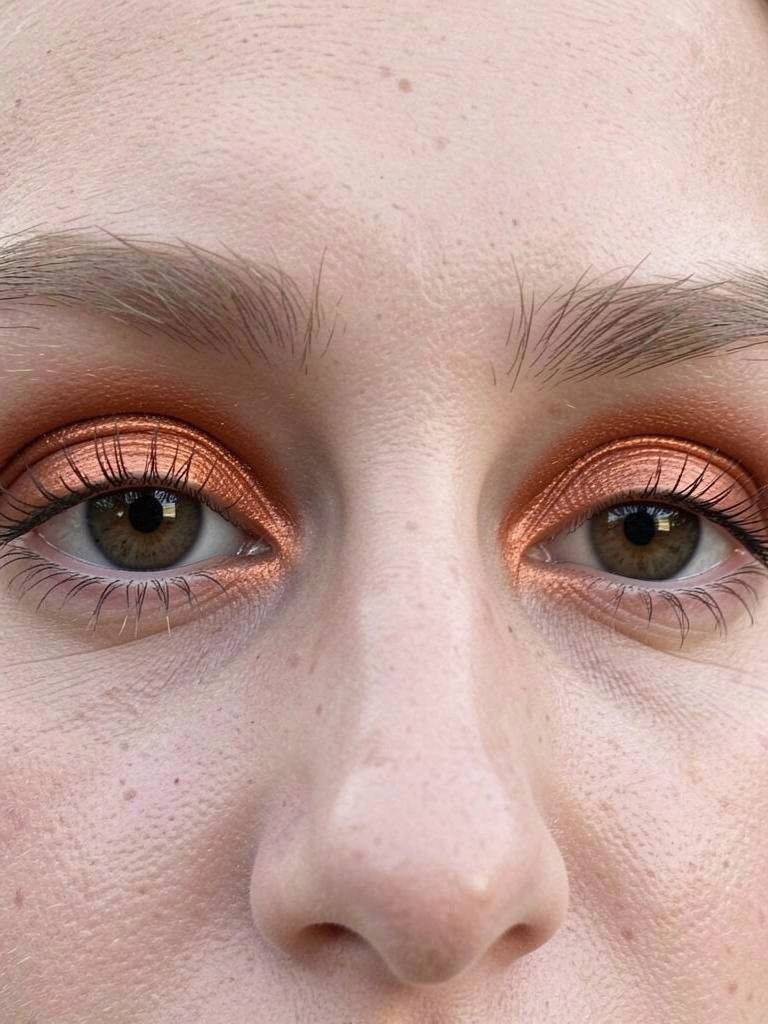
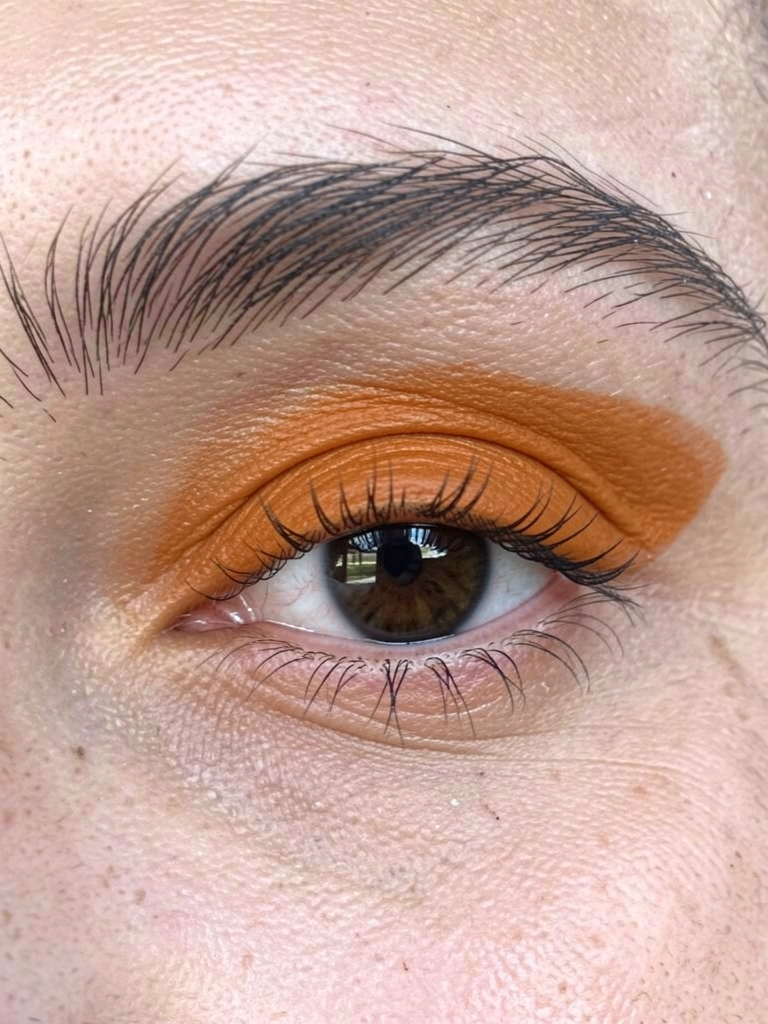
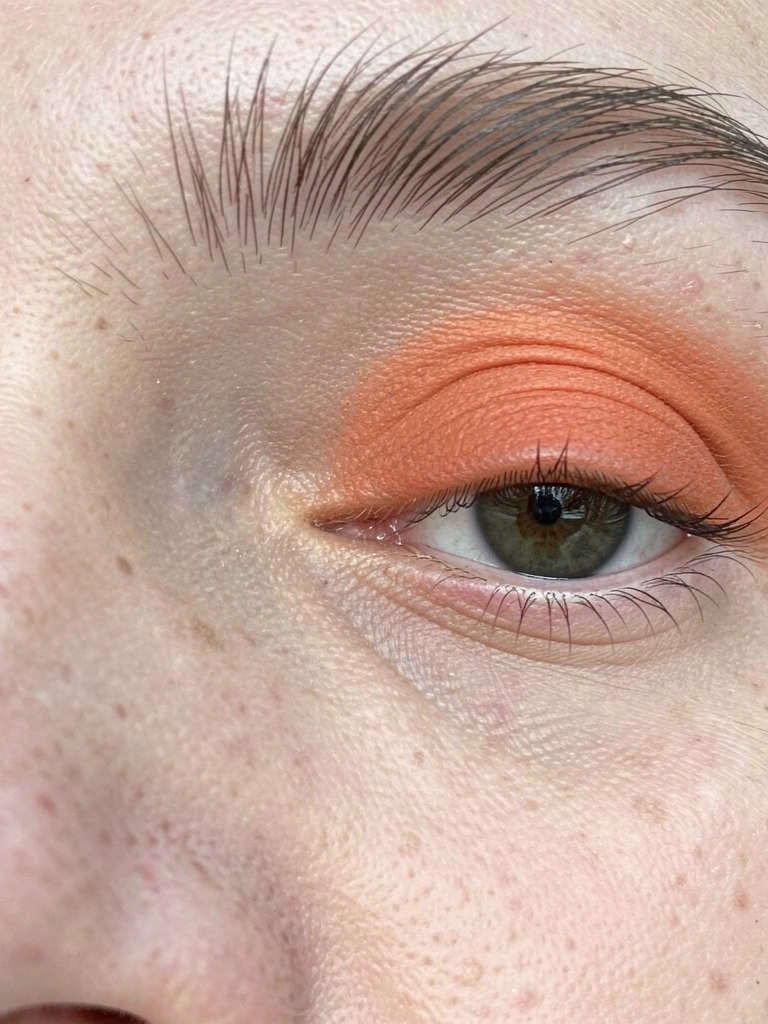
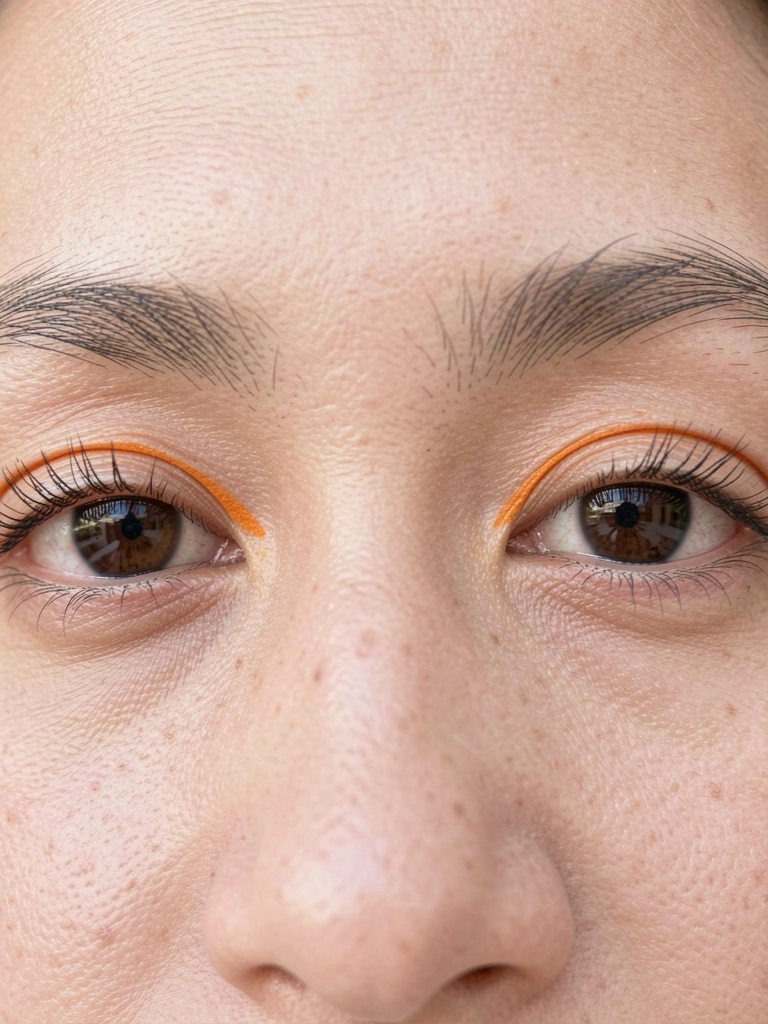
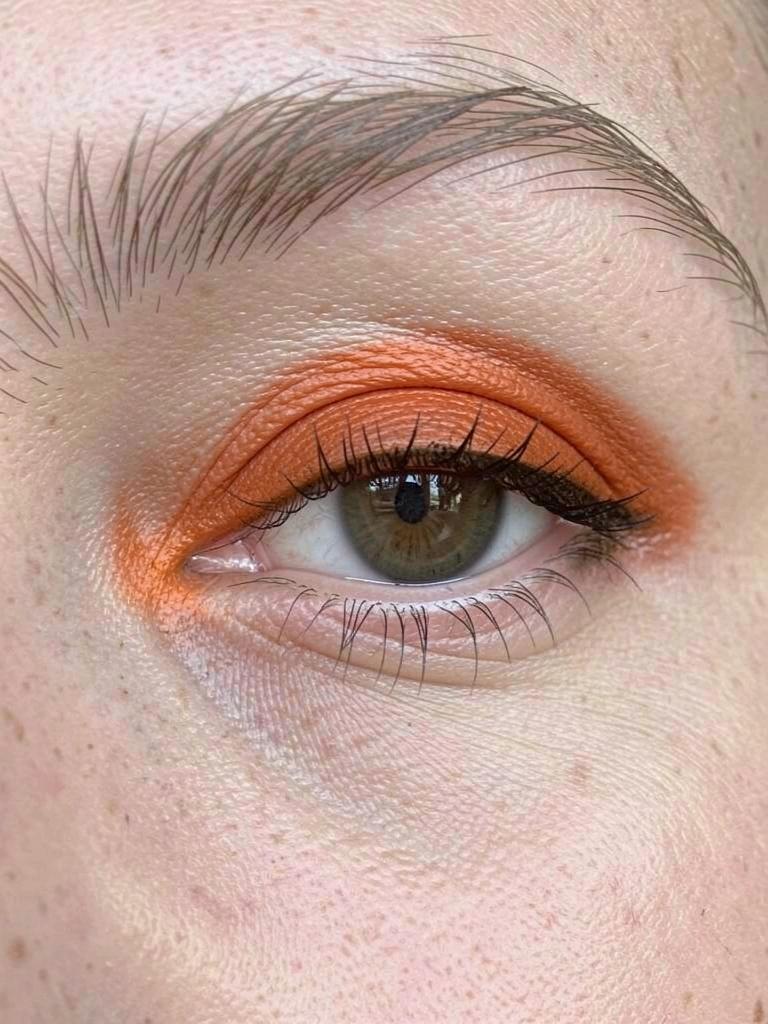
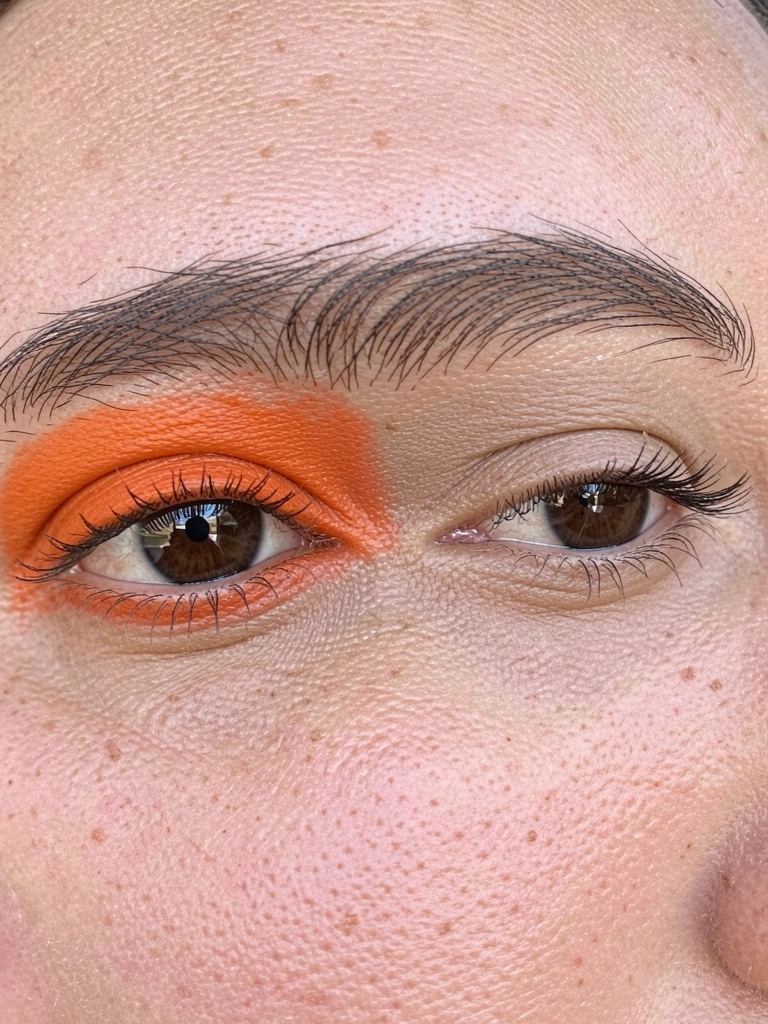
Category: Makeup

  • How To Create A Soft Goth Makeup Look

    How To Create A Soft Goth Makeup Look

    I remember staring in the mirror, chasing that subtle dark edge but ending up with harsh lines that made my face look flat. Too much black around the eyes pulled everything down. It felt unbalanced, like the goth vibe drowned out my features.

    Soft goth should whisper mystery, not shout. I've tweaked it over mornings getting ready, learning what softens the drama without losing the mood.

    This guide fixes that. You'll get a wearable look that holds up through the day.

    How To Create A Soft Goth Makeup Look

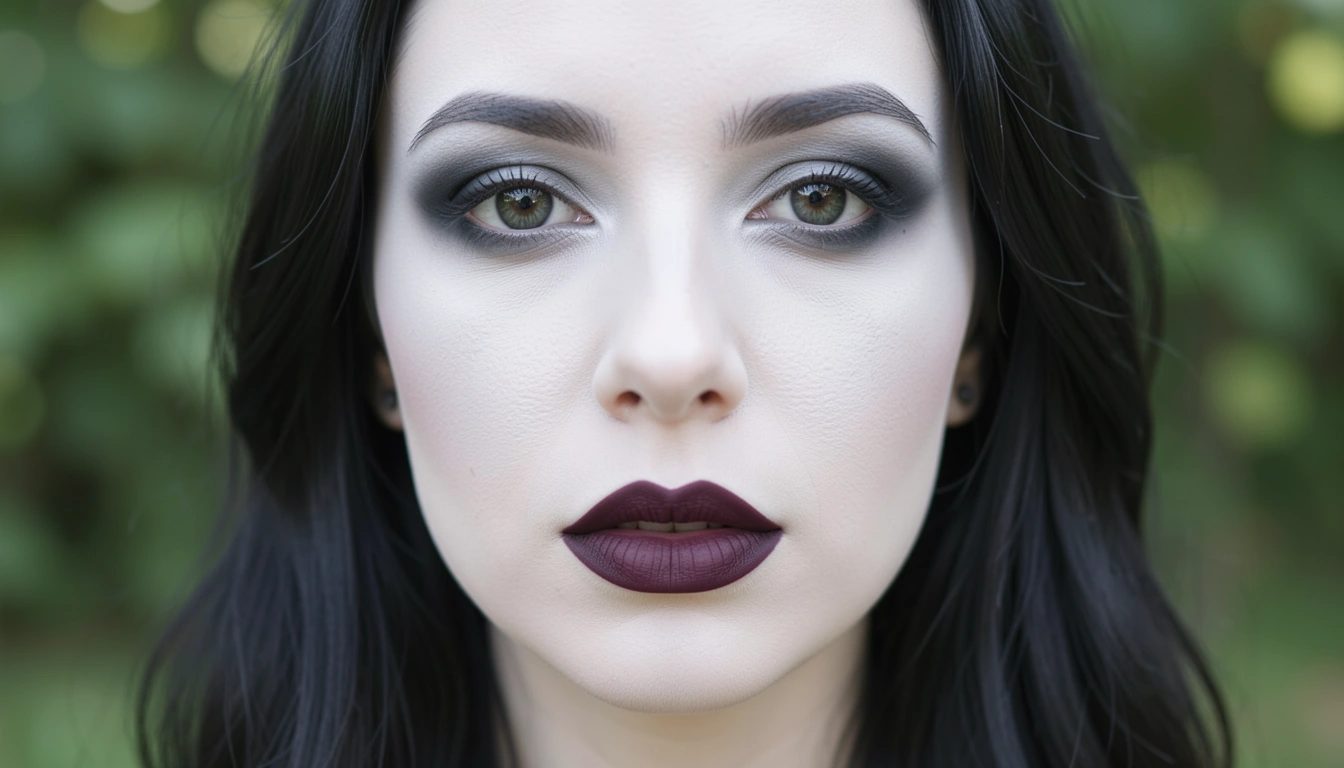
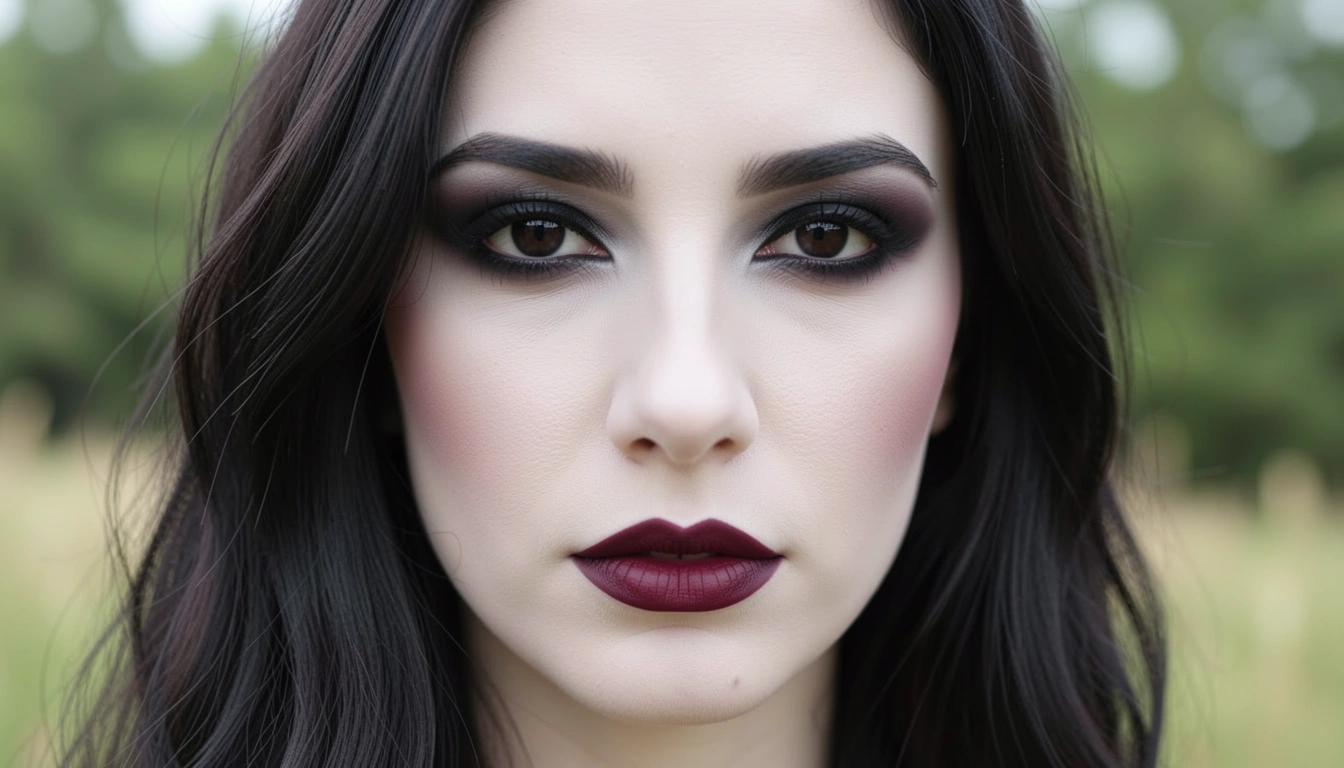
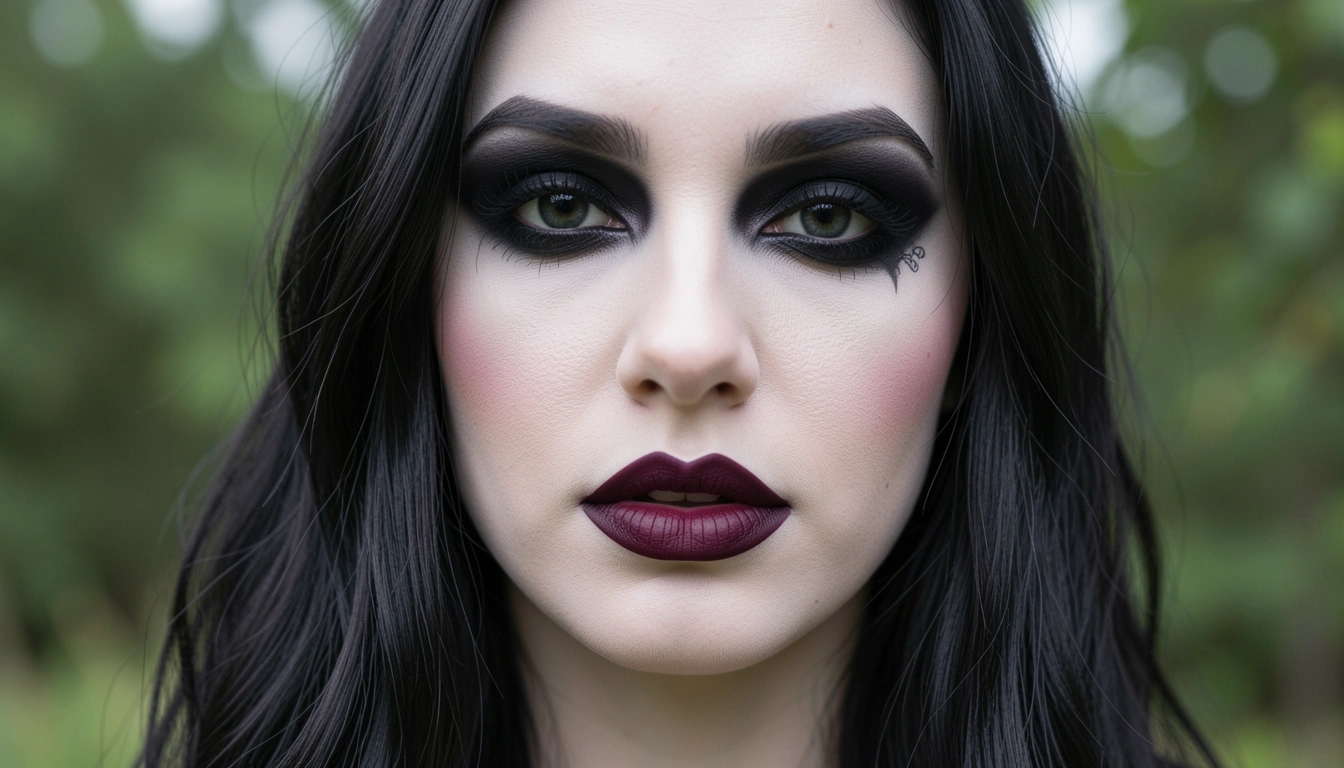
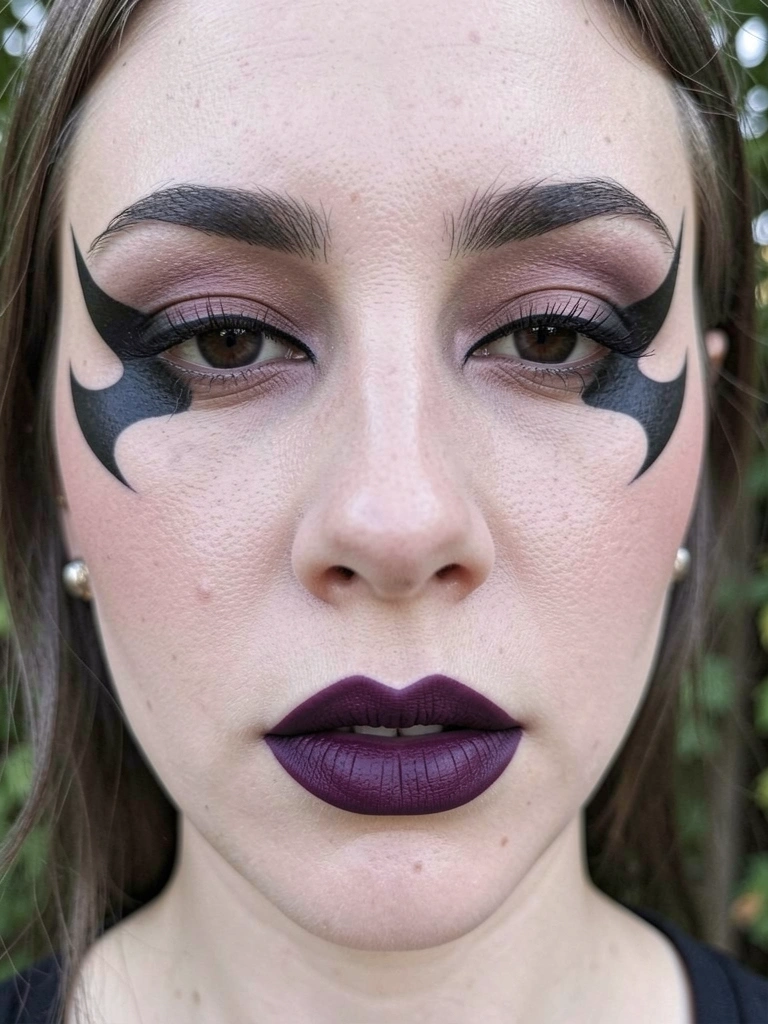
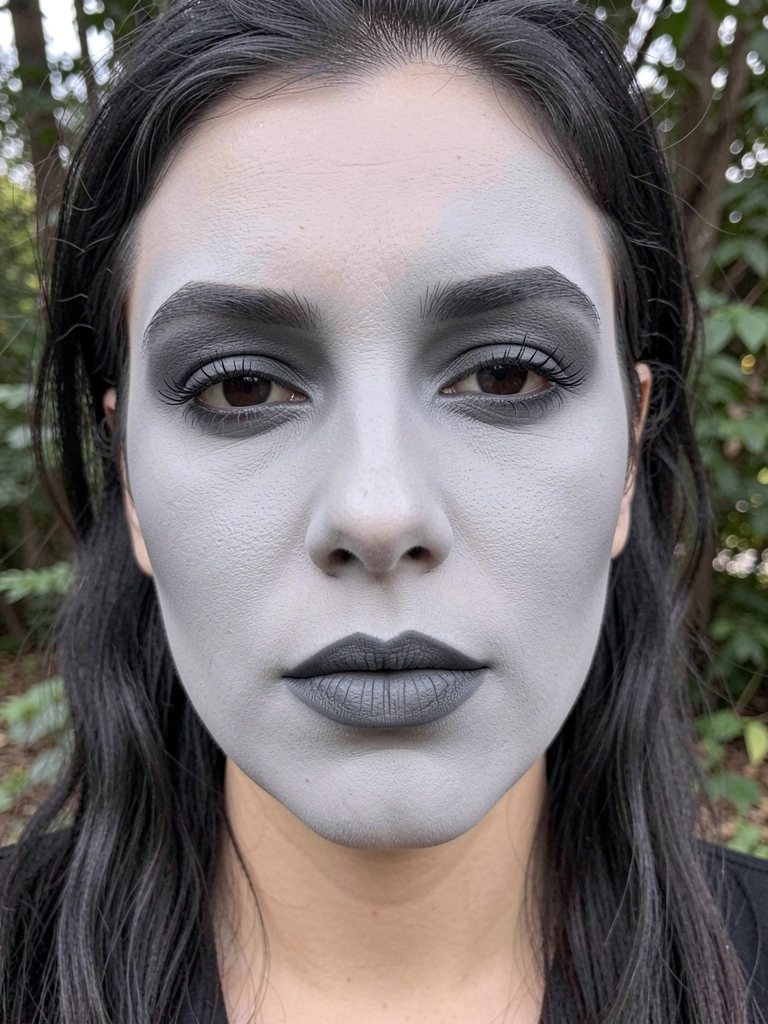
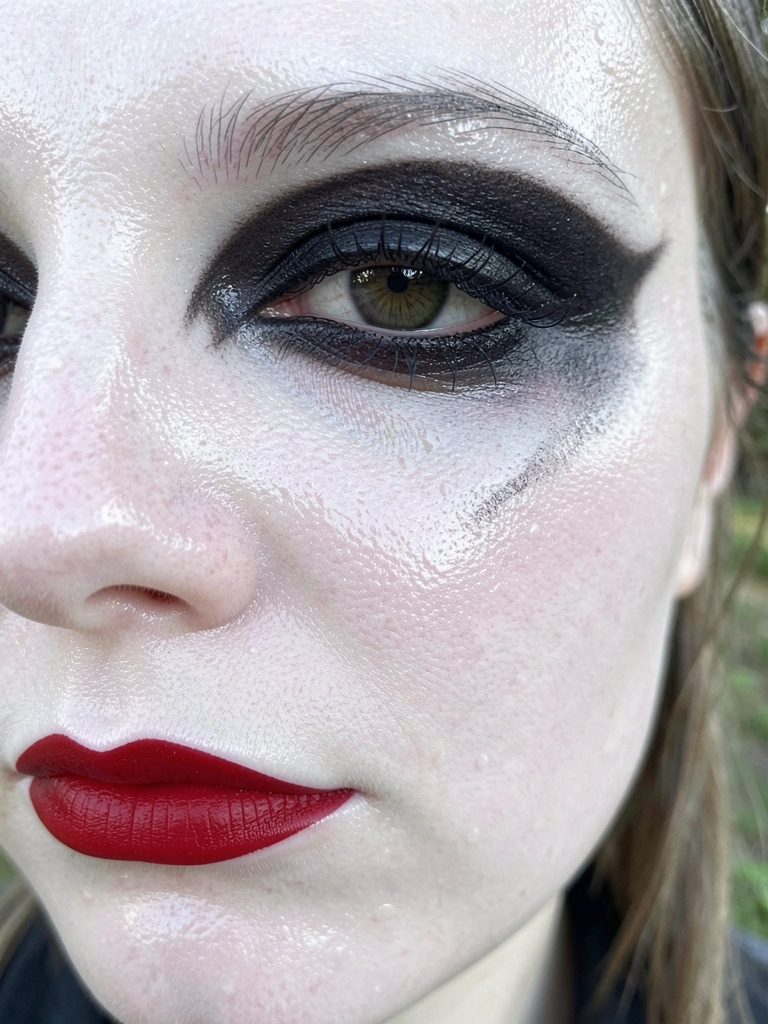
    This method gives you pale skin with smoky eyes and deep lips that blend smoothly. No heavy edges. It's the balanced goth feel I reach for when my outfit needs quiet intensity. You can do this in under 20 minutes.

    What You’ll Need

    Step 1: Build a Pale, Even Base

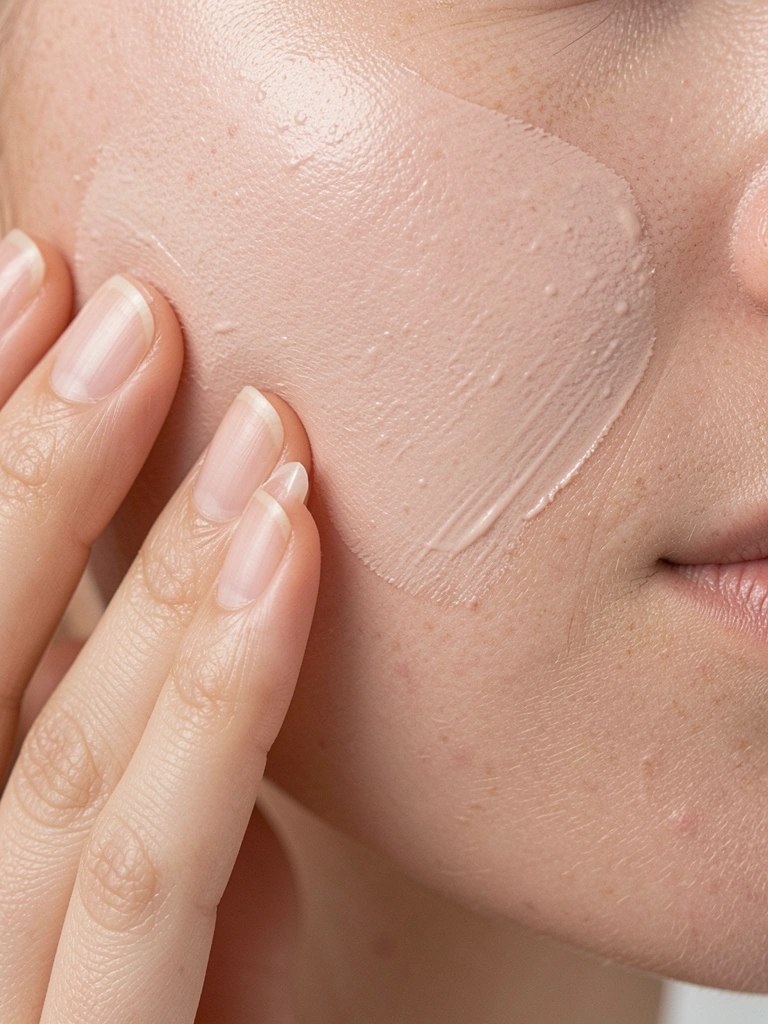
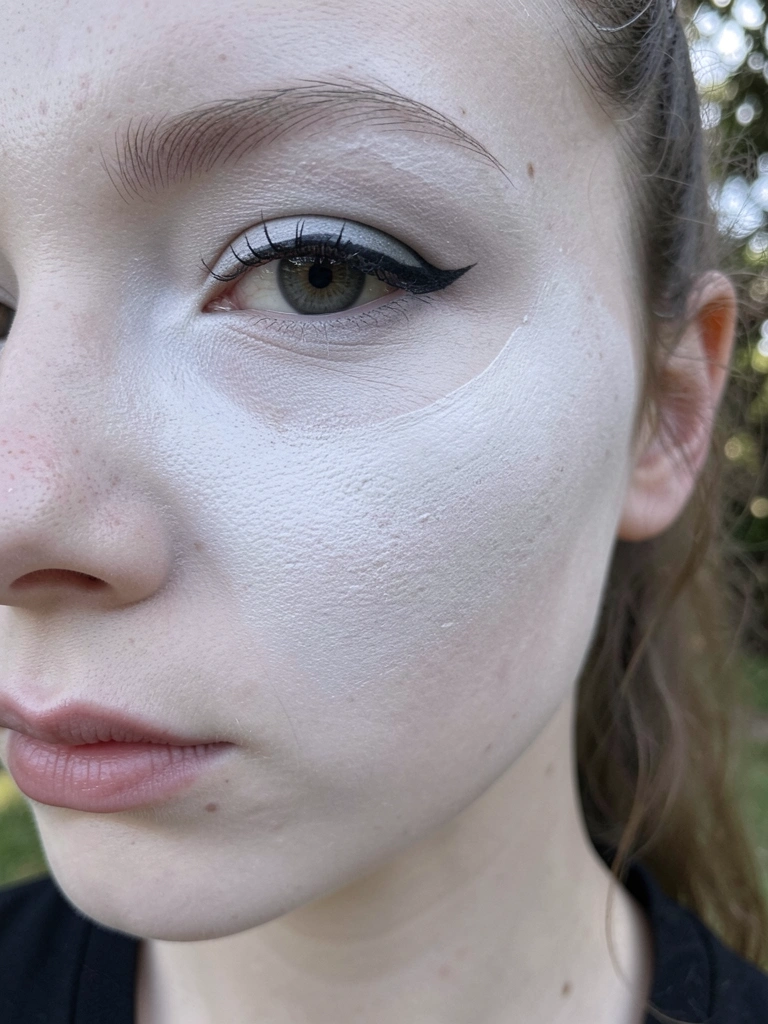
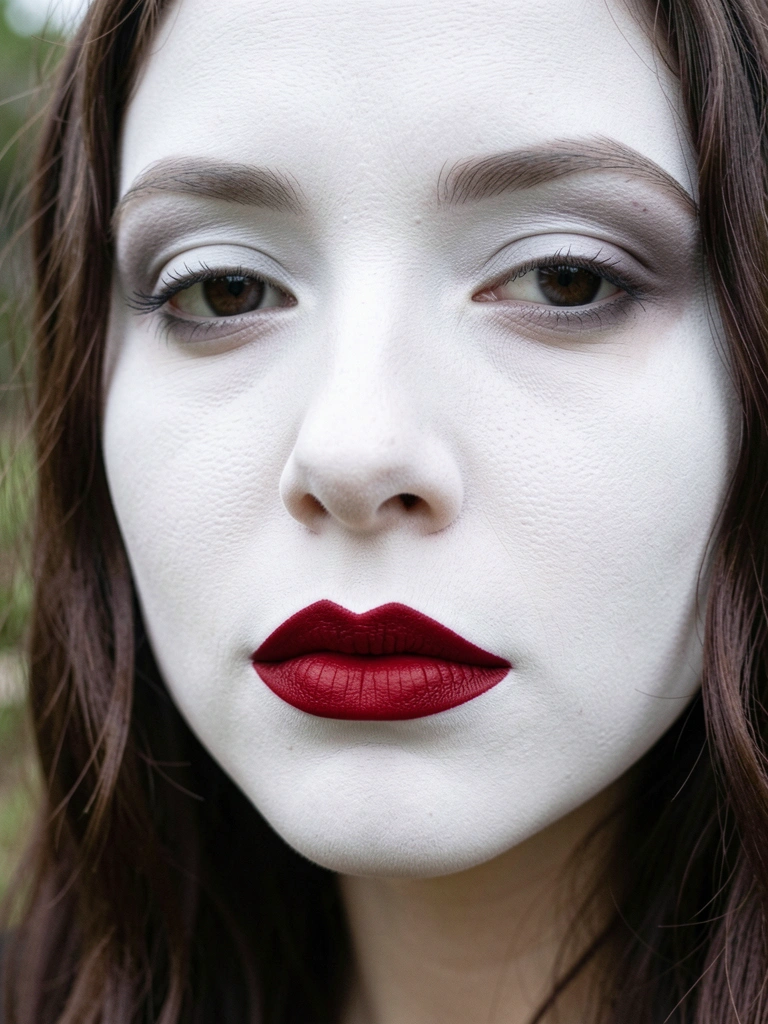
    I start with the matte foundation. Dot it on my cheeks, forehead, nose, chin. Blend with fingers for that sheer veil effect. It mutes redness without caking, setting up the soft goth canvas.

    Visually, your skin shifts even and pale, like moonlight on porcelain. Faces look lifted already.

    People miss how little product evens everything—too much buries your natural shape. Skip patting; blend outward to keep edges soft. Avoid rushing; let it settle a minute or my neck shows lines.

    This base holds the dark accents without cracking later.

    Step 2: Soften Eyes with Smoky Grays

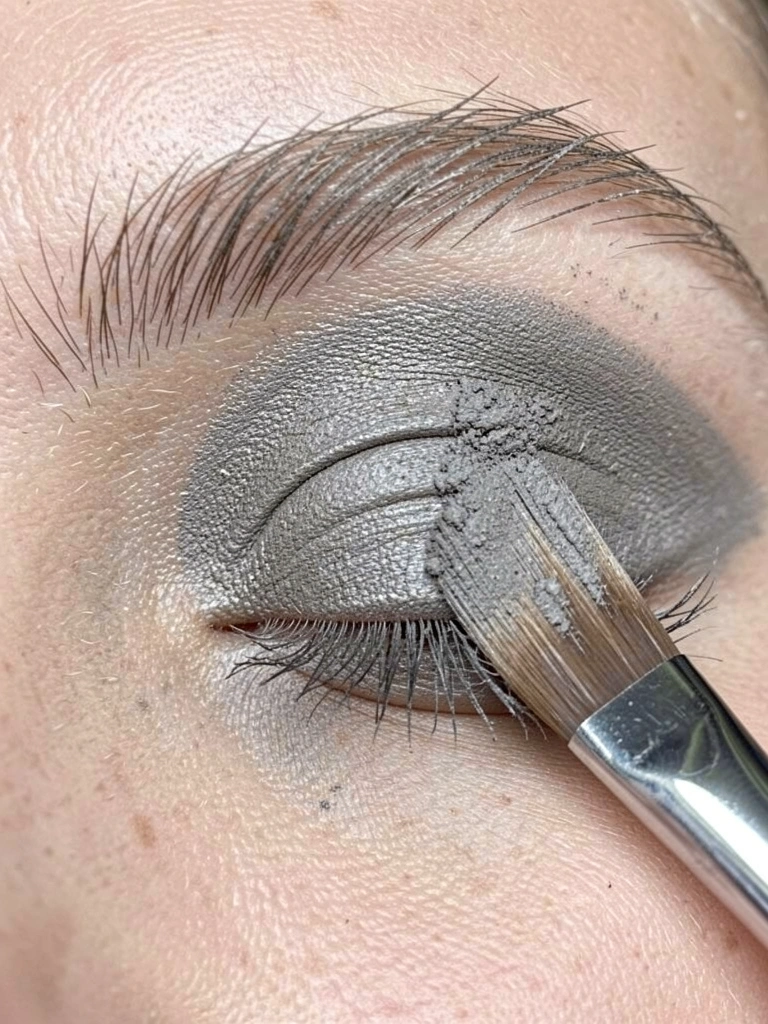
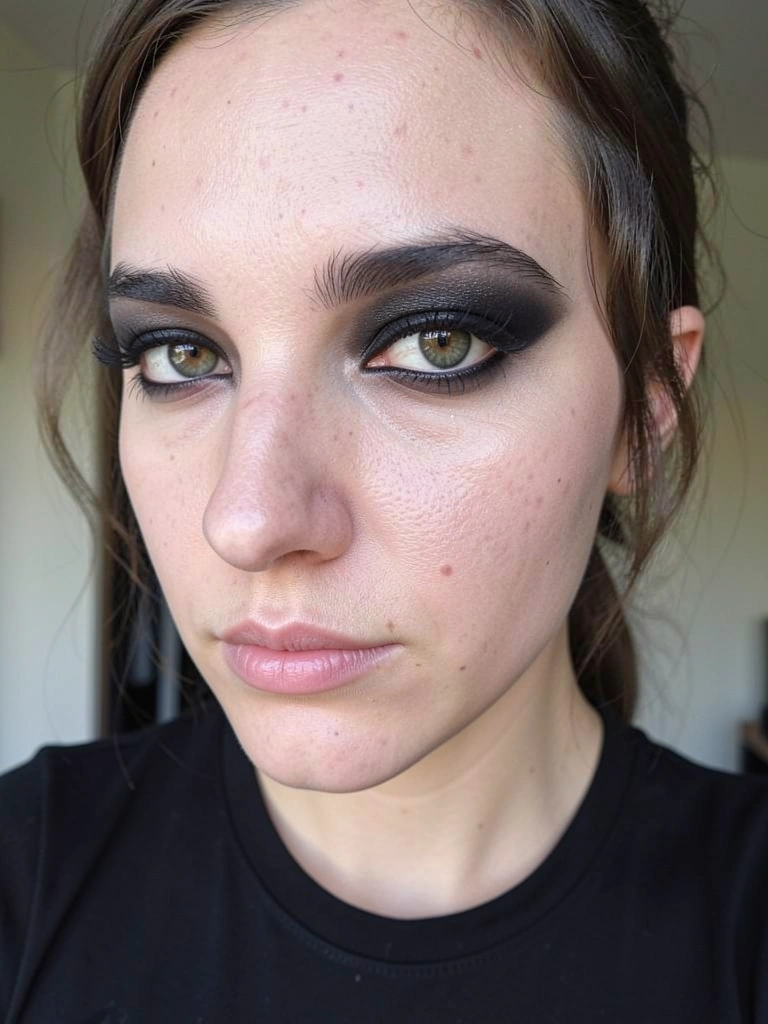
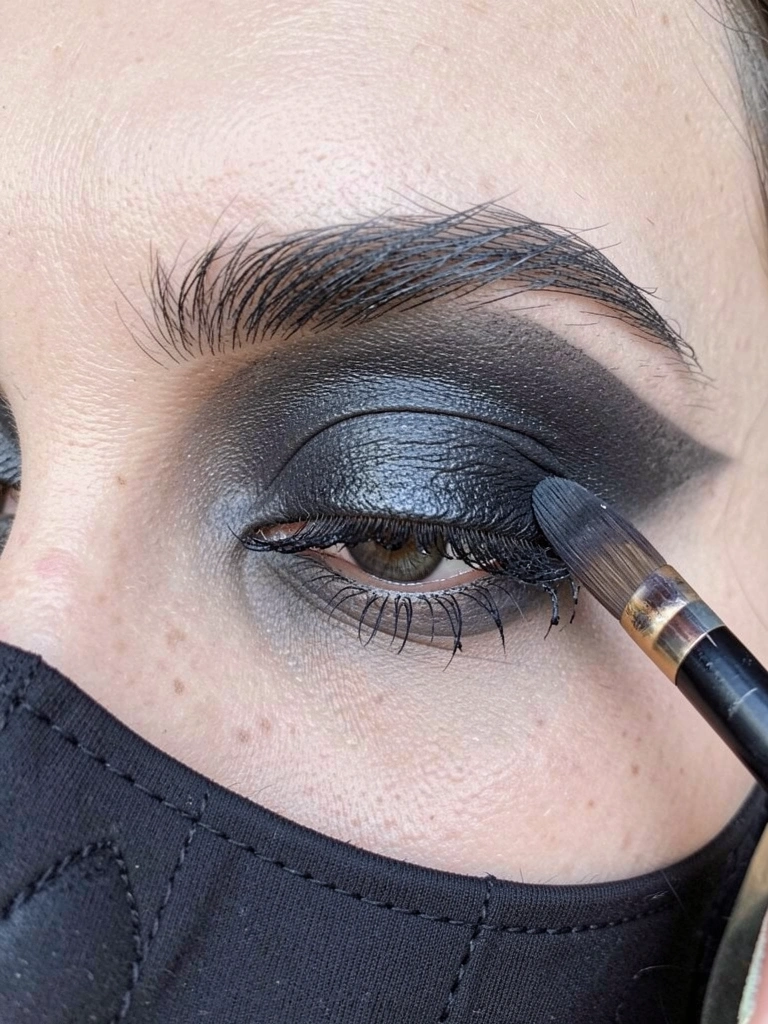
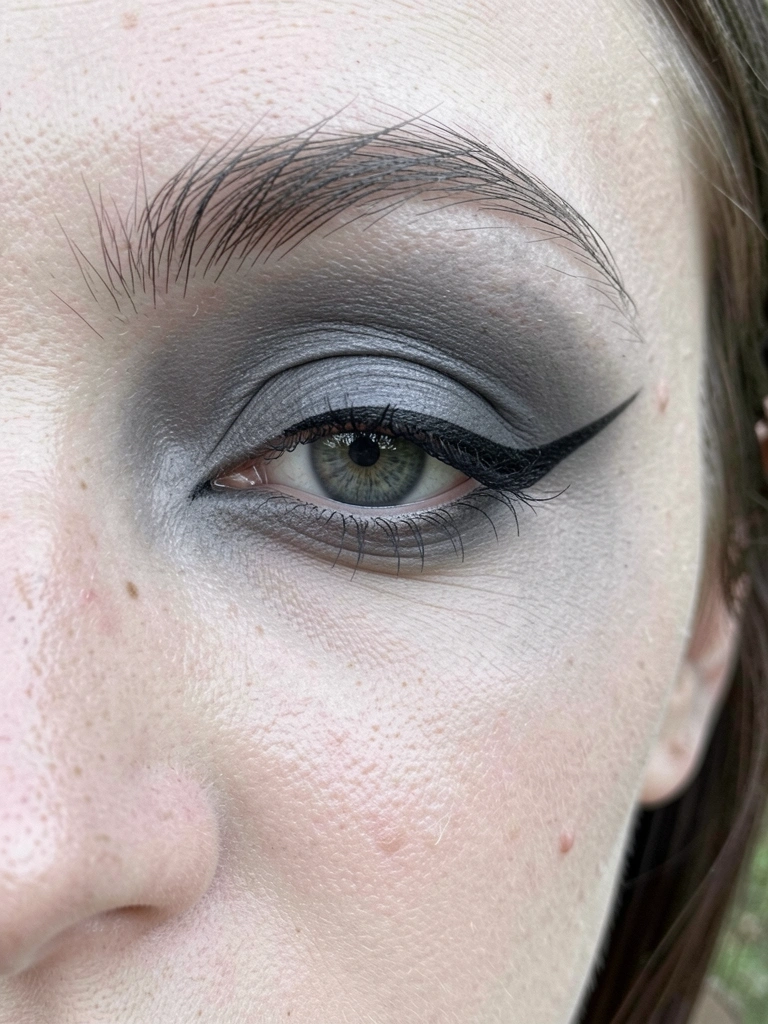
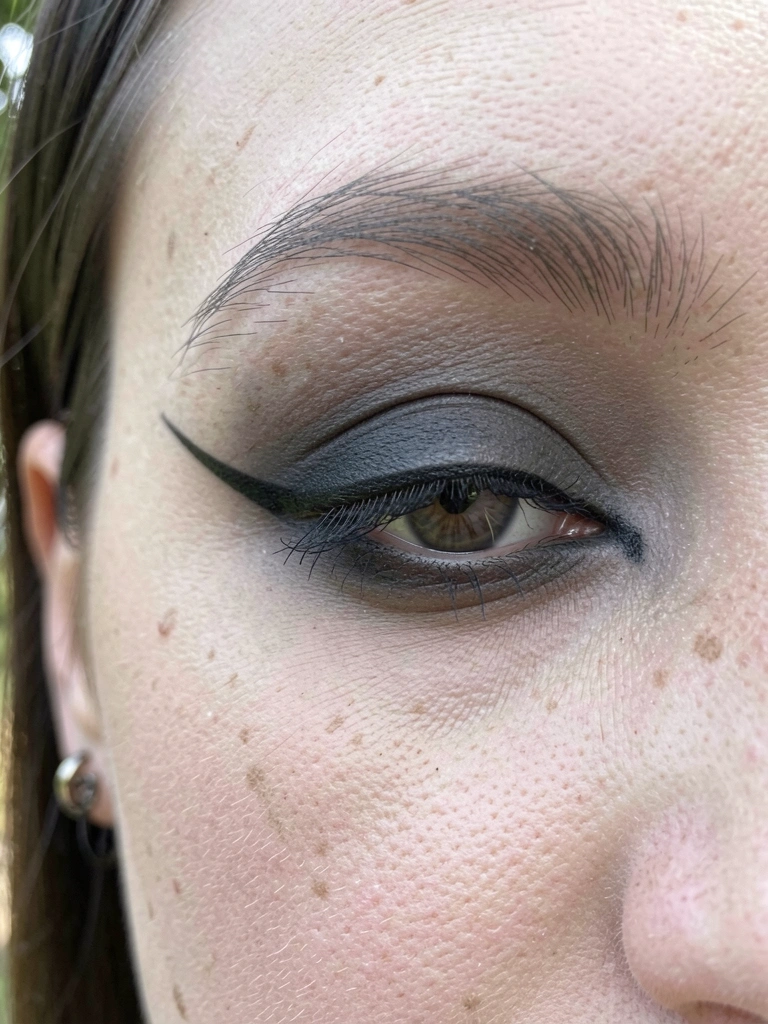
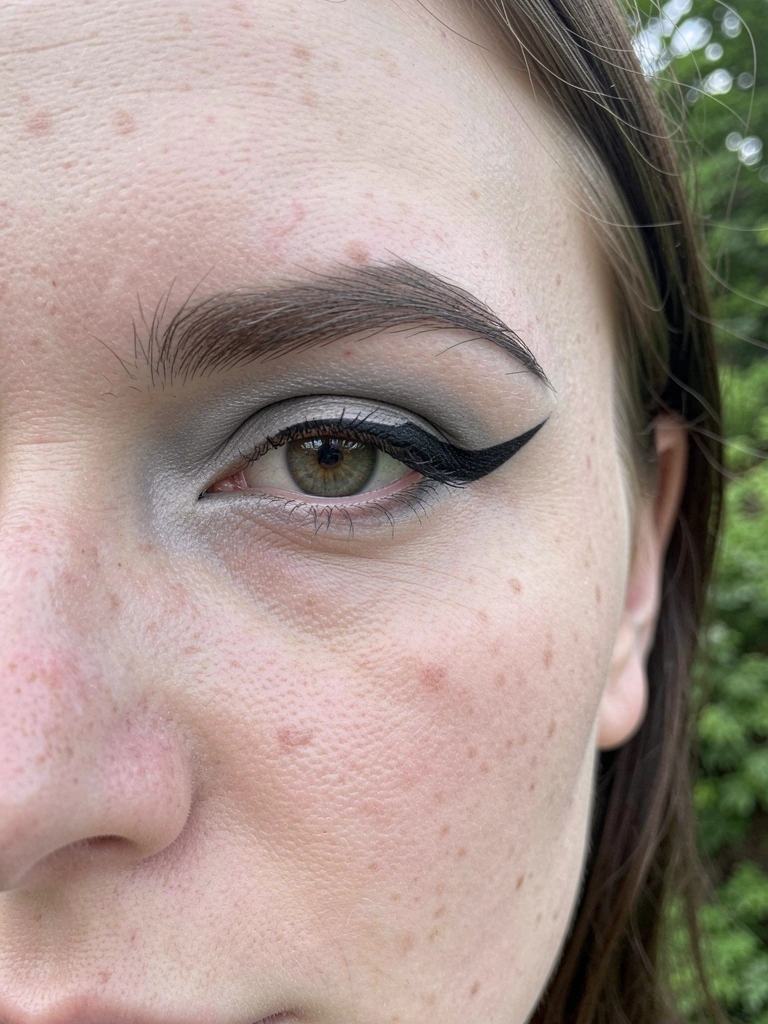
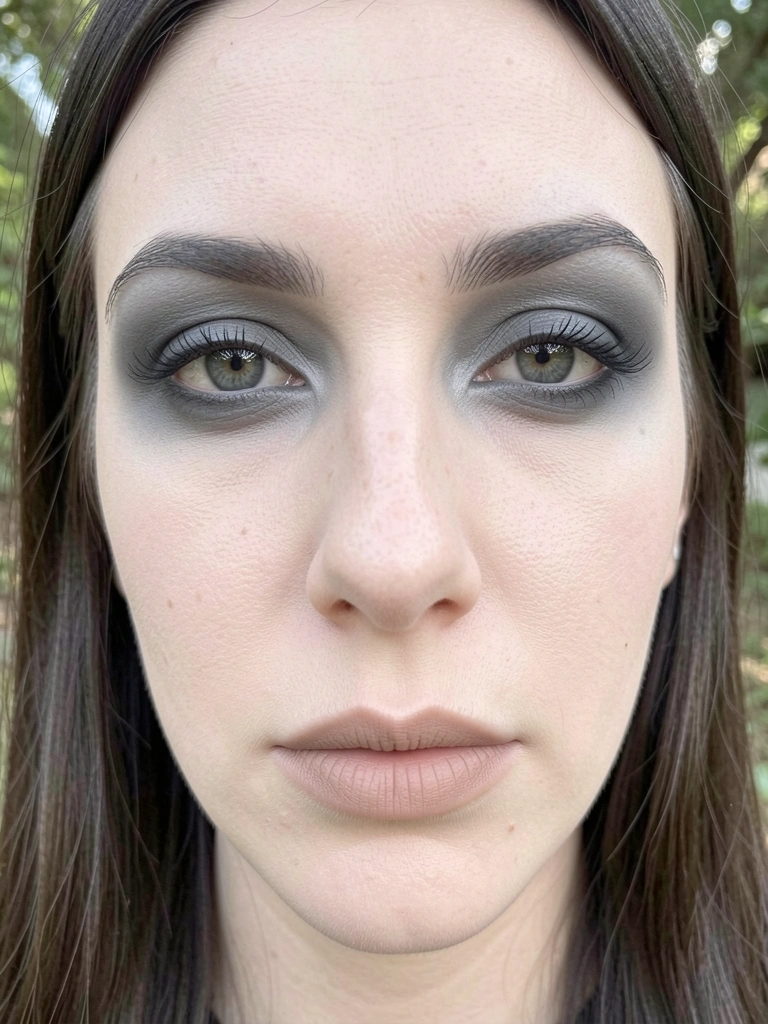
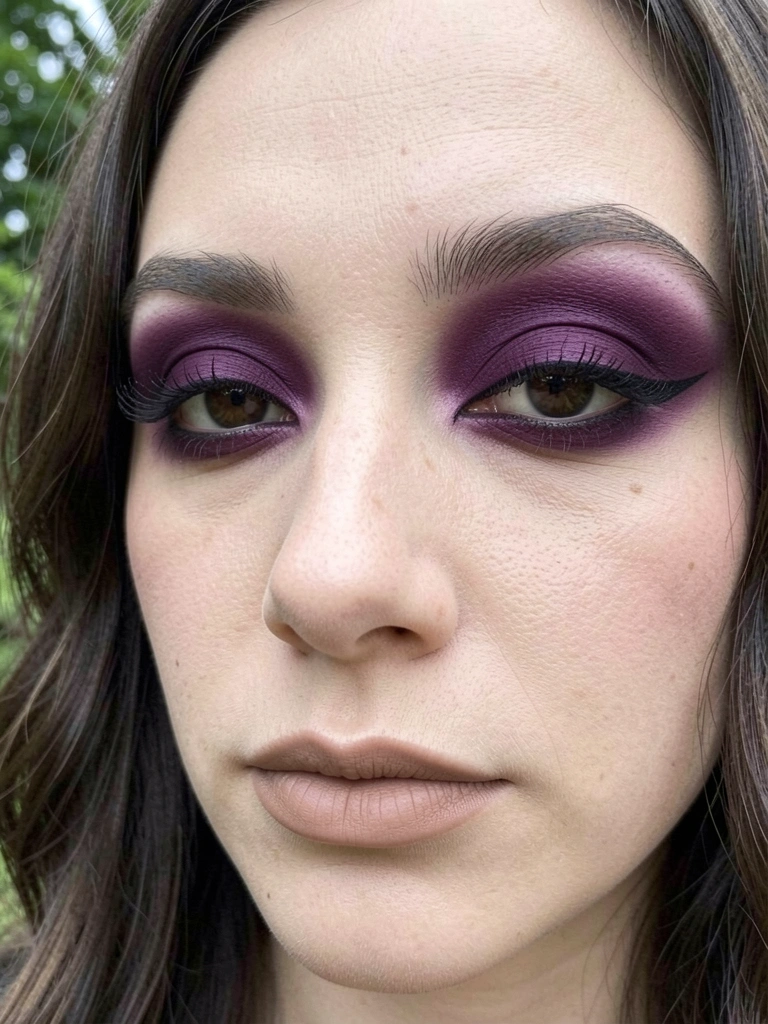
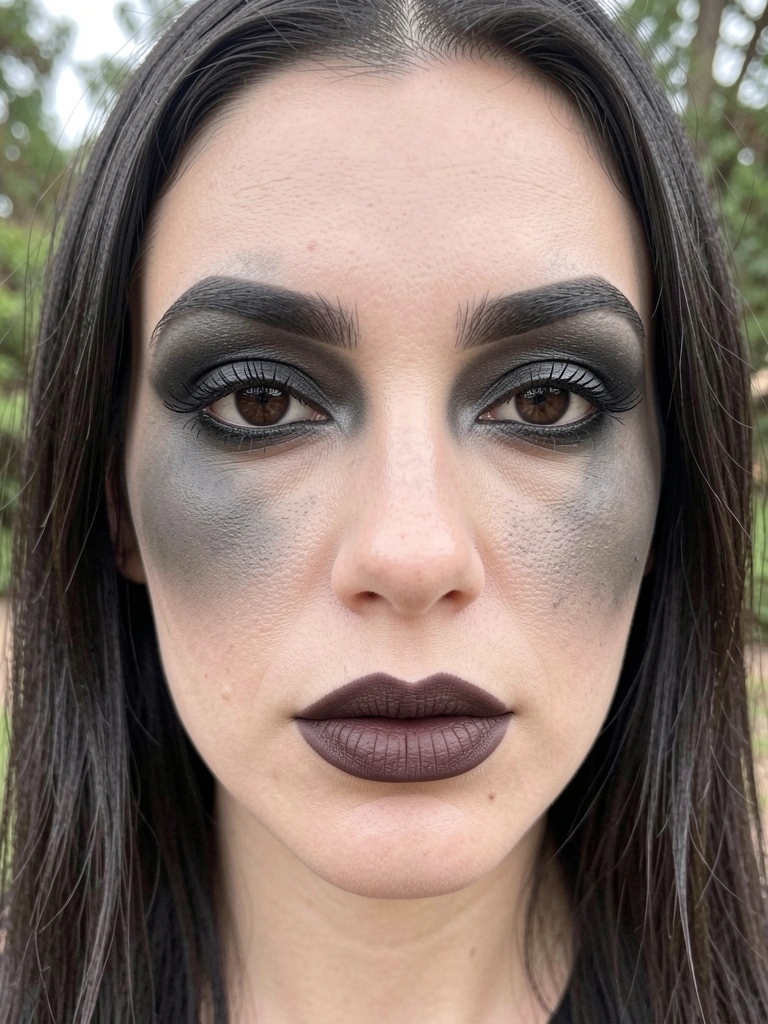
    I pick the gray palette. Sweep lightest shade lid to brow. Deeper gray in crease, blend until it fades smoky—no hard lines. A touch of shimmer inner corner lifts.

    Eyes gain depth, pulling focus mysteriously. The whole face feels balanced, not bottom-heavy.

    Most skip blending upward; it drags your gaze down. Use a fluffy brush, wiggle side to side. Don't pack color; build slow or it muddies.

    I feel the weight lift—eyes pop without overpowering.

    Step 3: Line and Define Lashes

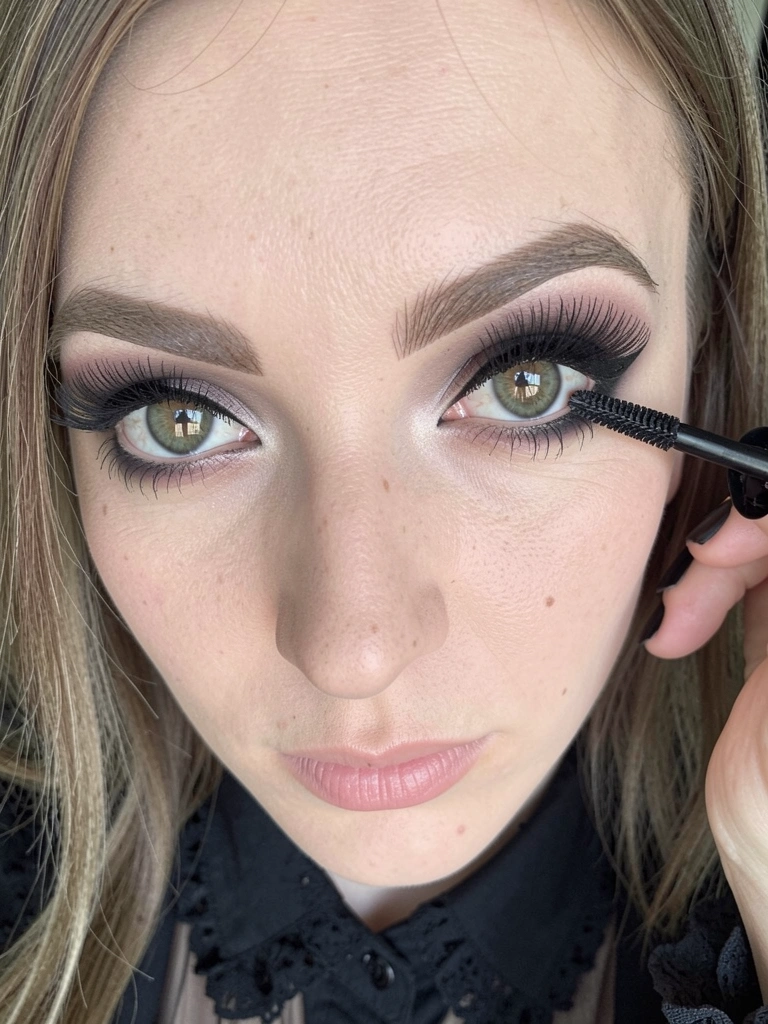
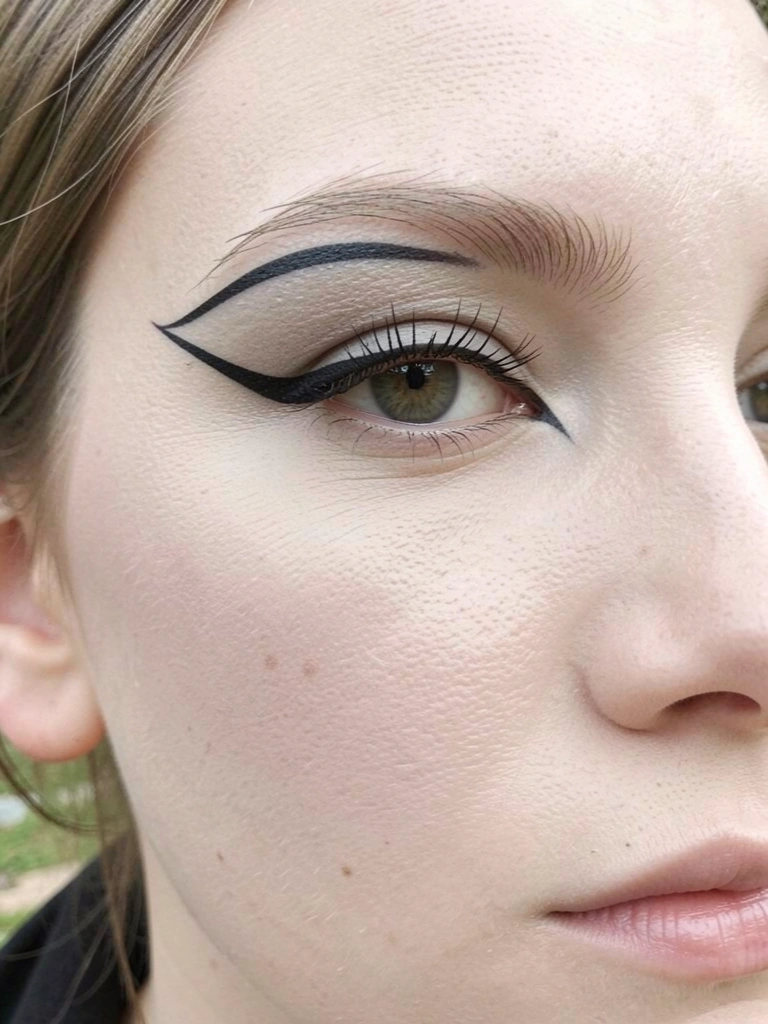
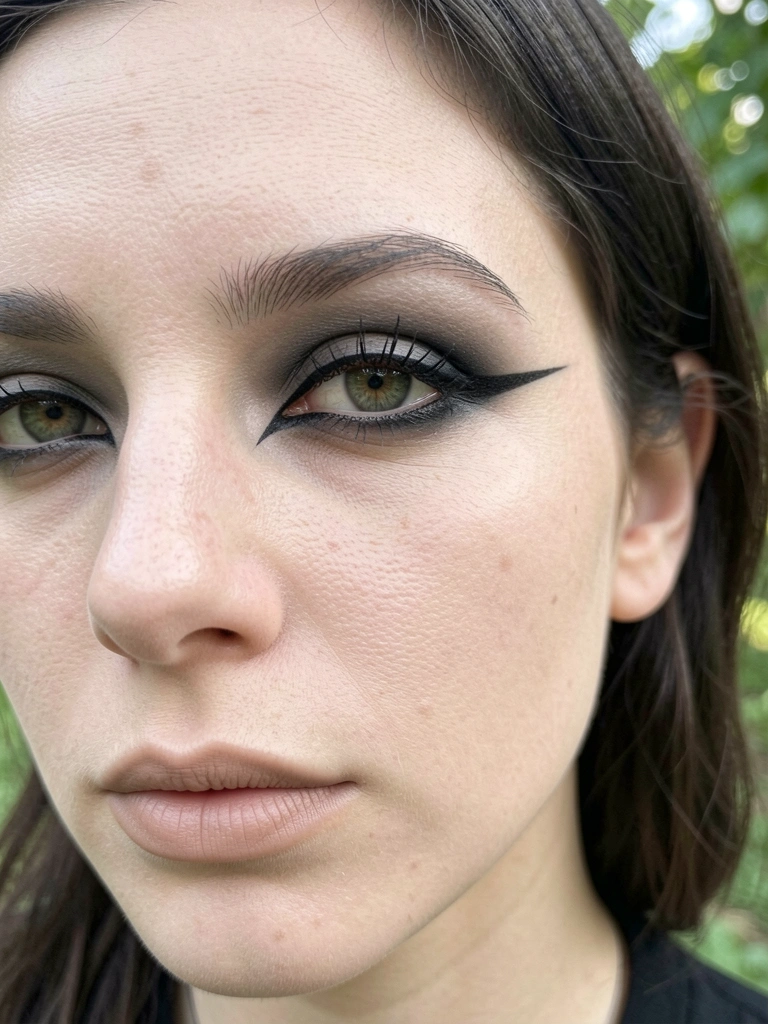
    Now the creamy liner. Tightline upper waterline, smudge outer corner softly. No wing—keep it lived-in. Then mascara, two coats, wiggling at roots.

    Lashes frame the smokiness, making eyes intense yet soft. Proportions even out; face doesn't look bare.

    The miss: thick liner overwhelms small eyes. Smudge with finger for haze. Avoid lower lid fully; it ages.

    This step ties eyes together—my go-to for that pulled-in gaze.

    Step 4: Shape Brows and Contour Lightly

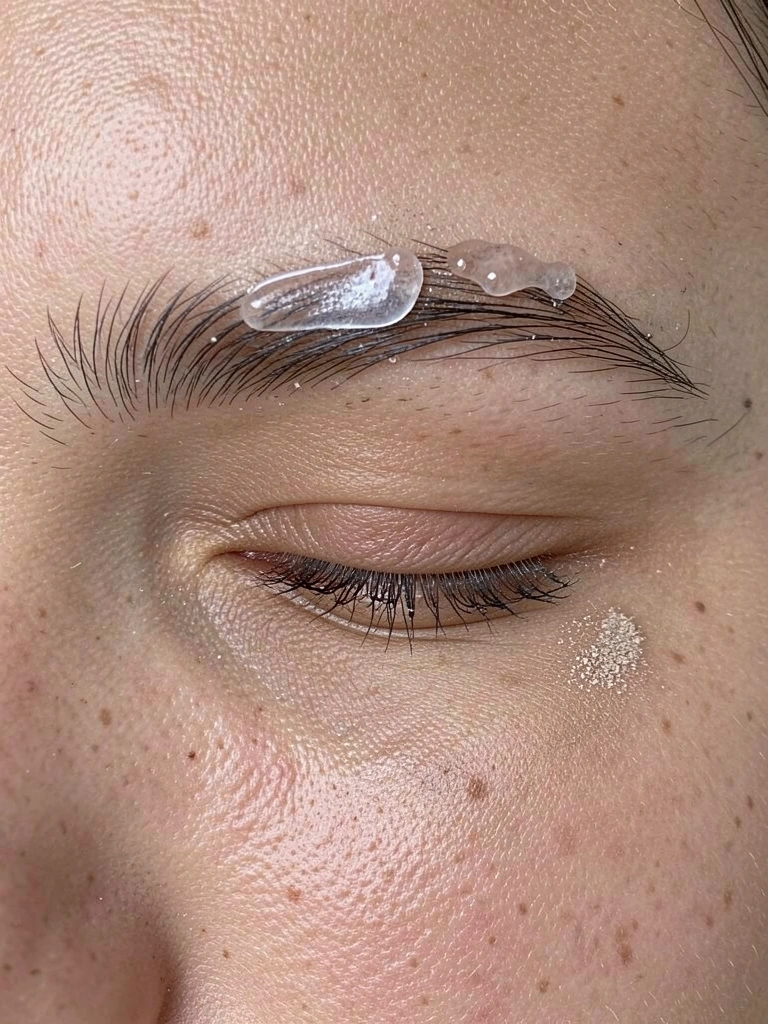
    I brush brows up, apply clear gel to hold. Then soft contour under cheekbones, jaw—feather it out.

    Brows sharpen without arching harsh; contour hollows gently, balancing the pale base.

    People overdo contour, creating mud. Use half the amount, blend high. Skip if skin's oily; it slides.

    Face feels sculpted, ready for lips.

    Step 5: Finish Lips and Set

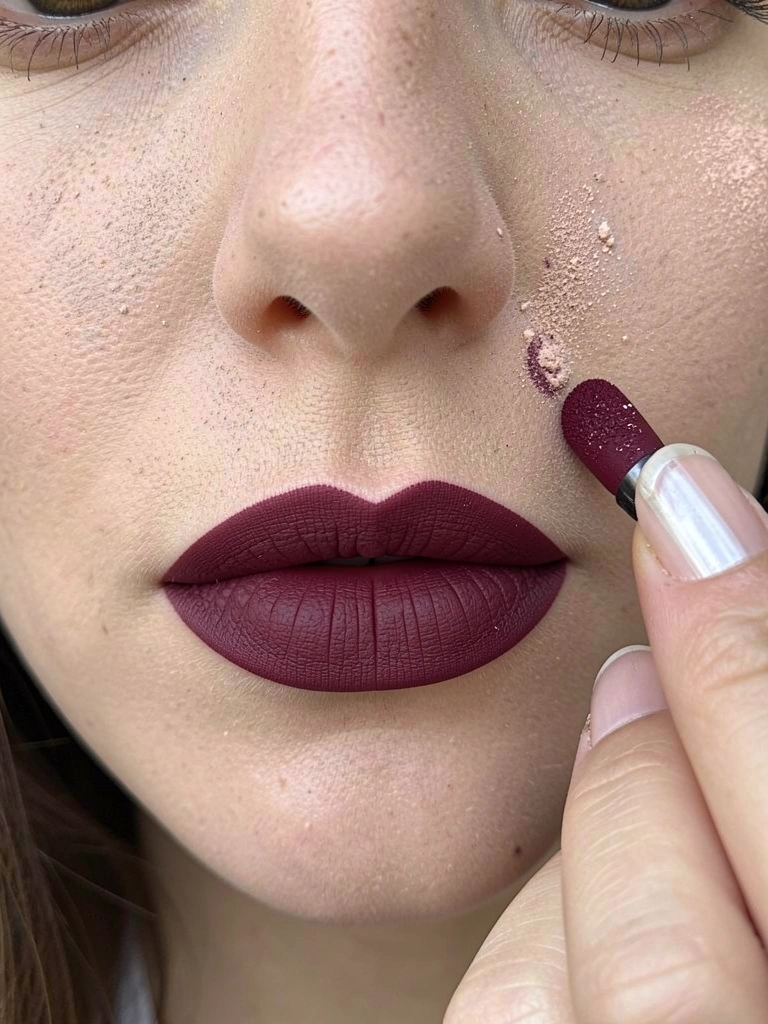
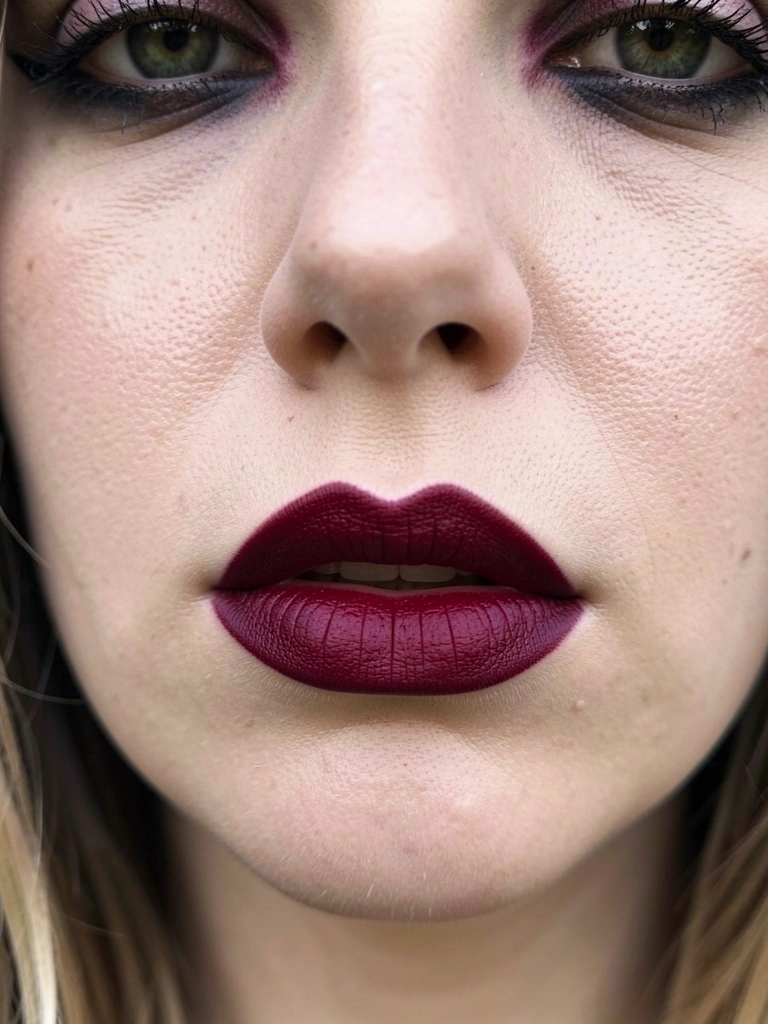
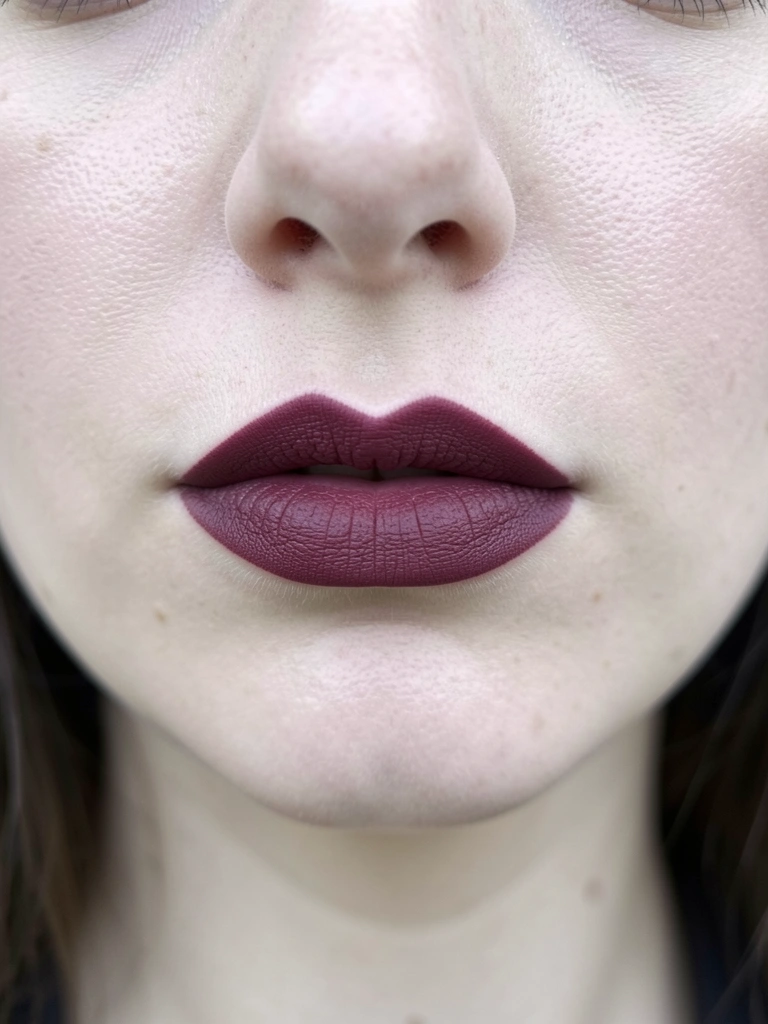
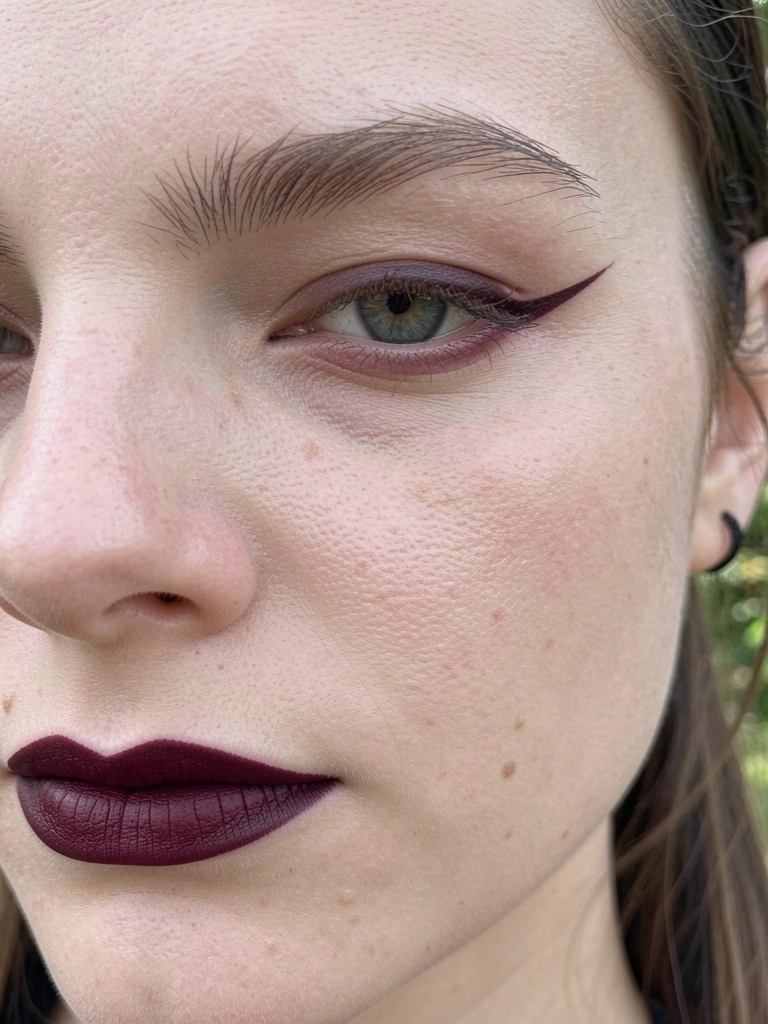
    Line lips faintly, fill with matte burgundy. Blot, dust powder over. Finish with translucent powder everywhere.

    Lips deepen the mood without bleeding. Powder locks it—matte, no shine.

    Miss: glossy lips fight the goth. Matte clings; blot first. Avoid over-powdering eyes; it creases.

    Now it's set, wearable all day.

    Common Mistakes I Learned to Skip

    I've smudged liner wrong plenty. Harsh black washes out pale skin.

    • Press too hard on eyeshadow—build light.
    • Skip brow gel; they fluff and distract.
    • Full lower liner ages fast.

    Balance dark with diffusion. Test in daylight before out.

    Pairing with Casual Outfits

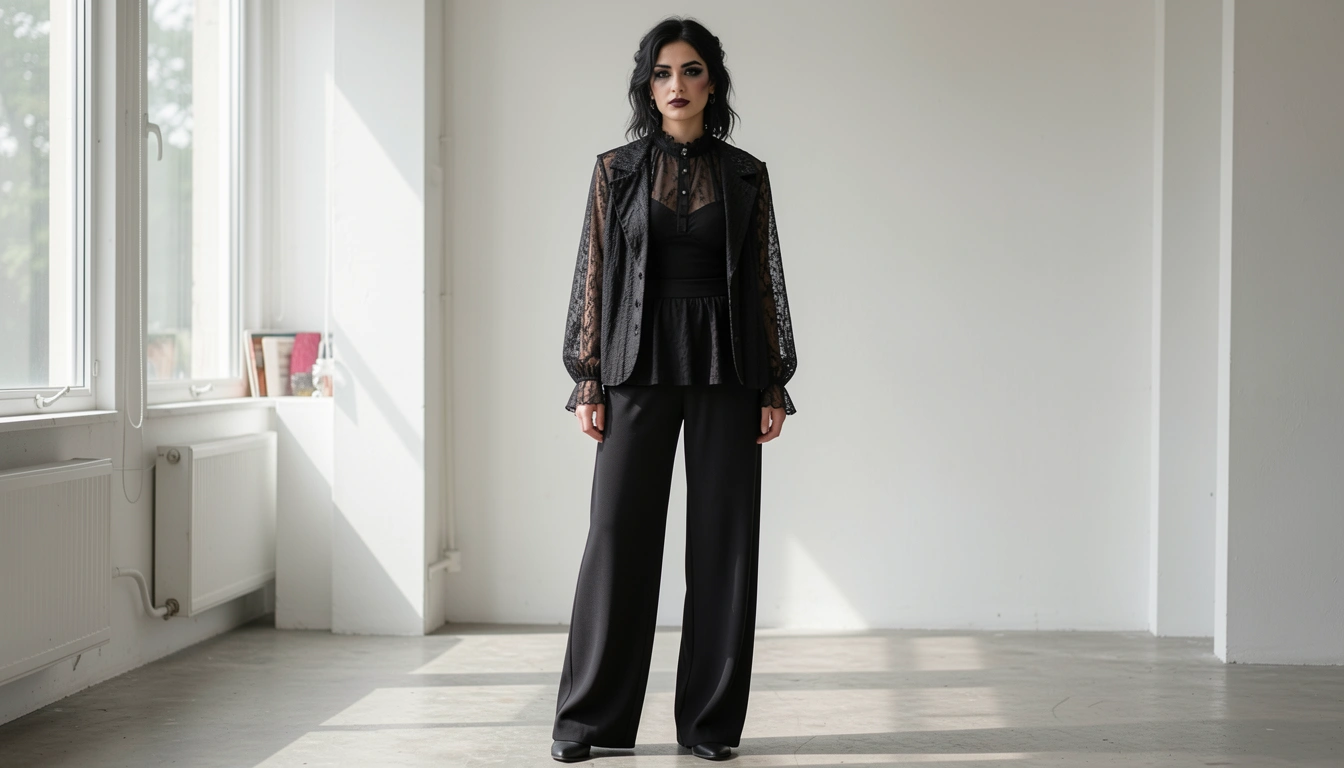
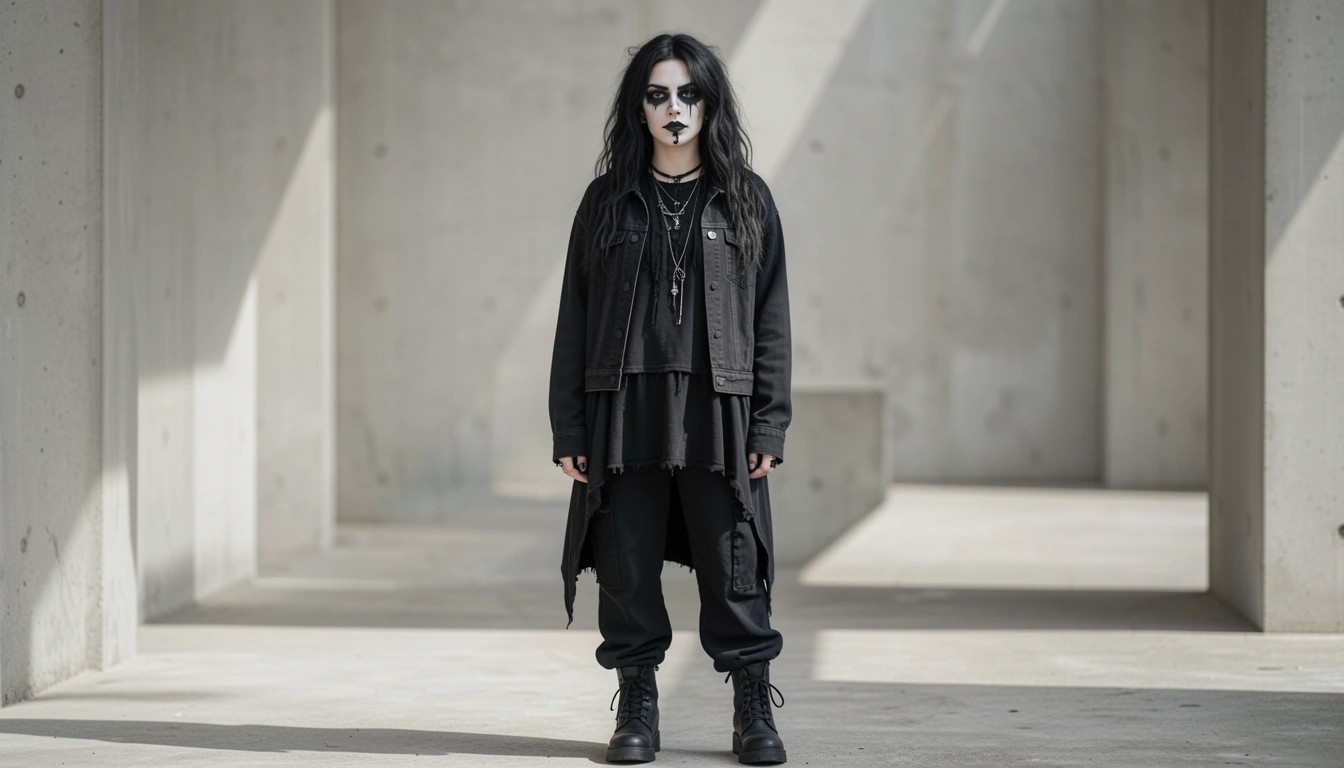
    This makeup layers under fitted tops or layered blouses. Black wide-leg pants ground it.

    I wear it with denim for day. Avoid busy prints; they fight the subtlety.

    Keep accessories minimal—one silver ring. Neckline shows face best.

    Day-to-Night Adjustments

    For evening, add lip topper for sheen. Eyes stay soft.

    Workday? Less contour, more base. It fades naturally.

    Test on weekends. Fits my routine.

    Final Thoughts

    Try just eyes first. See how it sits on your skin.

    You'll notice the balance right away. No more flat attempts.

    It's there in your mirror—quiet, intentional. Wear it when the mood hits.

  • How To Do Goth Makeup

    How To Do Goth Makeup

    I remember trying goth makeup for the first time. It came out too stark, like a costume. My skin clashed with the heavy liner, and my eyes looked swallowed.

    I'd wipe it off, frustrated. The vibe I wanted—dark, balanced, wearable—felt out of reach.

    But after tweaking it in my mirror, I found a way that fits my face. No drama, just right.

    How To Do Goth Makeup

    This guide walks you through my simple goth makeup routine. You'll end up with a dark, even look that lasts all day. It's straightforward, and it works on everyday skin.

    What You’ll Need

    Step 1: Prime and Base Your Skin

    I start by smoothing primer over my clean face. It grips everything, so the pale foundation doesn't slide. Why? Without it, the dark parts bleed into bare spots later.

    My skin evens out—paler, flatter. It balances the coming darkness. People miss how primer mutes shine; without it, eyes look oily.

    Skip thick moisturizer first. It pills under foundation. Dab primer thin, wait a minute. Feels secure now.

    Apply pale foundation with fingers for sheer control. Blend down neck. Face looks blank canvas—ready for goth weight.

    Step 2: Build Smoky Eyes

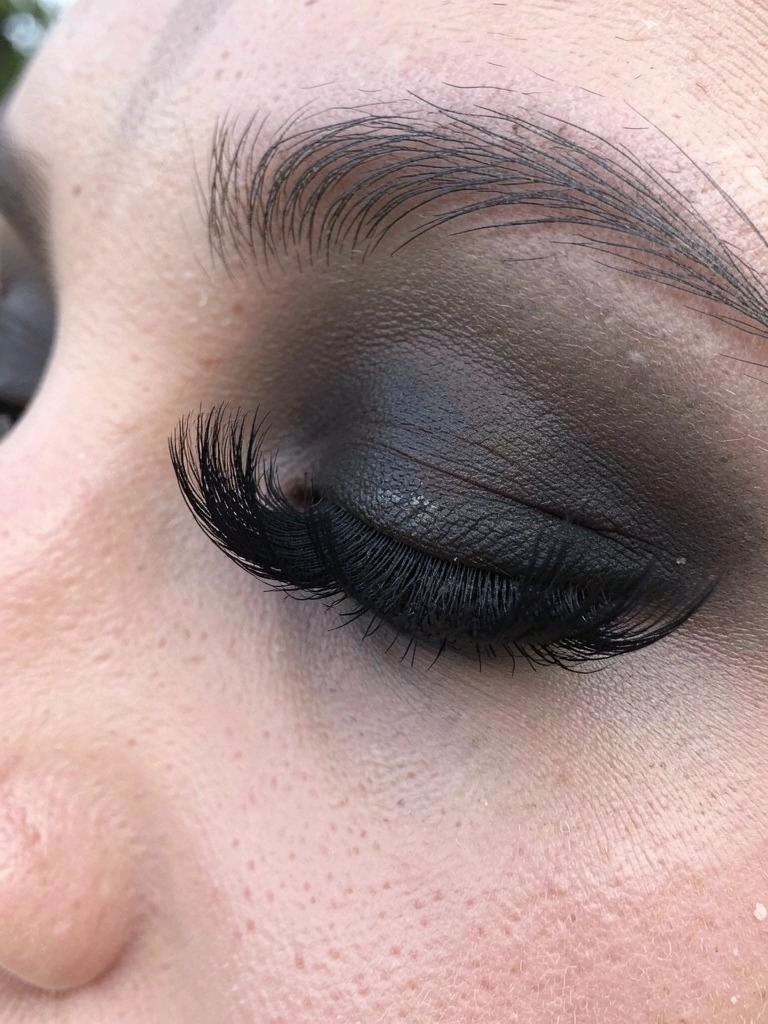
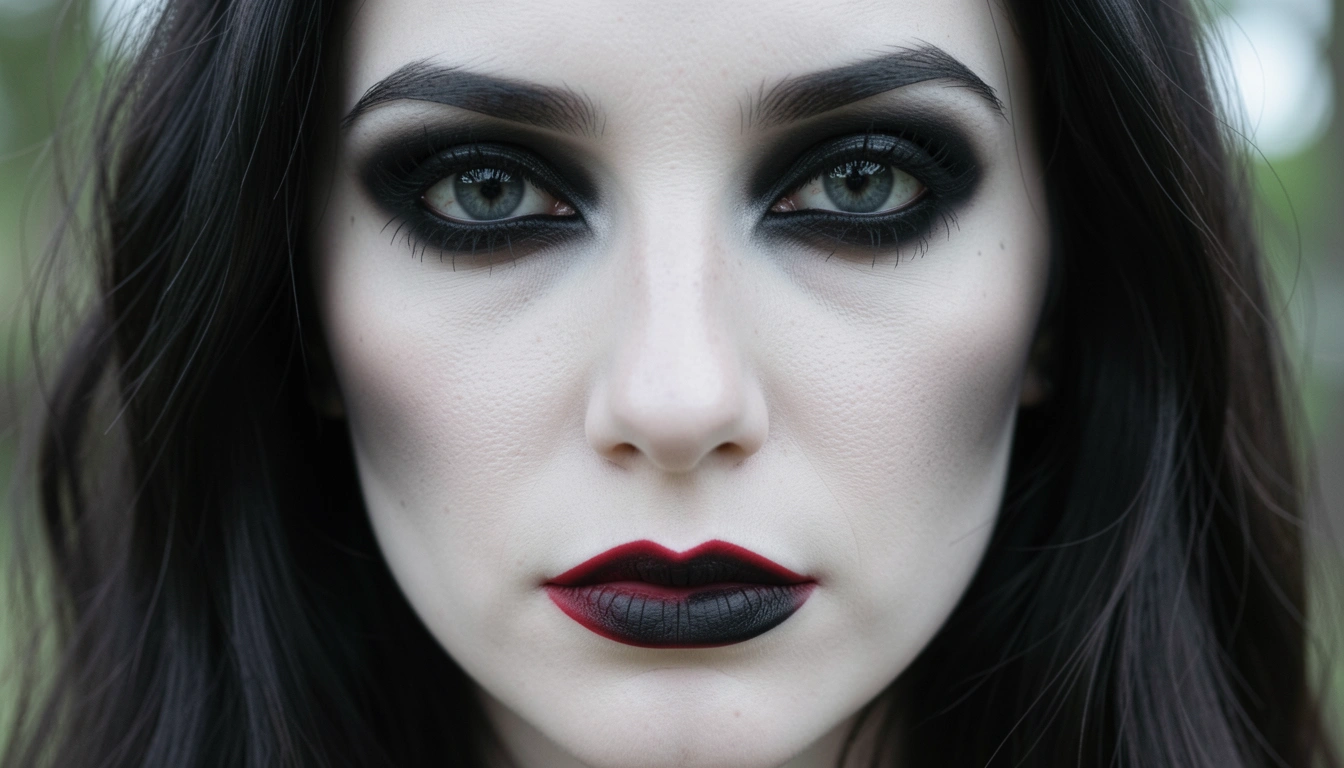
    I pack black shadow from lash line up, blending outer corners soft. It weighs the eyes down evenly. Why? Creates depth without clown lines.

    Eyes go from bare to intense, lids hooded dark. The insight: start light, layer black slow—rushing makes mud.

    Don't tug lids tight. Relax your face; shadow settles better. Feels heavy but balanced.

    Smudge liner under lower lashes. Matches top, pulls look together. Eyes dominate now, skin recedes.

    Step 3: Define Brows and Lashes

    I fill brows straight and bold with shadow. Arcs them sharp against pale skin. Why? Frames the dark eyes, anchors the face.

    Brows snap into place—harsh, graphic. Most skip arching them full; thin brows let eyes float.

    Avoid pencil shine. Use matte shadow; blends shadow from step two.

    Coat lashes top and bottom with mascara. Fans them out. Eyes lift, feel less flat.

    Step 4: Finish with Lips and Set

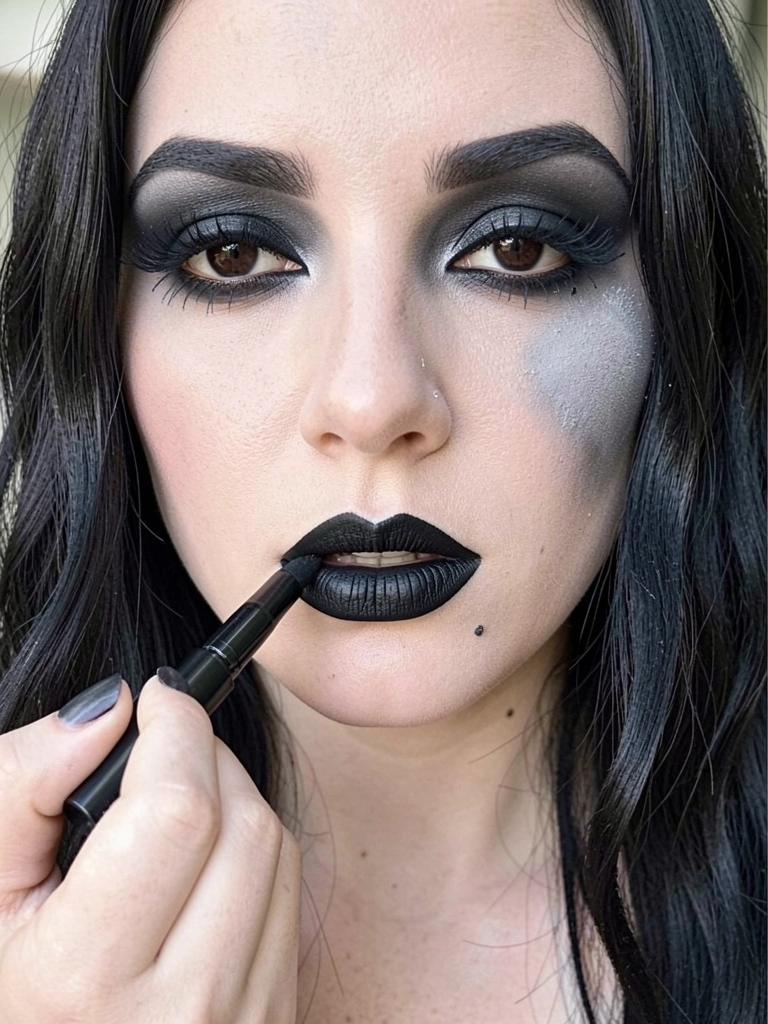
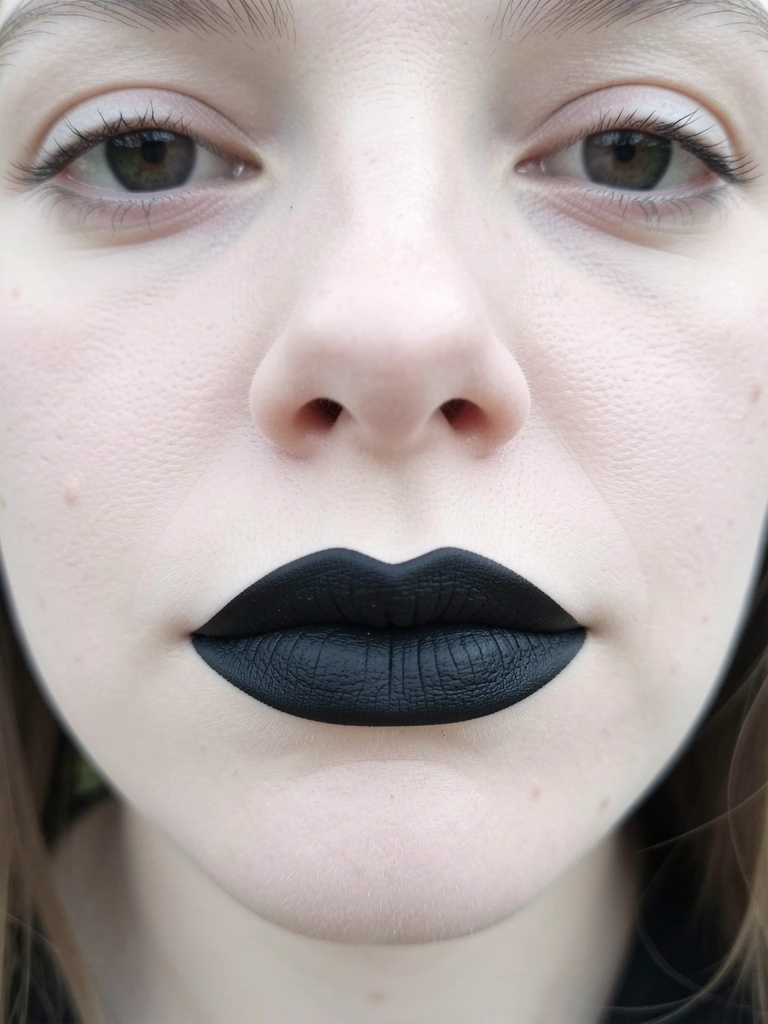
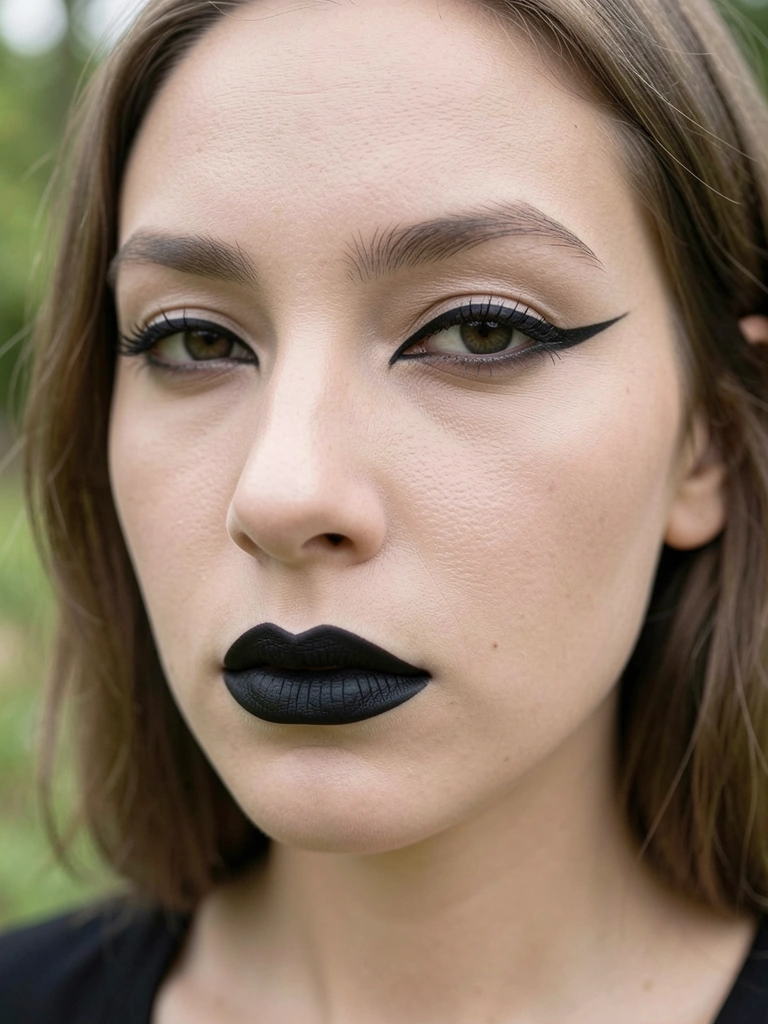
    I line lips sharp, fill with black lipstick. Presses color deep. Why? Grounds the look—eyes up top, mouth below.

    Lips turn solid dark; face balances top-heavy eyes. People forget blotting; it feathers without.

    Don't overline much. Stick to your shape—avoids smudges.

    Dust setting powder everywhere. Locks it matte. Feels done, no shift.

    Common Mistakes to Avoid

    I used to overload liner first. It dragged everything harsh.

    • Blend shadow before more product. Builds even.
    • Pale base thin—thick cakes on cheeks.
    • Set lips last. Powder grabs loose bits.

    Now it stays wearable.

    Everyday Goth Variations

    Tone it for day. Less shadow, sheer lips.

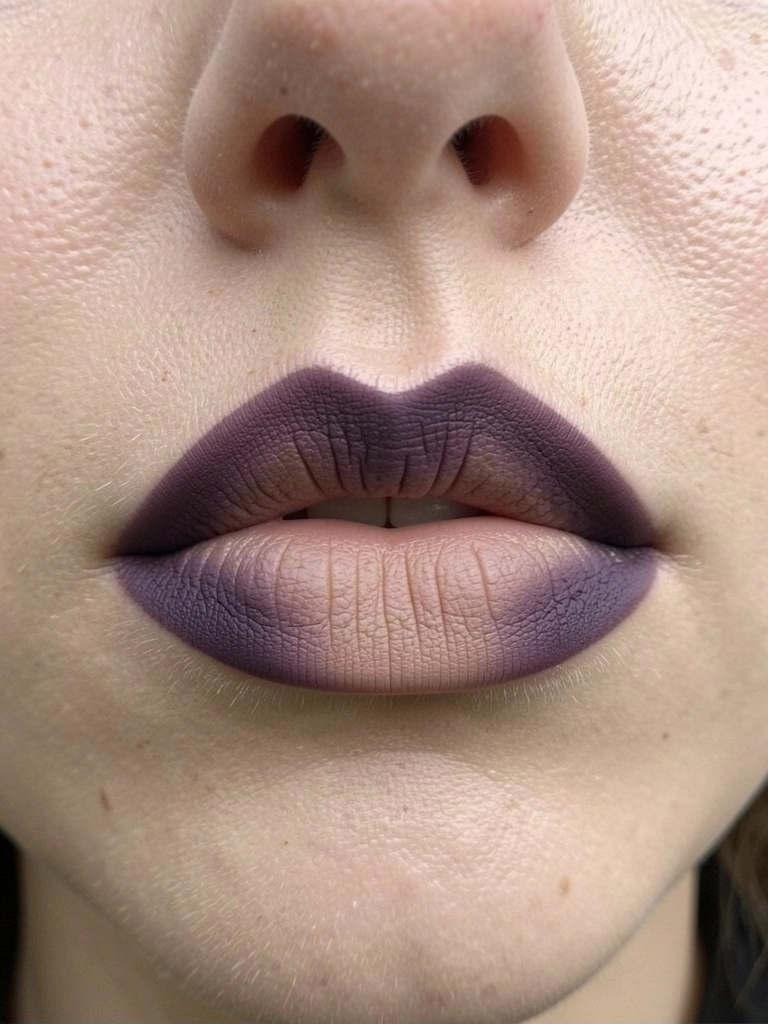
    Swap black lips for deep plum. Softens.

    • Work: Brows lighter, mascara one coat.
    • Night: Extra liner wing.

    Fits my routine.

    Pairing with Clothes

    Goth makeup shines on black basics. Balances dark top.

    • Fitted black shirt: Eyes pop.
    • Layered pants: Face grounds it.

    Test in mirror. Adjust if top heavy.

    Final Thoughts

    Try it once, just eyes and base. See the balance.

    It grows on you—dark but mine.

    Wear it out. Feels right.

  • 21 Beginner Goth Makeup Looks For Easy Transformation

    21 Beginner Goth Makeup Looks For Easy Transformation

    I stared in the mirror after my first goth attempt—black liner everywhere, lips bleeding color. Total fail. But tweaking it for real days out changed everything. These looks feel wearable, not costume-y. I've worn them to coffee runs and nights out. You can too, starting simple.

    21 Beginner Goth Makeup Looks For Easy Transformation

    Here are 21 beginner goth makeup looks pulled from my trial-and-error routine. Each uses drugstore basics, takes under 20 minutes, and builds that dark edge without hassle.

    1. Everyday Smoky Eyes That Won't Smudge by Lunch

    I blend this smoky eye most mornings. Started with cheap shadow that creased, but a primer fixed it. On me, the soft gray fade makes blue jeans and tees feel edgier. No heavy fallout—just a lived-in shadow.

    It pulls focus upward, slimming my round face visually. Feels light, lasts through coffee spills.

    Watch the outer corner blend; too much looks muddy. Pat on setting spray.

    What You’ll Need for This Look

    NYX eyeshadow primer

    Urban Decay Naked Basics palette

    Maybelline black eyeliner pencil

    Black mascara

    2. Matte Black Lips Without Feathering

    Black lips scared me at first—feathered on napkins. Lip liner as base stopped that. Paired with bare eyes, it darkens my casual tops instantly.

    Feels bold but comfy after blotting. Changes a plain ponytail look to mysterious.

    Outline precisely; skip gloss to avoid shine.

    What You’ll Need for This Look

    NYX black lip liner

    NYX matte black lipstick

    Lip primer

    3. Pale Skin Base That Stays Even

    Yellow foundations washed me out before goth. Switched to pale mixing drops. Now my skin looks porcelain under hoodies, no orange patches.

    Blends sheer, feels breathable for errands.

    Build thin layers; powder lightly.

    What You’ll Need for This Look

    Pale foundation mixing drops

    White face primer

    Translucent setting powder

    Matte bronzer for contour

    4. Sharp Winged Liner for Small Eyes

    My shaky hands ruined wings early on. Tape trick steadied it. Lengthens my eyes over sweaters.

    Crisp line adds edge without shadow.

    Press gently; smudge inner for softness.

    What You’ll Need for This Look

    Liquid black eyeliner pen

    Eye makeup remover wipes

    White pencil liner for waterline

    5. Deep Berry Lips with Bare Eyes

    Berry beat black for daytime—less stark. Stains last on me through meals.

    Darkens fair lips naturally with jeans.

    Layer for depth; matte it down.

    What You’ll Need for This Look

    Revolution deep berry lipstick

    Lip stain in plum

    6. Graphic Under-Eye Liner Accent

    Tried full graphic, too much. Thin under-line adds pop quietly.

    Frames tired eyes on casual days.

    Keep symmetric; fade edges.

    What You’ll Need for This Look

    Gel black eyeliner

    Small angled brush

    7. All-Gray Monochrome Everyday Face

    Gray everything unifies my face. Overdid cheeks once, looked ashy—toned down now.

    Cool tones suit my skin under black tops.

    Blend all one shade family.

    What You’ll Need for This Look

    Gray eyeshadow palette

    Gray matte lipstick

    Gray blush

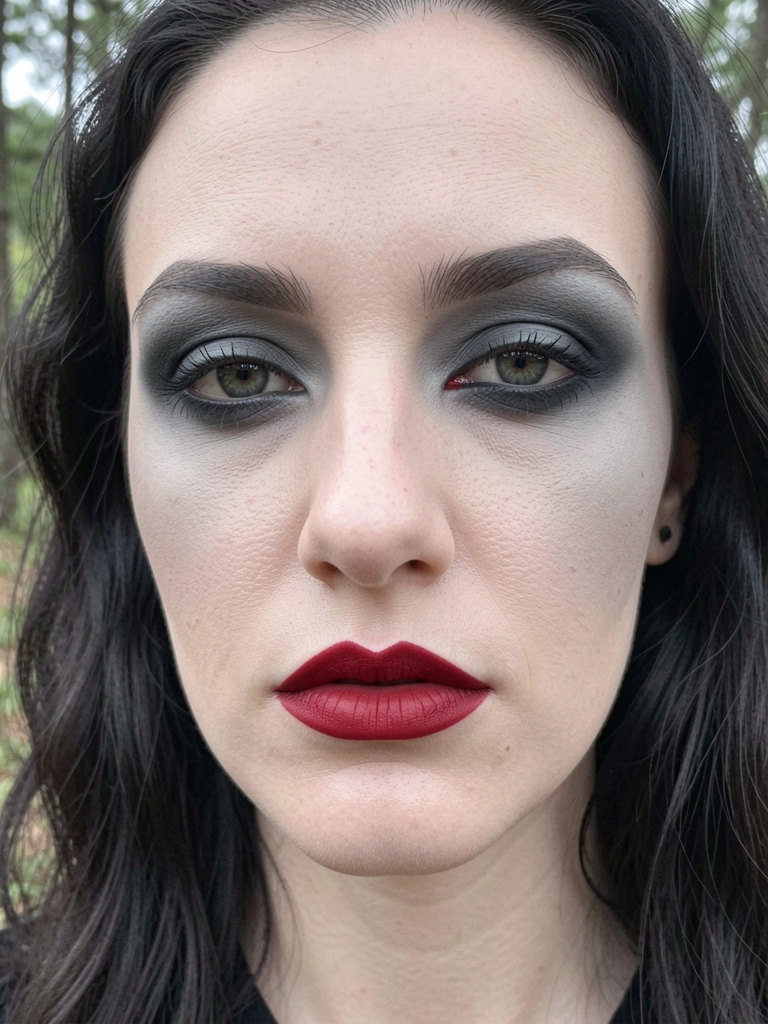
    8. Classic Vampy Red Lips Simple

    Red vamp screams goth lite. Feathered on wind—liner saved it.

    Pairs with hoodies effortlessly.

    Sharpen cupid's bow.

    What You’ll Need for This Look

    Matte vampy red lipstick

    Red lip liner

    9. Dramatic Brows That Frame Pale Skin

    Thin brows faded me out. Filled bold now, structures face.

    Holds up all day.

    Brush up after.

    What You’ll Need for This Look

    Brow pencil in black

    Brow gel clear

    Spooley brush

    10. False Lashes for Open Goth Eyes

    Lashes clumped first try. Trimmed halves work.

    Widens eyes over layers.

    Curl naturals first.

    What You’ll Need for This Look

    Half lash strips black

    Lash glue clear

    Eyelash curler

    11. Subtle Glitter Over Dark Lids

    Glitter fell everywhere initially. Primer locks it.

    Adds life to black without club vibe.

    Top inner corners only.

    What You’ll Need for This Look

    Black eyeshadow base

    Fine silver glitter

    Glitter primer

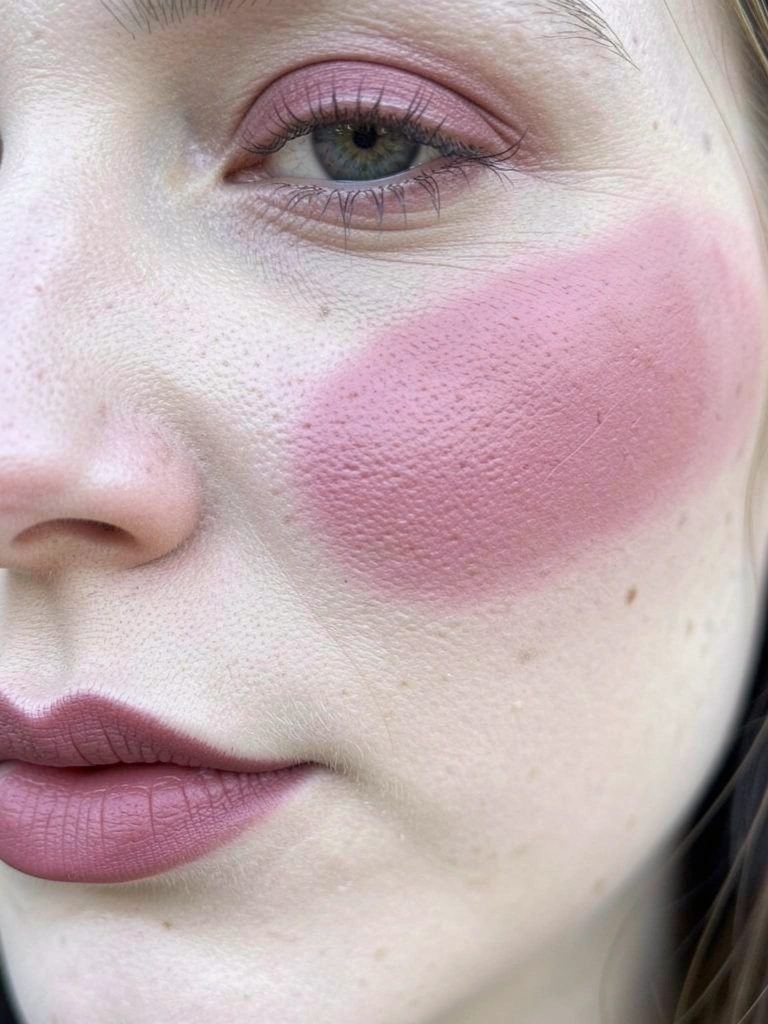
    12. Soft Goth Rosy Cheeks and Lips

    Harsh goth paled me sick. Rose tint warms it.

    Feels approachable for dates.

    Dust lightly.

    What You’ll Need for This Look

    Muted rose blush

    Rose lip tint

    Blush brush fluffy

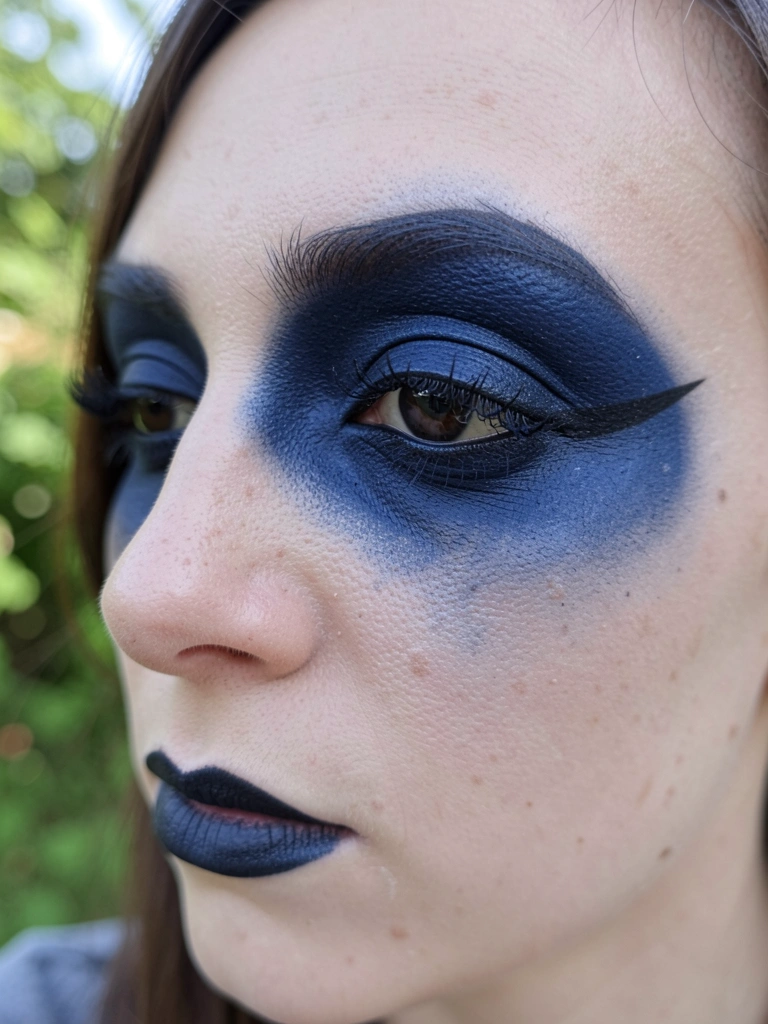
    13. Navy Blue Smoky Blend

    Navy over black softens for me. Creased midday—setting spray.

    Deepens green eyes.

    Smudge lower lashline.

    What You’ll Need for This Look

    Navy eyeshadow palette

    Setting spray matte

    14. Asymmetrical Liner Edge

    Matched lines bored me. One-sided wing quirks it up.

    Practice on hand first.

    What You’ll Need for This Look

    Felt tip black liner

    Gray shadow single

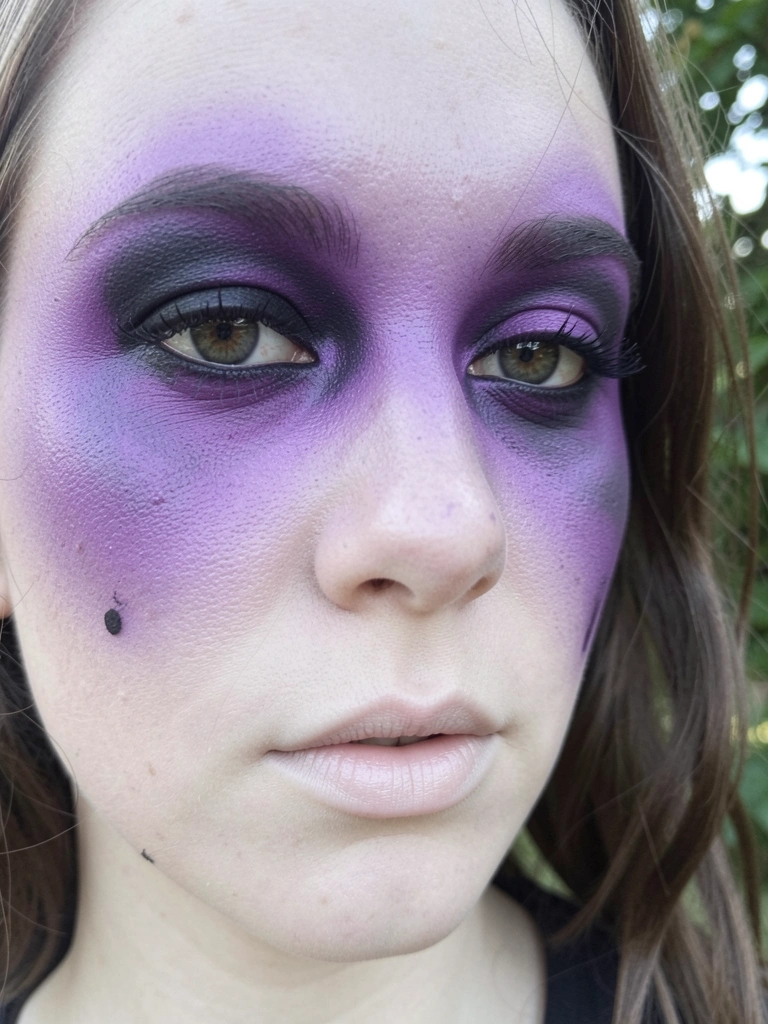
    15. Purple Haze Shadow Fade

    Purple bruised-looking at first. Sheer layers fixed.

    Complements brown eyes.

    Windshield wiper blend.

    What You’ll Need for This Look

    Purple to black palette

    Blending brush fluffy

    16. Hollow Cheek Contour Sharp

    Contoured muddy once. Cool taupe cleans it.

    Sculpts soft face.

    Blend neckline.

    What You’ll Need for This Look

    Cool taupe contour powder

    Highlighter pale

    Contour brush angled

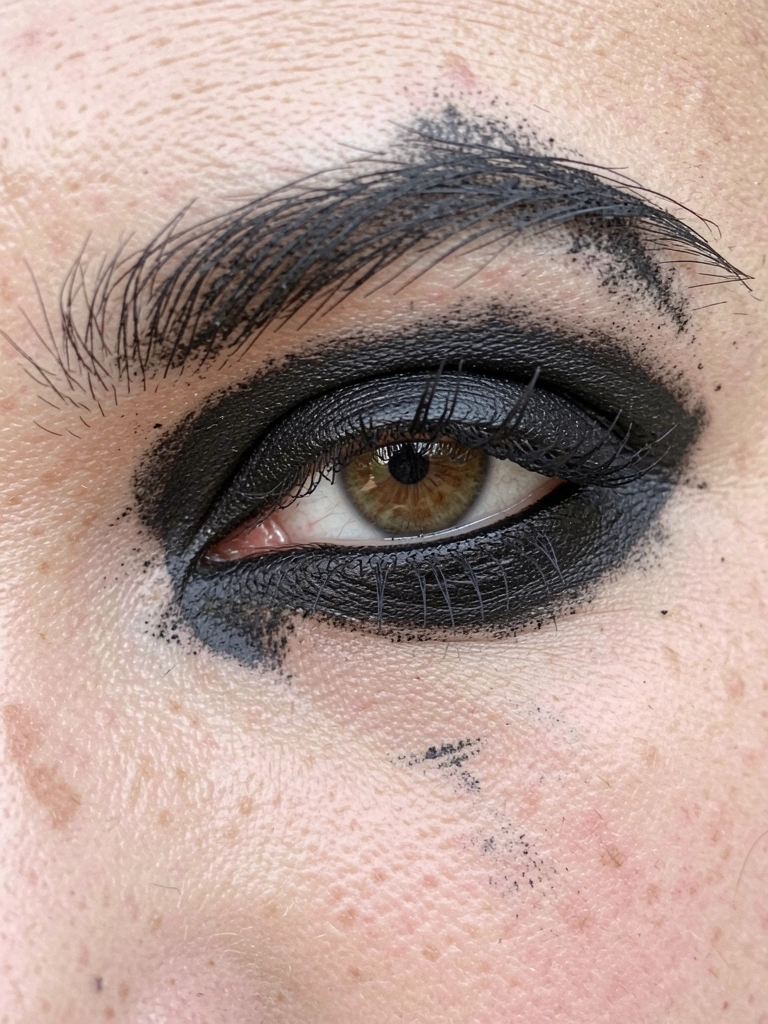
    17. Bold Black Kohl Rimmed Eyes

    Kohl migrated—primer base. Intensifies without shadow.

    Darkens all eye colors.

    Smudge finger.

    What You’ll Need for This Look

    Black kohl pencil

    Eye primer tube

    18. Plum Gradient Lips Layered

    Gradient bled—liner defines. Subtle goth mouth.

    Ombre effect easy.

    Blot center.

    What You’ll Need for This Look

    Plum lipstick matte

    Nude lip liner inner

    19. Minimalist Liner and Lip Only

    Overloaded face before. Just liner lip—clean goth.

    Quick for lazy days.

    Sharpen both ends.

    What You’ll Need for This Look

    Precise black liner

    Black liquid lipstick

    20. Fishnet Shadow Stencil Quick

    Net tore shadow even. Fun texture without skill.

    Press lightly.

    Remove net clean.

    What You’ll Need for This Look

    Black cream shadow

    Fishnet fabric scrap

    Flat shadow brush

    21. Full Soft Smoky with Red Accent

    Combined too much early. Soft full face now works.

    Balanced for evenings.

    Set everything.

    What You’ll Need for This Look

    Smoky gray palette

    Red accent shadow

    All-day setting spray

    Pale matte lipstick base

    Final Thoughts

    Pick one look, grab a few basics. No need for the full haul—start where it feels right. I've built my routine slowly; yours will too. Wear it your way, own the edge.

  • 7 Soft Goth Makeup Ideas For Subtle Dark Vibes

    7 Soft Goth Makeup Ideas For Subtle Dark Vibes

    I used to pile on black liner thinking it was goth, but it made me look tired at the office. Then I softened it—blended shadows, muted lips—and got that dark vibe without the drama.

    Now it's my go-to for days I want edge but still approachable.

    These looks feel wearable, like they fit my real life.

    7 Soft Goth Makeup Ideas For Subtle Dark Vibes

    Here are 7 soft goth makeup ideas for subtle dark vibes you can wear daily. They're easy, forgiving, and built from what I've tested on my own face.

    1. Blended Gray Smokey Eyes for Quiet Intensity

    I first tried this on a rainy weekend—grabbed a gray palette instead of harsh black. Applied a light wash across the lid, blended darker into the crease, and smudged liner underneath. It gave my eyes depth without screaming "party."

    On me, it pairs with any top, makes green eyes pop quietly. The key? Use a fluffy brush to shear off edges; I once skipped that and looked messy.

    Feels comfortable all day, no creasing if you prime. Honest tip: start sheer, build up—my mistake was diving in heavy first time.

    What You’ll Need for This Look

    Gray eyeshadow palette matte

    Black pencil eyeliner smudgeable

    Eyelid primer lightweight

    Fluffy blending brush soft

    2. Berry Stained Lips with Barely-There Contour

    Wore this to coffee with friends—dabbed berry tint on lips, blotted for stain, added a whisper of contour under cheeks. No foundation overload, just pale skin showing through.

    It shifts my face from flat to interesting, like a quiet mood. Visually, the berry pulls without overpowering; emotionally, it's confident but low-key.

    Pay attention to blotting—too much gloss and it looks juvenile. I returned a shiny one online that lied about the finish.

    Practical: layer over balm for comfort on dry days.

    What You’ll Need for This Look

    Berry lip stain longwear

    Cream contour stick subtle taupe

    Hydrating lip balm clear

    Beauty sponge damp use

    3. Diffused Winged Liner Over Dewy Skin

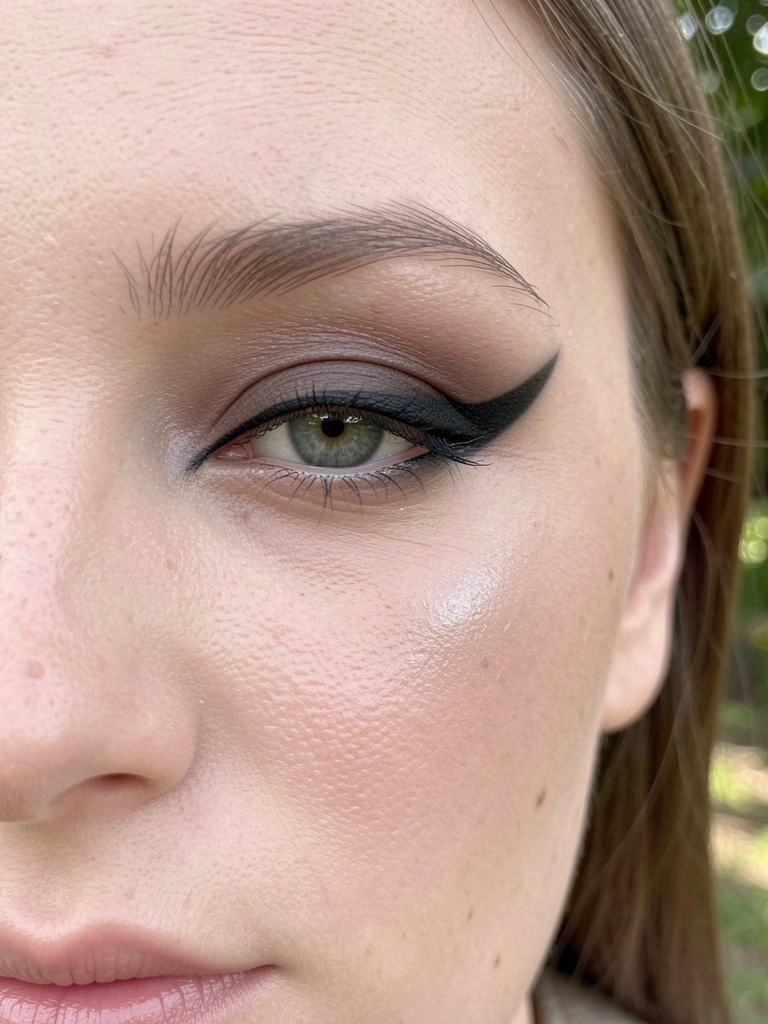
    Tried a sharp wing once, hated how it aged me—switched to gel liner, winged softly, blended the edge with a q-tip. Topped with light moisturizer for dew.

    On my round face, it elongates without effort. Looks clean casual, feels fresh even after hours.

    Insight: match liner to your lash line color; black was too stark for my fair skin at first.

    Tip: set with powder only at corners—keeps center alive.

    What You’ll Need for This Look

    Gel eyeliner black waterproof

    Liquid highlighter dewy finish

    Q-tip cotton swabs

    Setting powder translucent light

    Moisturizer glowy sheer

    4. Plum Shadow Wash with Arched Brows

    Did this for work—swept plum shadow lid-to-brow, filled brows darker for arch. Kept lips nude matte. Subtle shift to moody.

    My combo skin stayed matte; visually frames the face better. Felt put-together, not try-hard.

    Mistake: used pencil brows first—too blocky. Gel is softer.

    Watch undertone—cool plums suit me, warms might clash.

    What You’ll Need for This Look

    Plum eyeshadow single matte

    Brow gel tinted clear

    Brow pencil soft ash

    Matte nude lipstick creamy

    5. Velvet Mauve Cheeks and Lashes

    Layered mauve powder on cheeks for velvet, curled lashes with brown mascara. Lips bare. Wore shopping—held up through wind.

    Adds dimension without color pop; on me, slims cheeks naturally.

    I over-blushed once, looked clownish—pat now, don't sweep.

    Feels light, lasts.

    What You’ll Need for This Look

    Mauve blush powder velvet

    Brown mascara volumizing

    Lash curler metal slim

    Setting spray matte fine mist

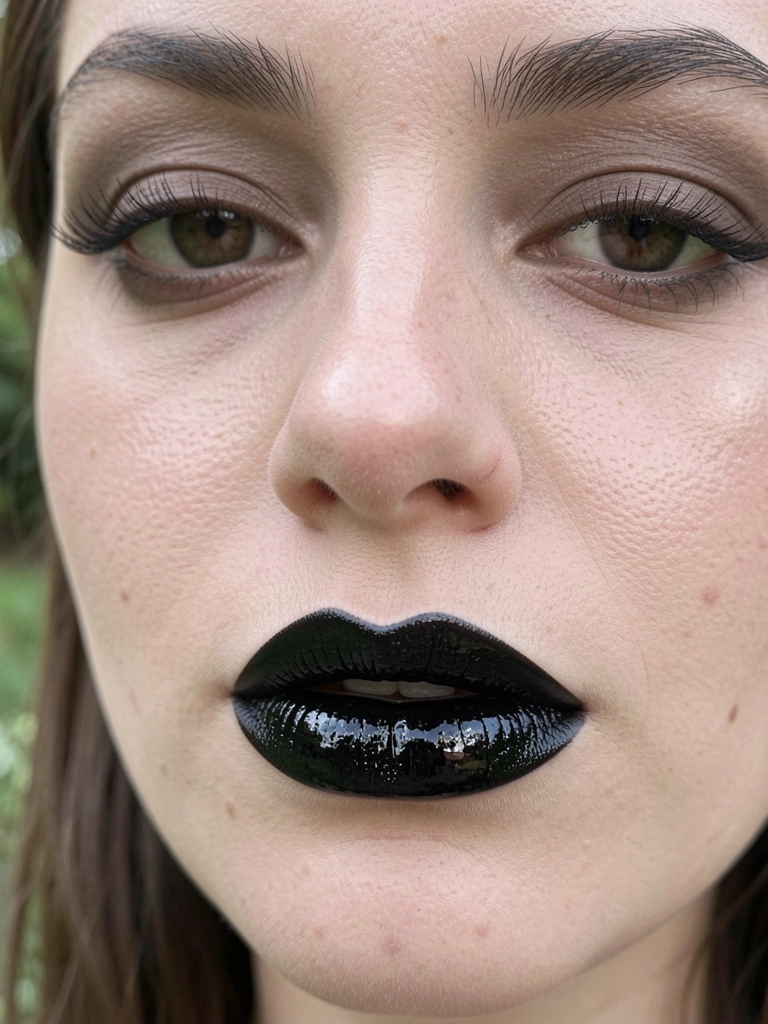
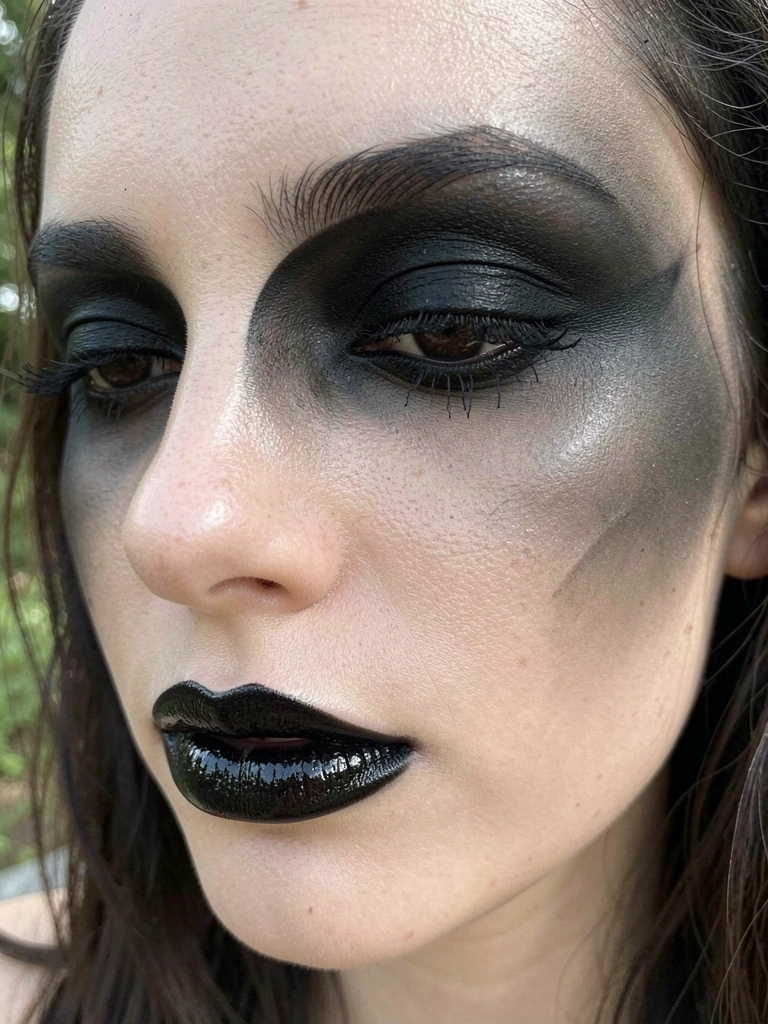
    6. Soft Black Gloss Lips with Taupe Lid

    Tested black gloss over liner for date night—taupe on lids balanced it. Not full goth, just hint.

    Lips feel juicy, face stays neutral. Changed how light hits my mouth.

    Online swatches tricked me—tested in store first.

    Blend gloss inward for subtle.

    What You’ll Need for This Look

    Black lip gloss sheer

    Taupe eyeshadow matte neutral

    Lip liner deep berry

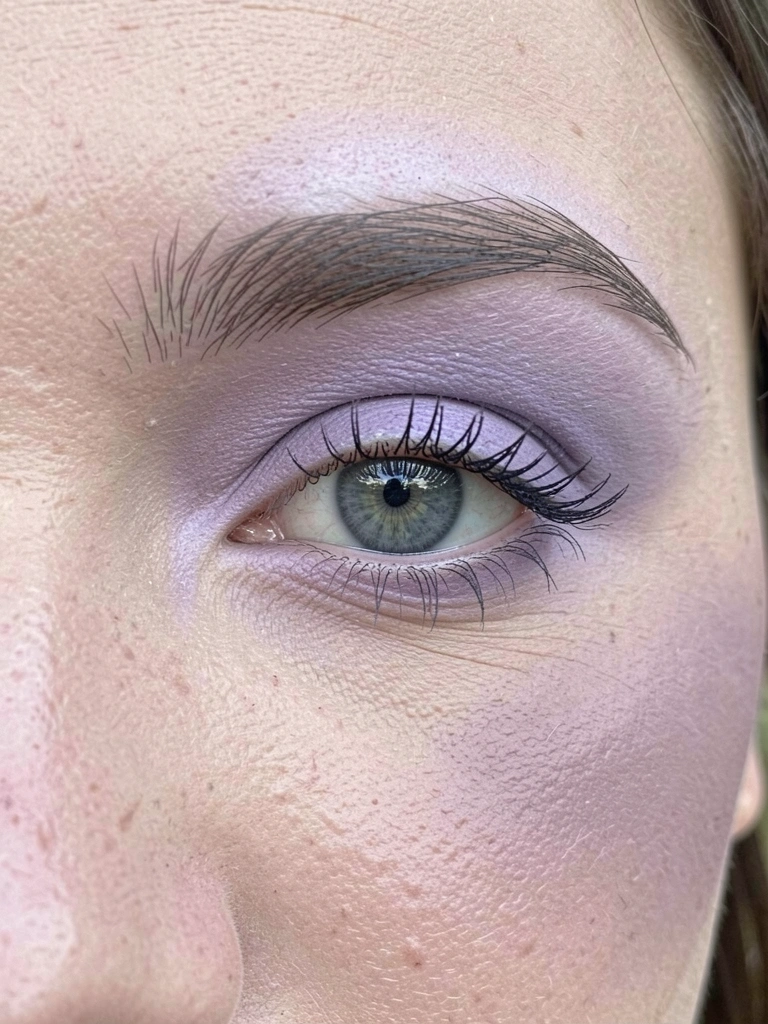
    7. Lavender Haze Eyes with Deep Brow Bone

    Mixed lavender shadow for haze effect, highlighted brow bone. Cheeks muted rose. Everyday now.

    Softens my features, adds mystery quietly.

    Too much shimmer first try—matte mix fixed.

    Tip: finger-blend for seamless.

    What You’ll Need for This Look

    Lavender eyeshadow palette soft

    Brow bone highlighter cream

    Rose blush powder subtle

    Final Thoughts

    Pick one idea, grab a few basics—you don't need the whole list.

    I've built my routine this way, mixing as moods hit.

    These give dark vibes that fit real life. You'll feel it.

  • 23 Aesthetic Goth Makeup Looks For Edgy Beauty Inspo

    23 Aesthetic Goth Makeup Looks For Edgy Beauty Inspo

    I first fell for goth makeup in college, sneaking black liner into class. It ran during rain, so I returned the cheap stuff. Now I mix it daily—edgy but wearable. These looks saved my boring mornings. You can too, no pro skills needed.

    23 Aesthetic Goth Makeup Looks For Edgy Beauty Inspo

    I've tested these 23 aesthetic goth makeup looks in real life, from coffee shops to nights out. All with affordable picks that last. Grab inspo and shop easy.

    1. Soft Smoky Gray Eyes with Bare Lips

    I wore this to a casual brunch last weekend. The gray shadows blended easy, no harsh lines, just a lived-in haze that made my eyes pop without screaming "party." Felt mysterious but approachable—people complimented without staring.

    On me, it lasted through coffee spills. Key was patting, not rubbing, the shadow. Skip heavy contour; let skin breathe.

    Mistake once: used shimmery gray, looked frosty in daylight. Matte wins.

    What You’ll Need for This Look

    Matte gray eyeshadow palette

    Thin black liquid eyeliner

    Pale matte foundation

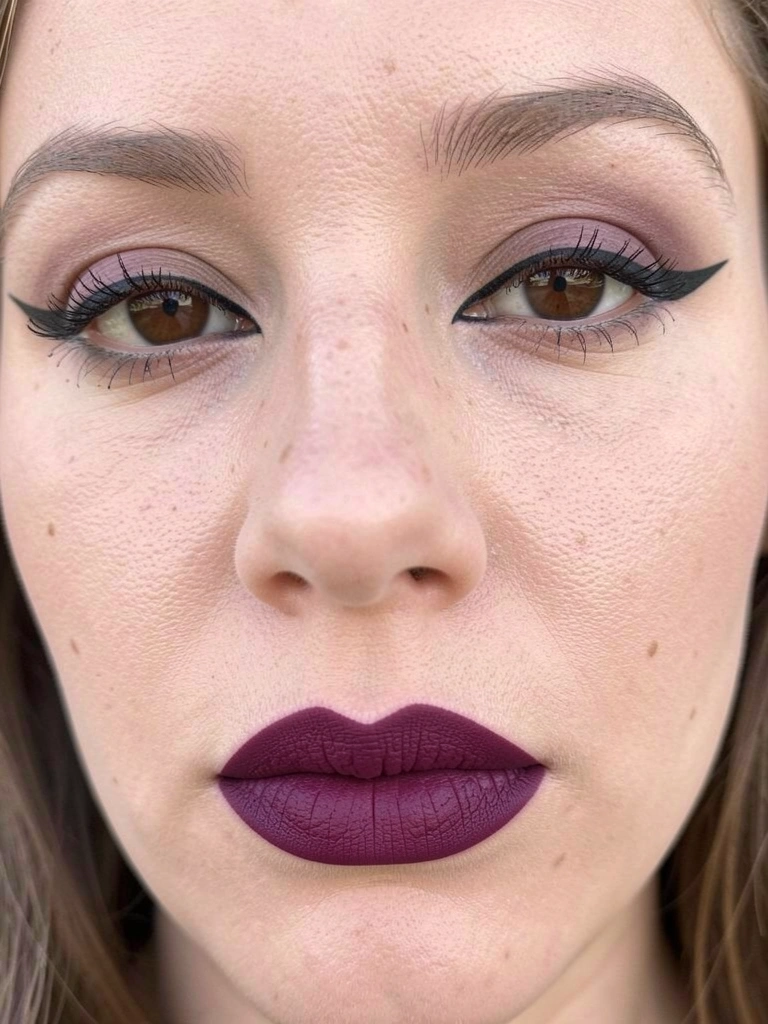
    2. Bold Winged Liner and Deep Plum Lips

    Tried this for a date. The wing flicked up my tired eyes; plum lips added bite without clowning. In mirror, it felt powerful, like armor.

    Wore it walking home—held up, no transfers on my mask.

    Pay attention to lip line; trace slow. Pairs with messy hair.

    What You’ll Need for This Look

    Precision black winged eyeliner

    Matte deep plum lipstick

    Setting spray long wear

    3. Vampire Pale Base with Blood Red Lips

    Did this for Halloween but kept it year-round. Pale base washed out my freckles nicely; red lips stole the show. Felt like a character, confident in line.

    In daylight, it photographed sharp. Emotionally, bold yet simple.

    Insight: blend foundation thin, or it cakes.

    What You’ll Need for This Look

    Pale undereye corrector foundation

    Longwear blood red lipstick

    Translucent powder

    4. Purple Smoke Eyes with Black Brows

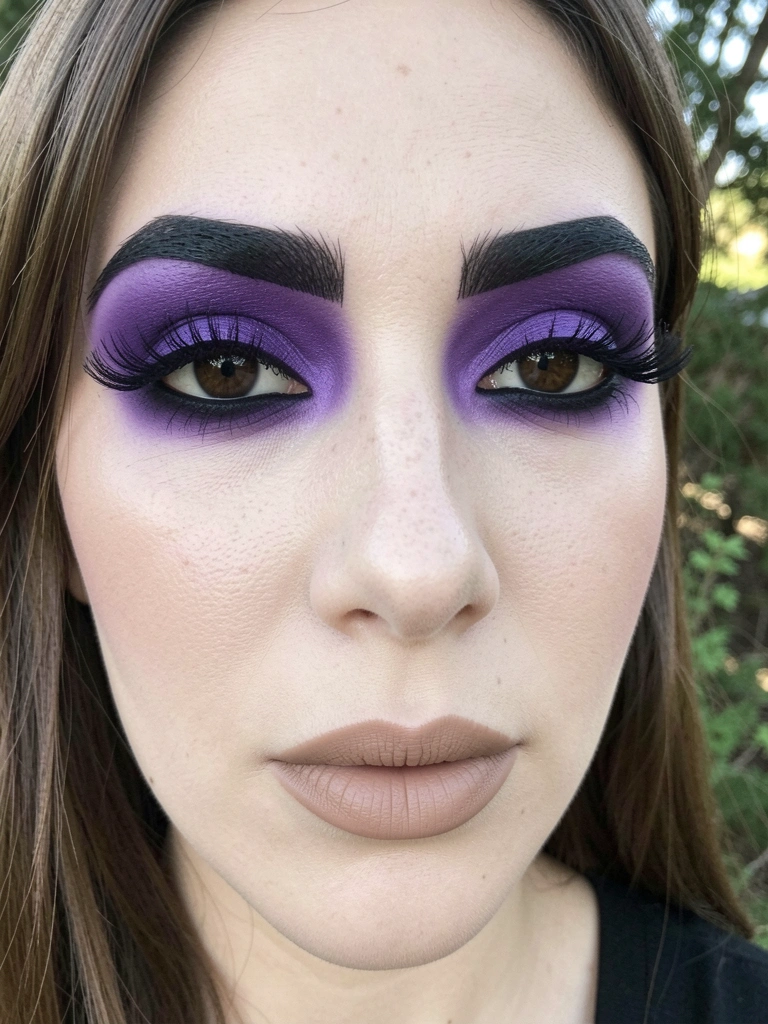
    Wore to work meeting. Purple smoked soft, brows framed it dark. Looked edgy, not sloppy—colleagues thought "artsy."

    Felt awake all day. Brows held pencil shape.

    Tip: smudge shadow with finger for haze.

    What You’ll Need for This Look

    Matte purple eyeshadow palette

    Black brow pencil

    Eyeshadow primer

    5. Grunge Matte Lips and Lashes

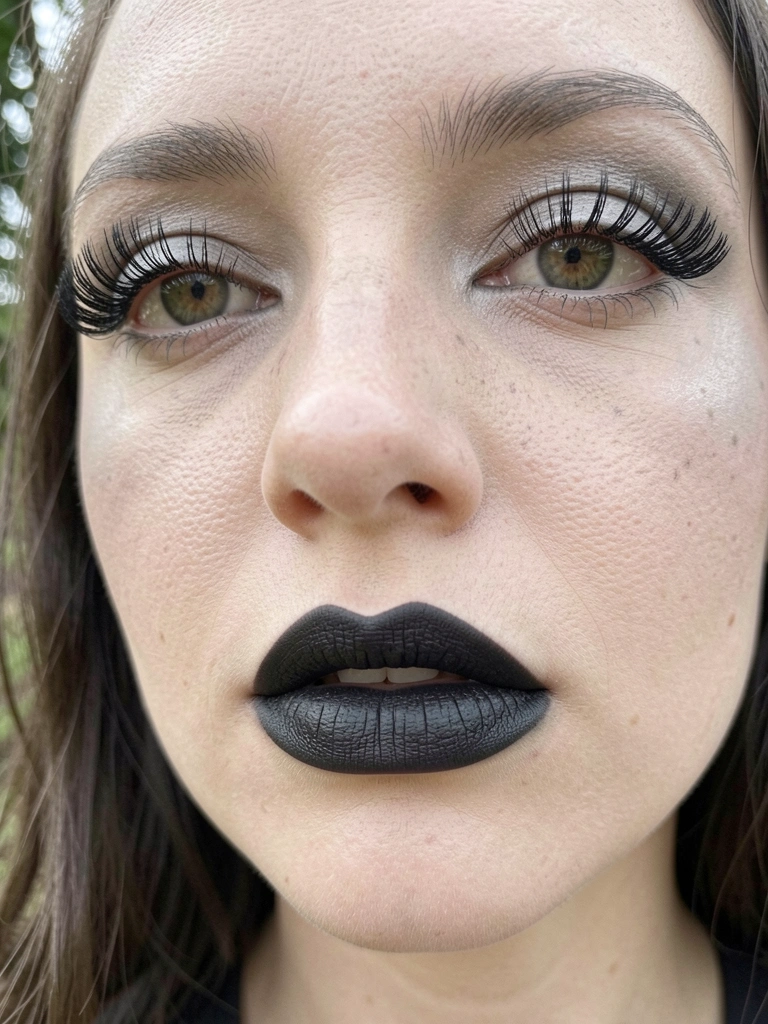
    Concert night: matte black lips, clumpy lashes for grit. Felt raw, real—matched the music.

    Lasted sweat-free. Visually, eyes drew in.

    Mistake: overdid liner first time, muddy. Skip it.

    What You’ll Need for This Look

    Matte black lipstick

    Volume black mascara

    Lip liner dark brown

    6. Pastel Goth Lavender All Over

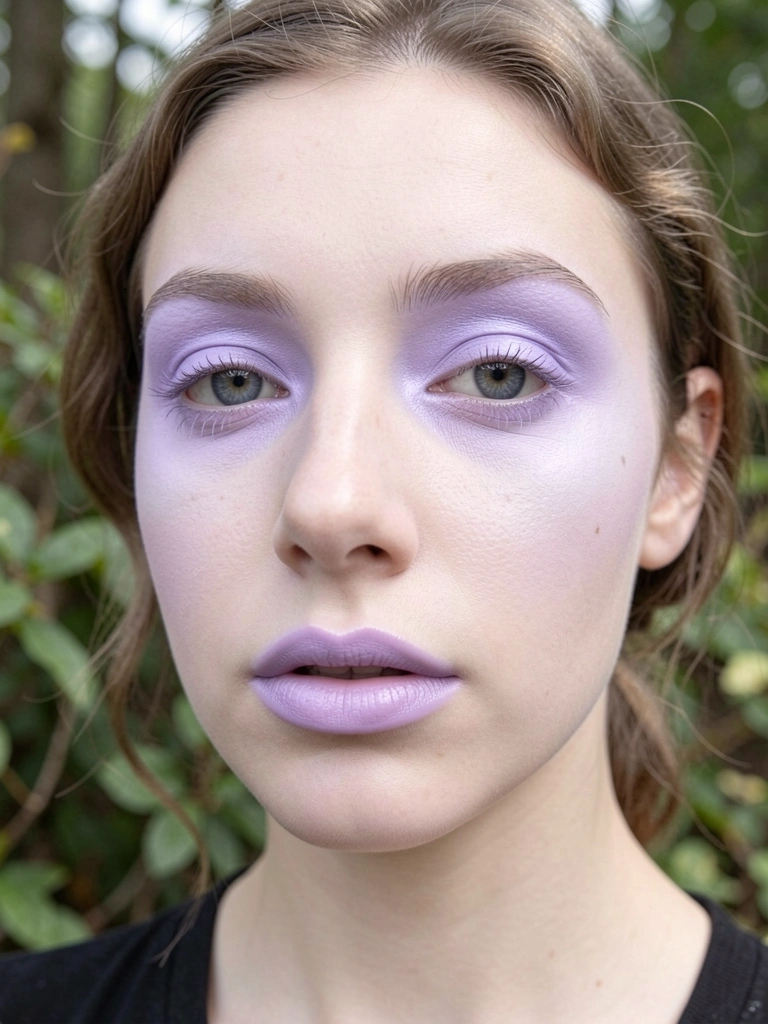
    Summer picnic try: lavender everywhere soft. Not harsh, dreamy goth. Felt light, pretty.

    Wore in heat—no melt.

    Changed my vibe to chill goth.

    What You’ll Need for This Look

    Lavender eyeshadow matte

    Pale lavender lip tint

    Light purple blush

    7. Glossy Black Lips with Cat Eyes

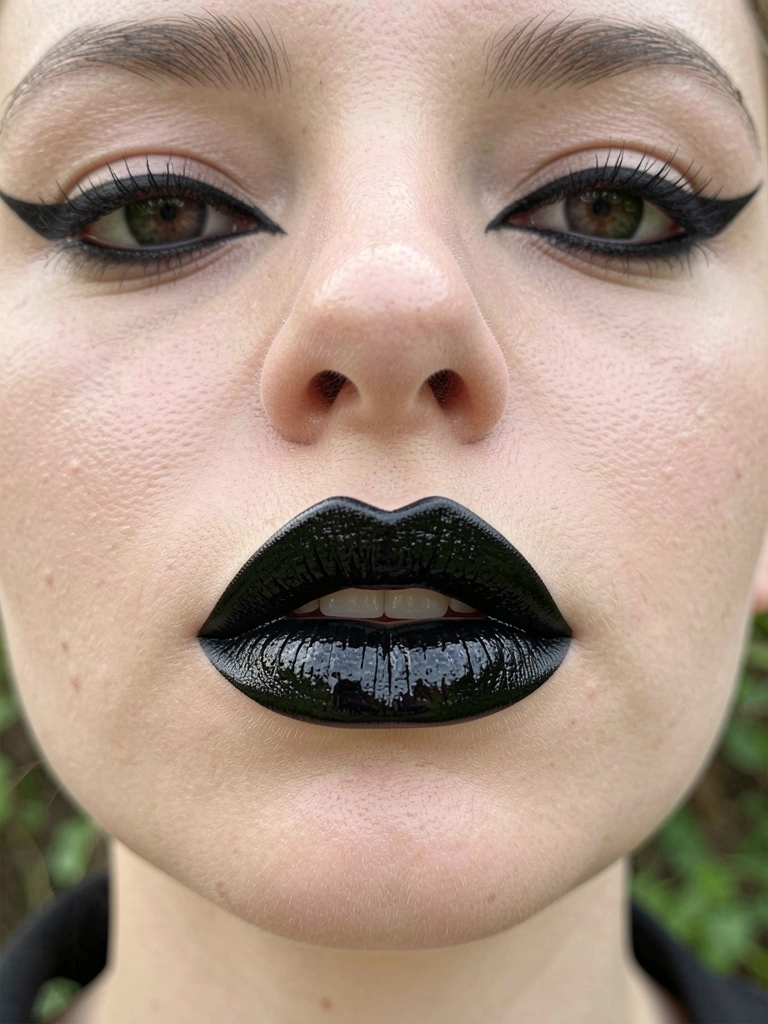
    Night out: cat eyes flicked high, glossy black shone. Felt sleek, sexy.

    Held kisses. Eyes popped.

    Tip: layer gloss thin.

    What You’ll Need for This Look

    Glossy black lip gloss

    Cat eye liquid liner

    Clear brow gel

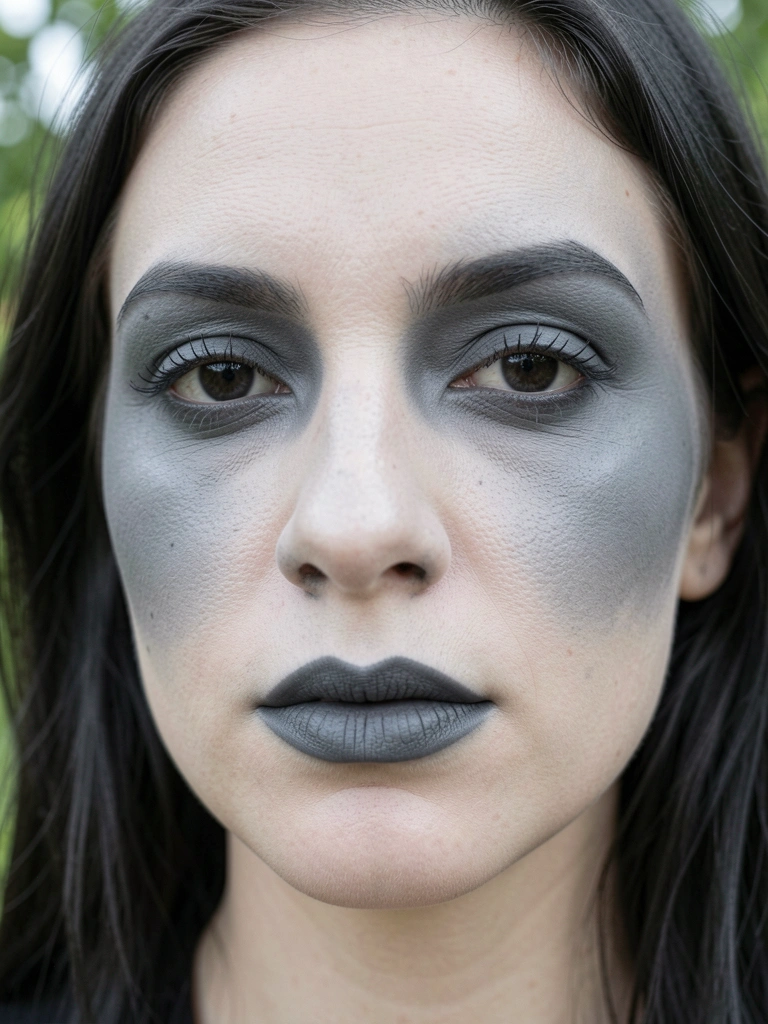
    8. Monochrome Gray Full Face

    Lazy day gray everything. Unified, moody. Felt cohesive, easy.

    No color clash. Insight: blend cheeks subtle.

    What You’ll Need for This Look

    Gray eyeshadow palette multi-shade

    Gray matte lipstick

    Gray contour powder

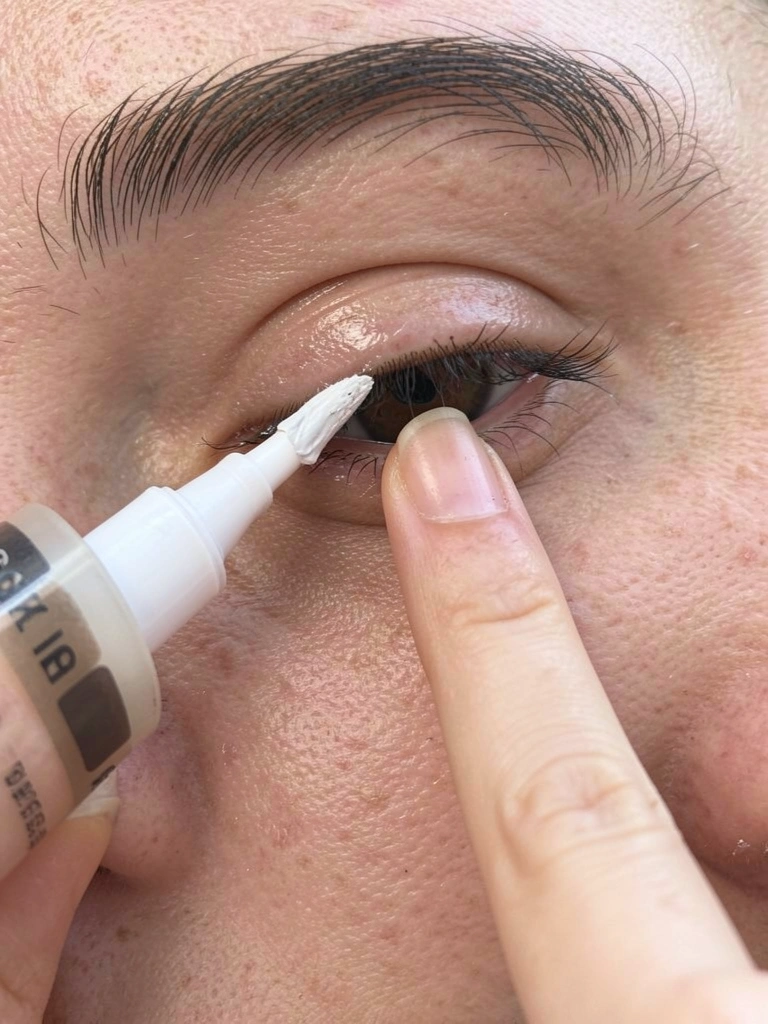
    9. Burgundy Shadow Cut Crease

    Tried for photos. Cut crease sharp, burgundy rich. Looked pro.

    Felt structured. Lasted sitting.

    Mistake: rushed tape removal, smudged. Peel slow.

    What You’ll Need for This Look

    Burgundy matte eyeshadow

    White concealer cut crease

    Thin liner brush

    10. Minimal Liner and Dark Tint Lips

    Office goth: thin liner, tinted lips. Subtle edge.

    Felt put-together. Quick, 5 mins.

    What You’ll Need for This Look

    Fine tip black liner

    Dark berry lip tint

    Brow tint pen

    11. Graphic Half Liner Eyes

    Festival fun: half liner geometric. Artsy, unique.

    Drew eyes up. Wore dancing.

    Tip: steady hand or stencil.

    What You’ll Need for This Look

    Black gel liner pot

    Small angled brush

    Setting powder eyes

    12. Dewy Pale Skin Dark Contour

    Rainy day glow pale, deep contour. Sculpted face.

    Felt fresh goth. Hydrated.

    What You’ll Need for This Look

    Dewy pale foundation

    Dark contour cream

    Highlighter subtle

    13. Smoky with Faux Freckles

    Added faux freckles to smoke. Playful goth twist.

    Felt youthful. Lasted touch.

    Mistake: too many dots, messy. Sparse better.

    What You’ll Need for This Look

    Black smoky palette

    Brown brow pencil freckles

    Setting spray light

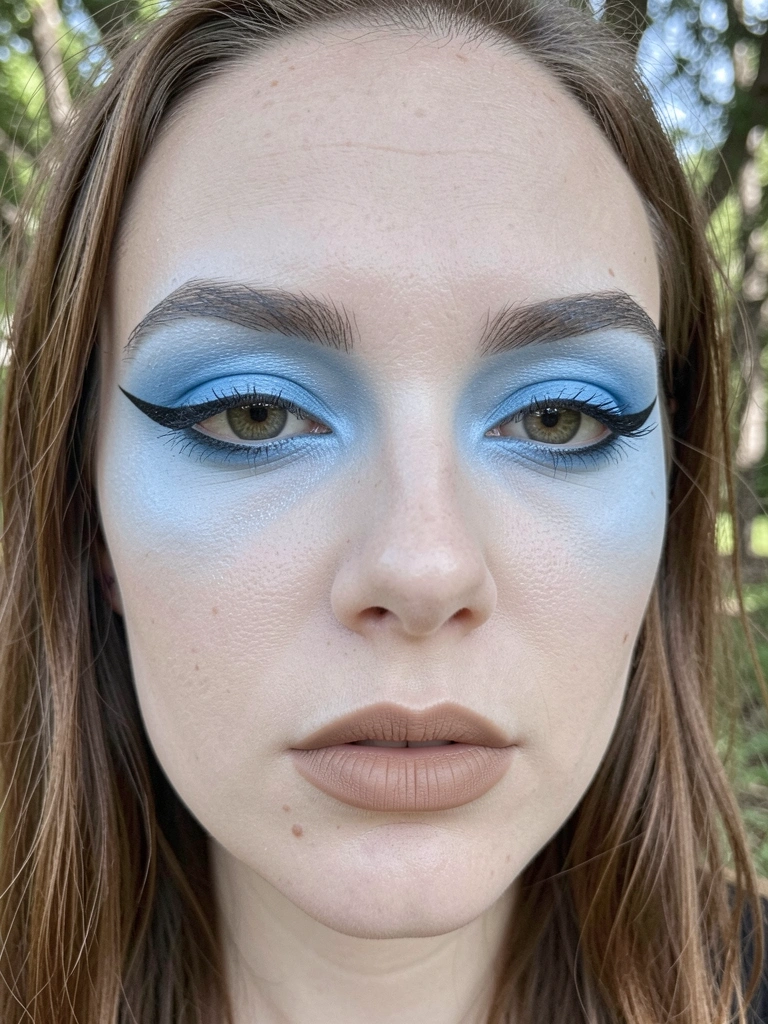
    14. Icy Blue Shadow Base

    Winter walk: icy blue lids. Cool tone pop.

    Felt ethereal. Comfy cold.

    What You’ll Need for This Look

    Icy blue eyeshadow

    Black pencil liner

    Matte nude lipstick

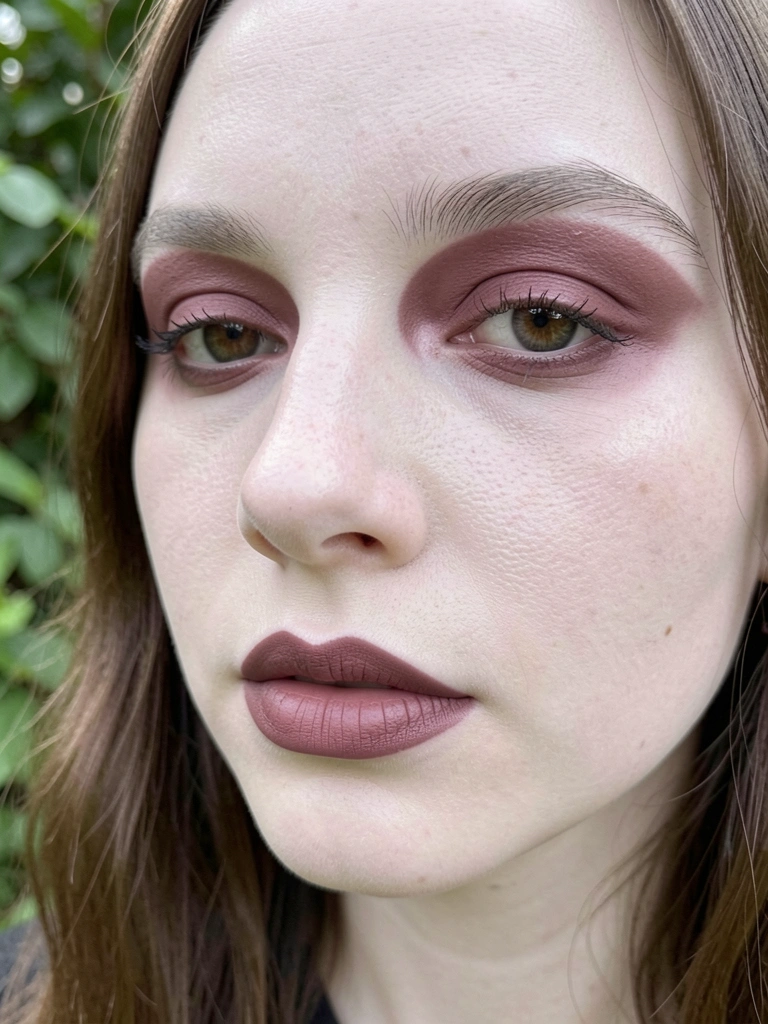
    15. Romantic Rose Shadow Lips

    Date soft goth: rose all over. Feminine edge.

    Felt warm dark. Kissproof.

    What You’ll Need for This Look

    Dusty rose eyeshadow

    Rose matte lipstick

    Pale setting powder

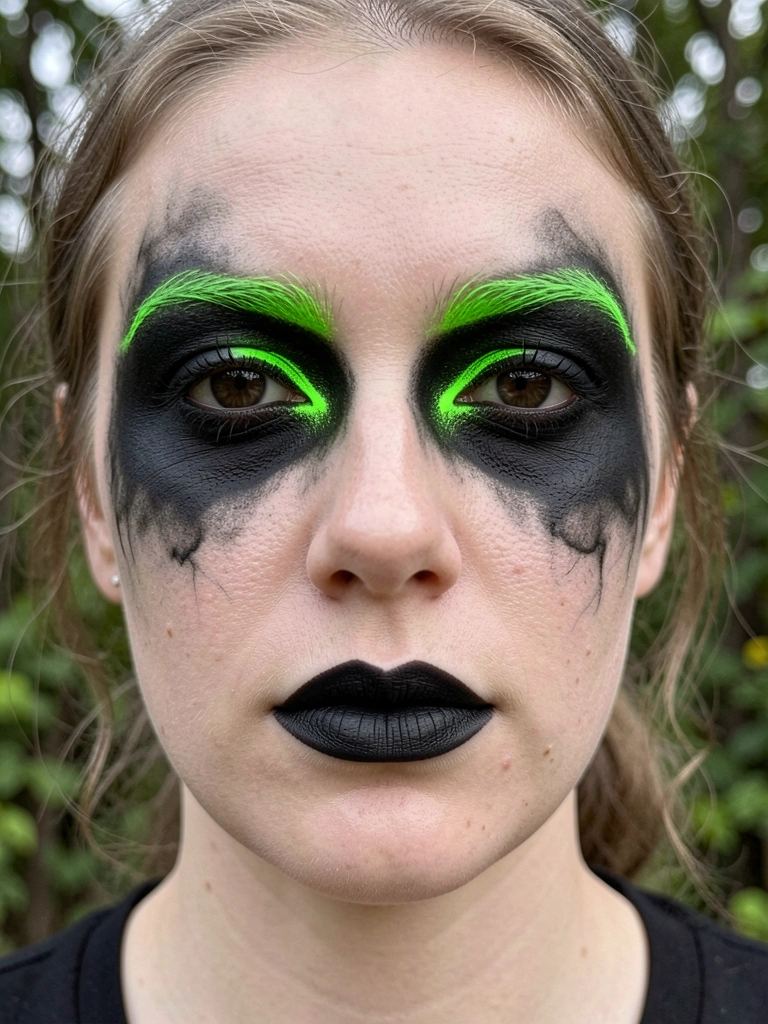
    16. Neon Accent on Black Smoke

    Party cyber: neon under black. Electric.

    Felt futuristic. Glowed low light.

    Tip: tightline neon.

    What You’ll Need for This Look

    Neon green eyeliner

    Black shadow palette

    Dark berry liner

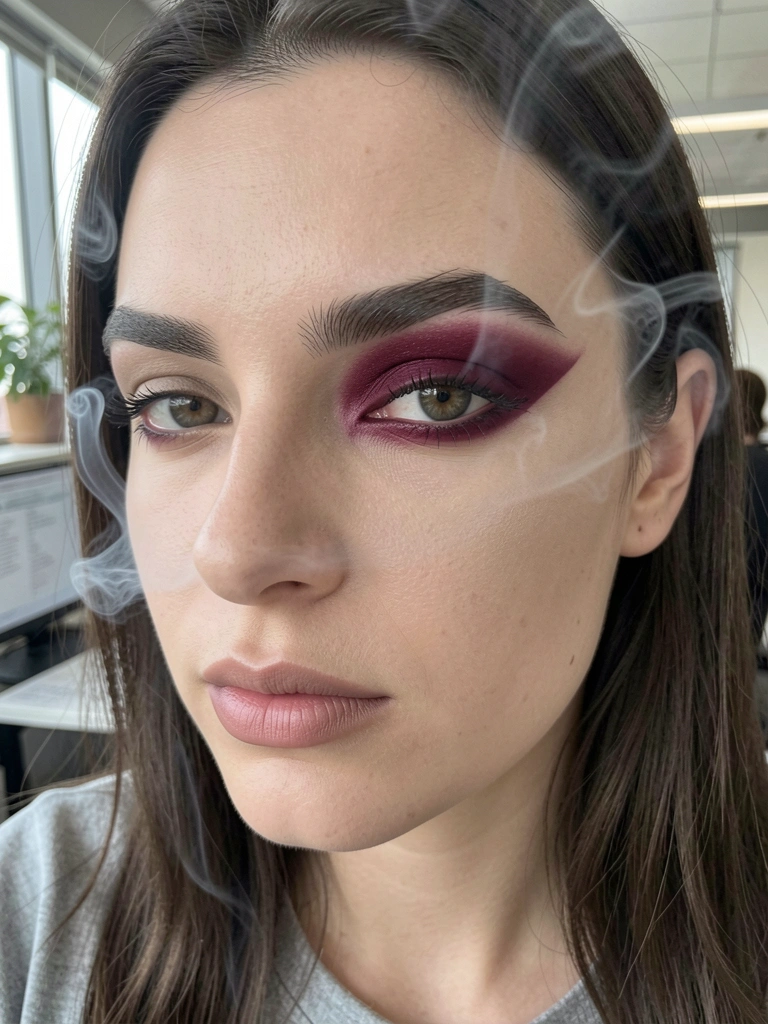
    17. Subtle Office Smoke

    Work call: taupe smoke faint. Professional goth.

    Felt sharp. No touchup.

    What You’ll Need for This Look

    Taupe eyeshadow palette

    Berry lip stain

    Brow gel tinted

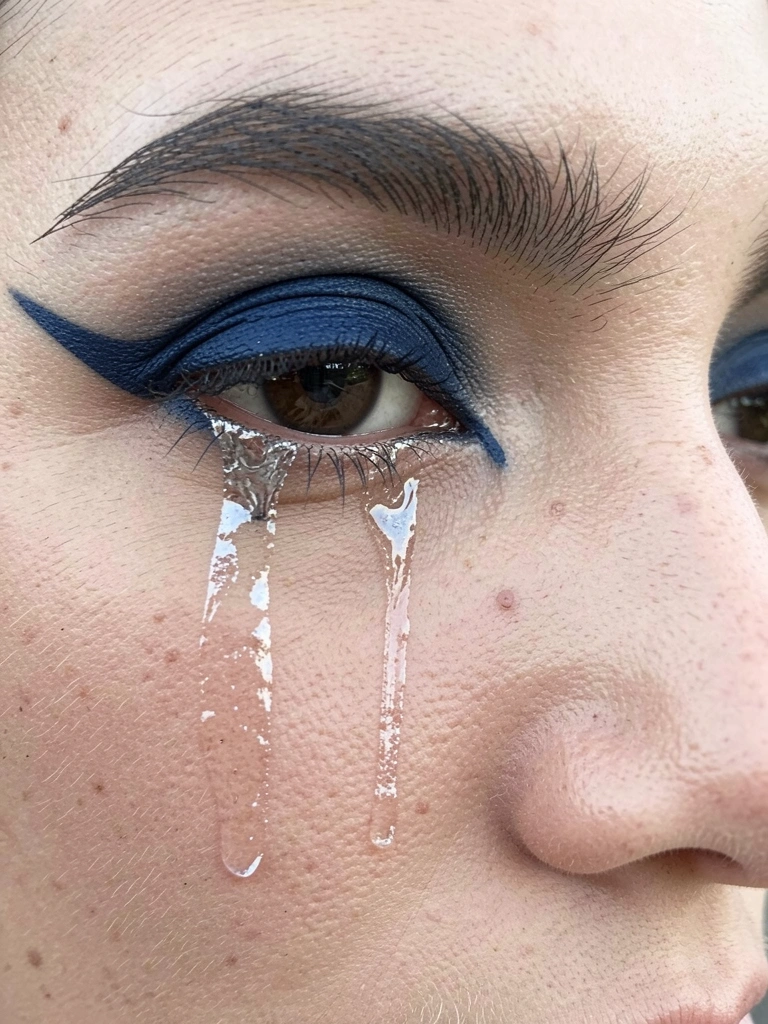
    18. Glitter Tear Tracks Dark

    Concert emo: glitter tears down cheeks. Dramatic.

    Felt expressive. Sweatproof.

    Mistake: chunky glitter fell. Fine mill best.

    What You’ll Need for This Look

    Fine silver glitter

    Black waterproof liner

    Glitter adhesive

    19. Deep Plum Monolid Magic

    My monolids love plum gradient. Blends seamless.

    Felt defined. Everyday wear.

    What You’ll Need for This Look

    Plum shadow singles

    Tightline pencil

    Blending brush soft

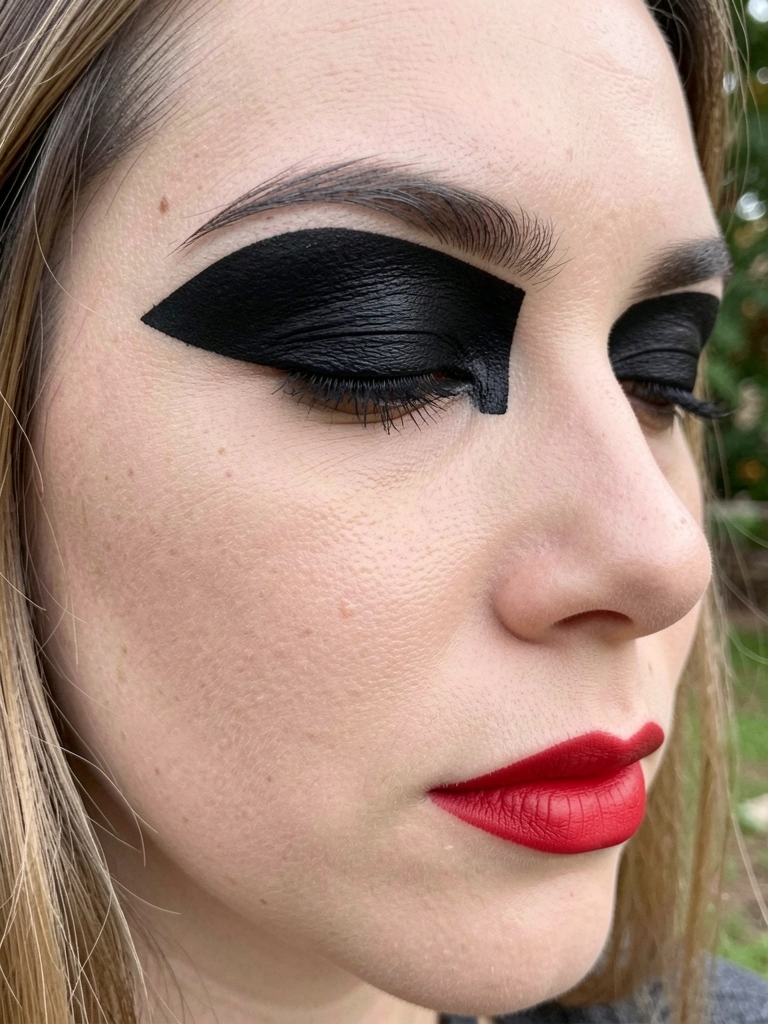
    20. Matte Black Lid Cutout

    Bold try: black full lid. Graphic strong.

    Felt artistic. Quick dry.

    What You’ll Need for This Look

    Matte black cream shadow

    Red liquid lipstick

    Concealer edge clean

    21. Sheer Black Summer Haze

    Beach day light black sheer. Subtle goth heat.

    Felt breezy. No sweat lines.

    What You’ll Need for This Look

    Sheer black shadow

    Dark glossy balm

    Dewy primer

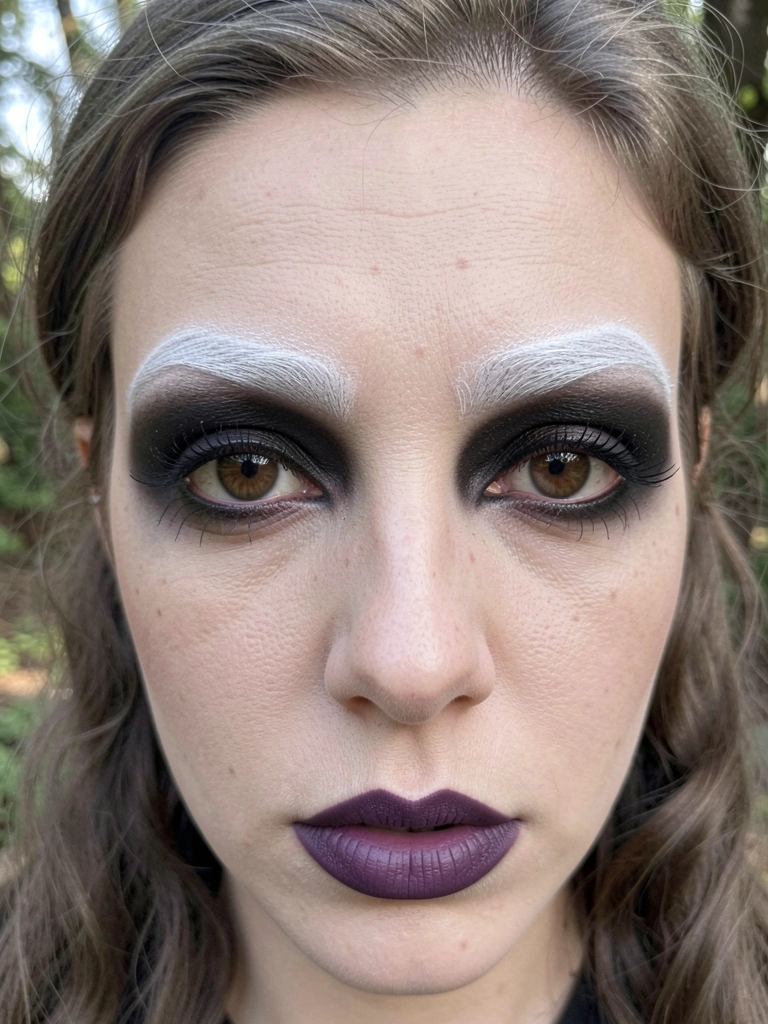
    22. Victorian Brow Bone Highlight

    Old photo inspo: high brow bone pale. Dramatic lift.

    Felt elegant dark. Timeless.

    Tip: powder seal.

    What You’ll Need for This Look

    Pale brow bone highlight

    Dark matte shadow

    Plum lip pencil

    23. Everyday Smudge Proof Core

    Daily driver: smudge smoke, stay lips. All day no fix.

    Felt reliable. Real life hero.

    What You’ll Need for This Look

    Waterproof smoky palette

    Smudge proof lipstick

    Longwear brow pomade

    Final Thoughts

    Pick one or two looks that fit your day. No need for the whole list—start small, tweak for your skin. I've returned half my stash learning this. You'll nail your goth vibe soon. Wear it your way.

  • 11 Spooky Goth Makeup Ideas For Bold Looks

    11 Spooky Goth Makeup Ideas For Bold Looks

    I remember the first time I went full goth for a party. Black liner everywhere, but it smudged by midnight. Ruined the vibe.

    Over years of trial and error—smoky eyes that creased, lips that faded—I nailed looks that last through coffee runs or late nights.

    These are real, wearable goth ideas. Bold but not clownish. Spooky enough for Halloween, goth enough for everyday edge.

    11 Spooky Goth Makeup Ideas For Bold Looks

    These 11 goth makeup ideas are bold yet practical, pulled from my own nights out and fixes. Easy to do at home, they stay put all evening.

    1. Vampire Kiss Smoky Eyes with Blood Drip Lips

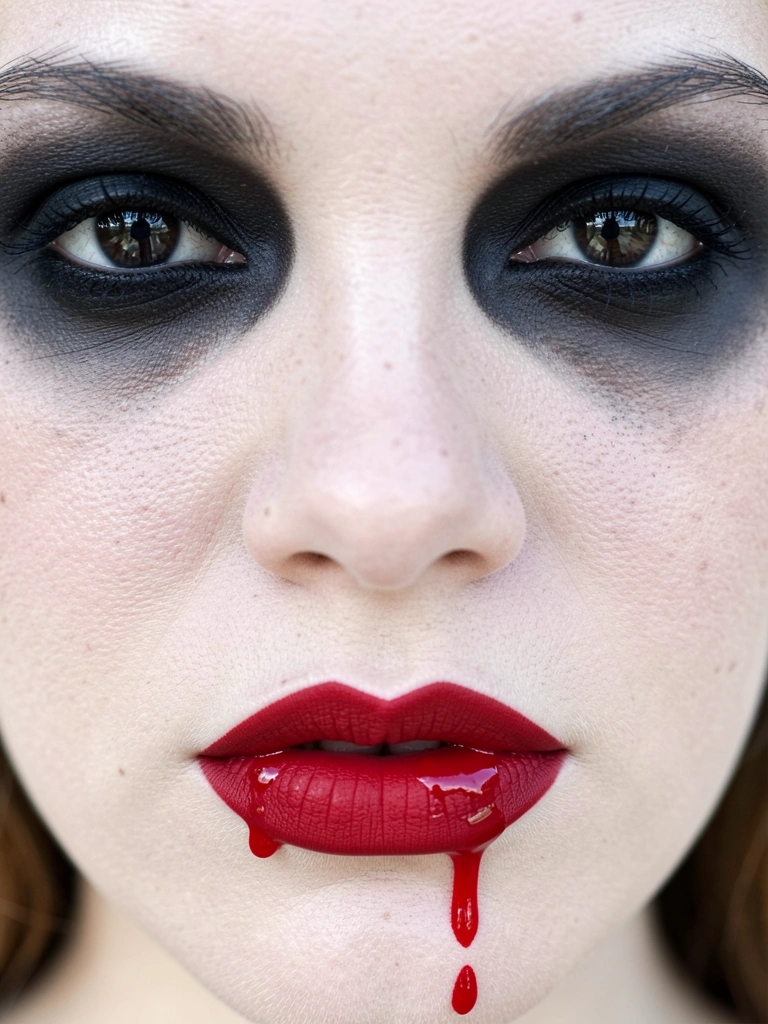
    I first tried this for a costume party, but the red lips bled everywhere until I set them with powder. Now it's my go-to for that undead allure without the mess.

    The smoky eyes use layers of black and gray shadow, blended soft on the edges so your eyes pop without looking raccoon-like. On me, it makes hazel eyes turn stormy. Pair with a stark pale base—drugstore foundation works fine.

    Lips are matte red with a glossy "drip" down the chin using clear gloss. Feels vampy, looks sharp in low light. Lasts through drinks if you blot first.

    Pro tip: Skip heavy contour; let the eyes and lips dominate. Wore it to a bar once—got compliments, no touch-ups needed.

    What You’ll Need for This Look

    Black eyeshadow palette

    Matte red lipstick

    Pale foundation

    Setting powder

    Clear lip gloss

    2. Corpse Bride Pale Wash with Arched Black Brows

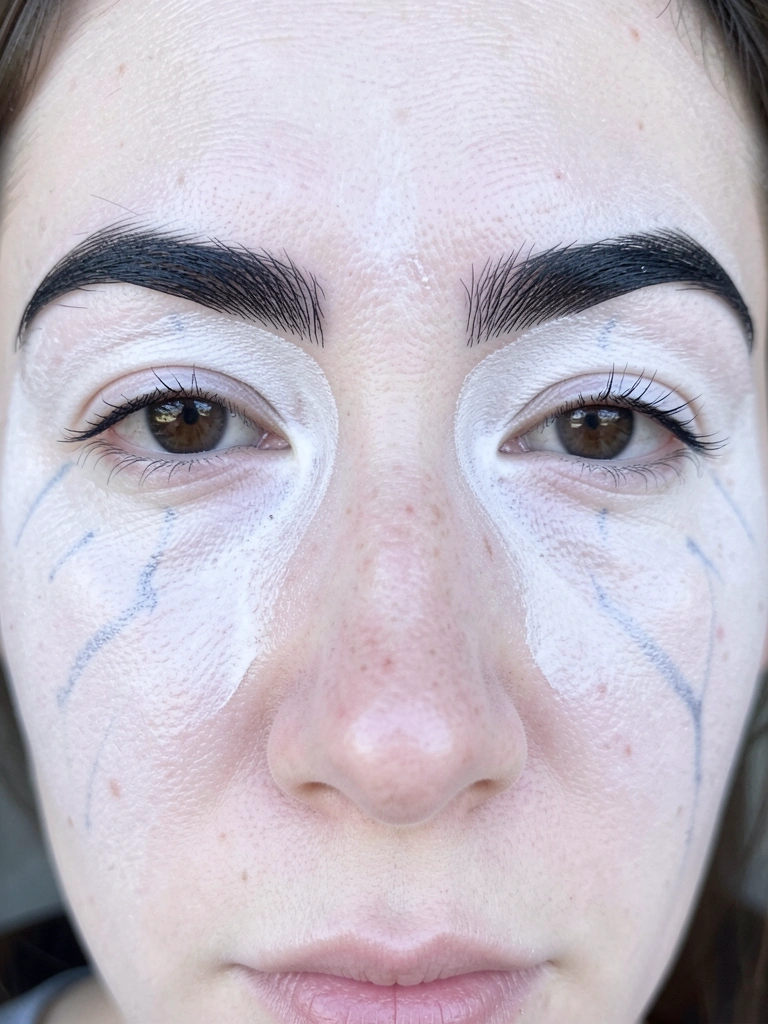
    Pale everything felt wrong at first—too ghostly for day. But blending a white wash over foundation gave me that eerie bride vibe that photographs like a dream.

    Brows are key: fill them sharp and high with black pencil, arch exaggerated. It frames the face dramatically. I skipped mascara once; eyes looked naked, so now I curl lashes first.

    Skin gets faint blue veins with eyeliner diluted in moisturizer. Subtle on my fair tone, spooky up close. Feels cool, not cakey if you use lightweight primer.

    Wore this to a wedding-themed event. Lasted hours, easy wipe-off. Honest fix: test vein color on hand first.

    What You’ll Need for This Look

    White face paint

    Black brow pencil

    Lightweight primer

    Blue eyeliner pencil

    Lash curler

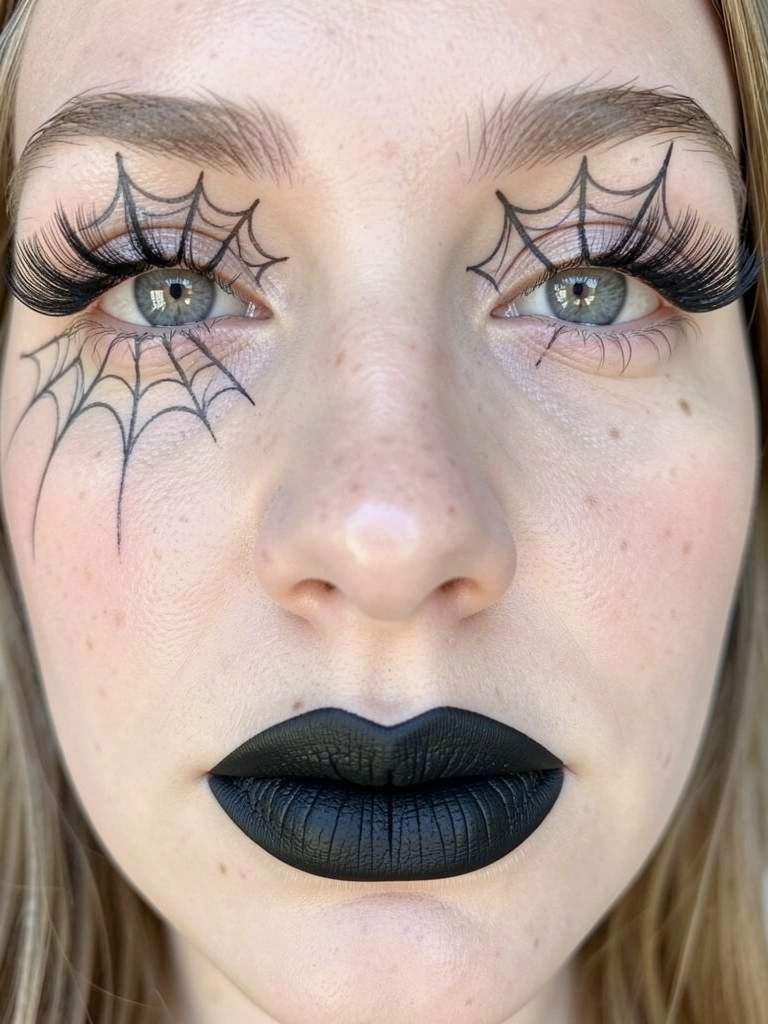
    3. Spiderweb Lashes with Matte Void Lips

    Drew spiderwebs on my lids with liner once; they smeared until I used gel. Now they stay crisp, framing falsies that look haunted.

    Lashes are dramatic clusters, glued outer corners first. On me, they widen eyes without falsies poking cheeks. Lips go full matte black—line overdraw slightly for pout.

    Whole face minimal: just gray shadow wash. Feels lightweight, bold stare-down ready. I returned glittery falsies; matte ones blend better.

    Perfect for clubs—turns heads, doesn't budge in heat.

    What You’ll Need for This Look

    Gel black eyeliner

    Dramatic false lashes

    Matte black lipstick

    Lash glue

    Gray eyeshadow single

    4. Zombie Green Shadows with Cracked Skin

    Green shadows smeared like a zombie apocalypse on my first try. Fixed with cream base—now it's undead perfect, mottled and menacing.

    Smear olive and lime shades under eyes, blend rough. Cracks use white liner cracked with finger, set dry. On medium skin, greens pop sickly.

    Lips nude, bitten-look with liner. Feels gritty fun, washes off easy. Mistake: too much product cakes; less is undead.

    Wore to a hike party—sweat-proof with setting spray.

    What You’ll Need for This Look

    Green eyeshadow palette

    White liquid eyeliner

    Cream eyeshadow base

    Setting spray

    Nude lip liner

    5. Witchy Plum Smoke with Thorn Brows

    Plum smoke felt too sheer once; built layers for witchy depth. Brows drawn with thorn points using stencil—edgy without cartoon.

    Eyes gradient from lid to crease, wing thin. On me, warms brown eyes to potion-brew purple. Lips berry stain, no shine.

    Face powdered matte. Comfortable for all-night spells. Insight: thorn brows soften with brow gel.

    What You’ll Need for This Look

    Plum eyeshadow palette

    Brow stencil set

    Berry lip stain

    Brow gel clear

    Face powder compact

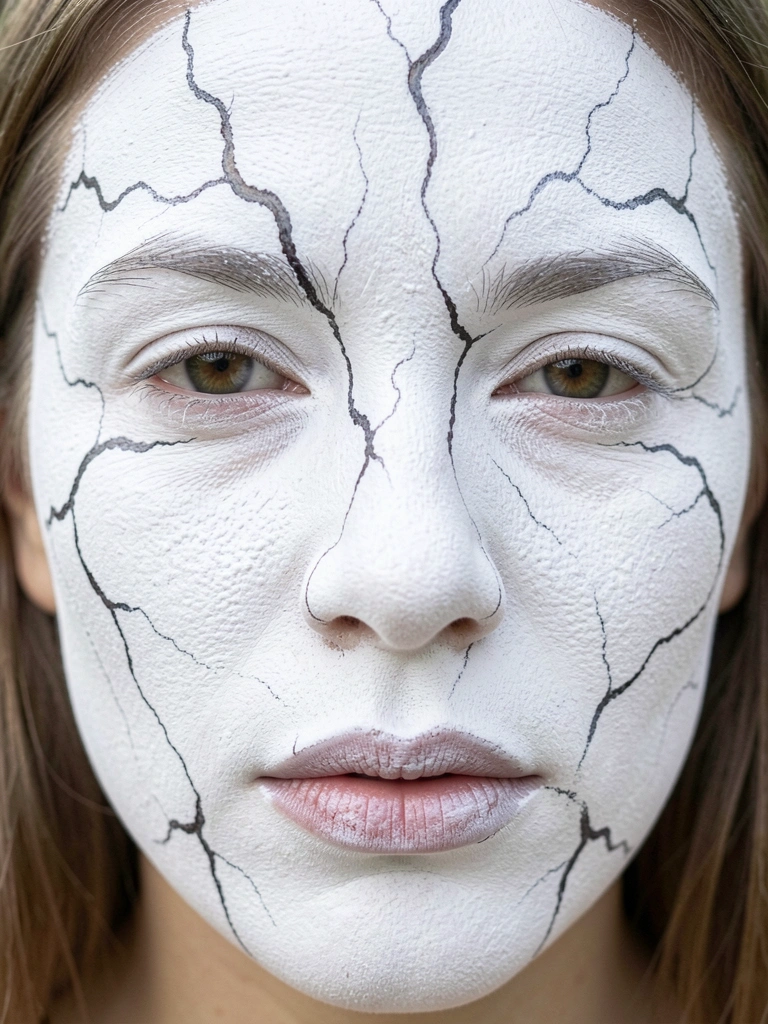
    6. Ghostly Whiteout with Black Vein Traces

    Whiteout cracked my skin first time—no primer. Now prepped, it's spectral smooth with vein liner wisps on temples and neck.

    Eyes bare, just white liner waterline. Lips gone pale pink. Feels ethereal, stares haunting. On olive skin, needs double layers.

    Simple, quick. Wore daily goth—faded gracefully.

    What You’ll Need for This Look

    High coverage white foundation

    Face primer

    Black liquid eyeliner

    Pale pink lipstick

    7. Batwing Liner with Deep Plum Lips

    Batwing liner winged too far once—fixed shorter flick. Sharp on lids, plum lips seal the night creature look.

    Liner double: pen over pencil for stay. Lips overline plum matte. Eyes shadowed soft black. Feels fierce, wearable.

    Club favorite—no smudge with waterproof.

    What You’ll Need for This Look

    Waterproof eyeliner pen

    Deep plum lipstick

    Eyeliner pencil base

    Black shadow primer

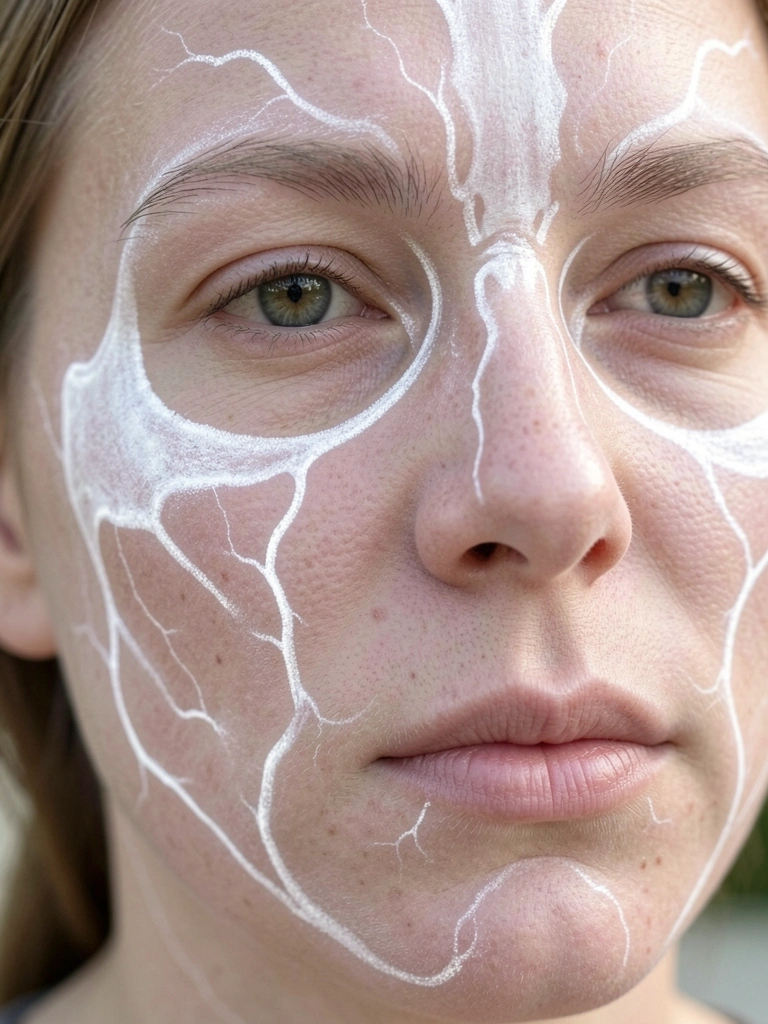
    8. Skeletal Contour with Glow Veins

    Skeletal contour looked muddy first—used gray instead of black. Hollows cheeks, jaw; glow veins trace with white highlighter.

    Pale base unifies. Eyes simple liner. Lips blackish purple. On me, slims face spooky. Mistake: blend shadows soft.

    Glows under blacklight—party win.

    What You’ll Need for This Look

    Gray contour powder

    White highlighter stick

    Pale primer

    Purple black lipstick

    Thin eyeliner brush

    9. Raven Lash Wings with Charcoal Crease

    Raven lashes flared wrong—trimmed tips. Now winged with liner, charcoal crease cuts dramatic.

    Crease packed gray, blend up. Lips nude gray. Feels bird-of-prey sharp. Lasts wind, rain.

    What You’ll Need for This Look

    Flared false lashes

    Charcoal eyeshadow

    Winged liner stamp

    Gray lip liner

    10. Poison Ivy Thorn Lips with Green Brows

    Thorn lips outlined green liner—bled until lipliner base. Brows filled matching green powder, spiked ends.

    Lips bright green matte. Eyes neutral smoke. On tan skin, pops venomous. Feels toxic chic.

    What You’ll Need for This Look

    Green lip liner

    Matte green lipstick

    Green brow powder

    Lip primer

    Neutral shadow quad

    11. Midnight Cut Crease with Silver Tears

    Cut crease blue sharp but creased—fixed with tape. Silver tears drip from eyes with gloss.

    Crease cut navy powder, lids black. Lips deep indigo. Feels cosmic goth. Wore rainy night—no run.

    What You’ll Need for This Look

    Blue eyeshadow powder

    Silver glitter gel

    Eyeliner tape

    Indigo lipstick

    Black lid shadow

    Final Thoughts

    Pick one or two ideas that match your skin and vibe—no need for the full haul.

    I've built my kit slowly, testing what lasts on real skin. Yours can too.

    Go bold, but start small. You'll feel that goth power.

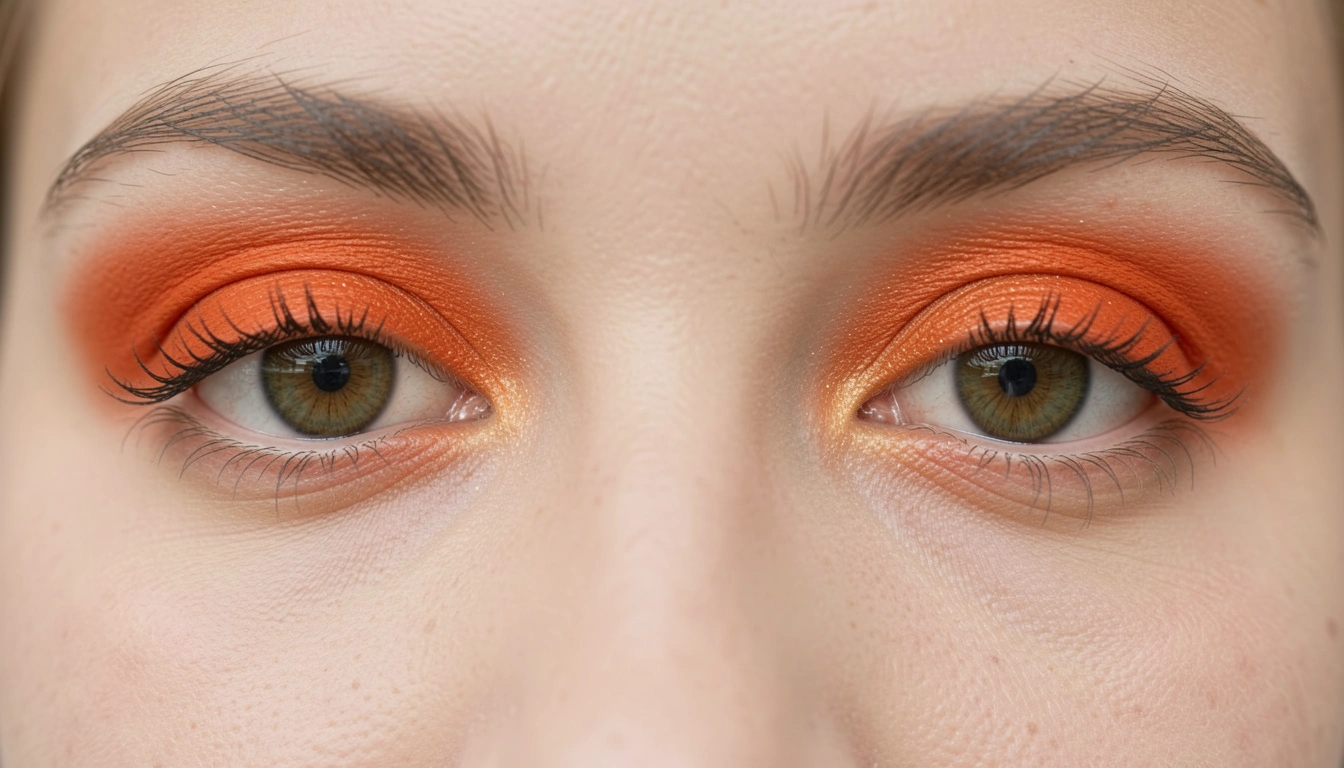
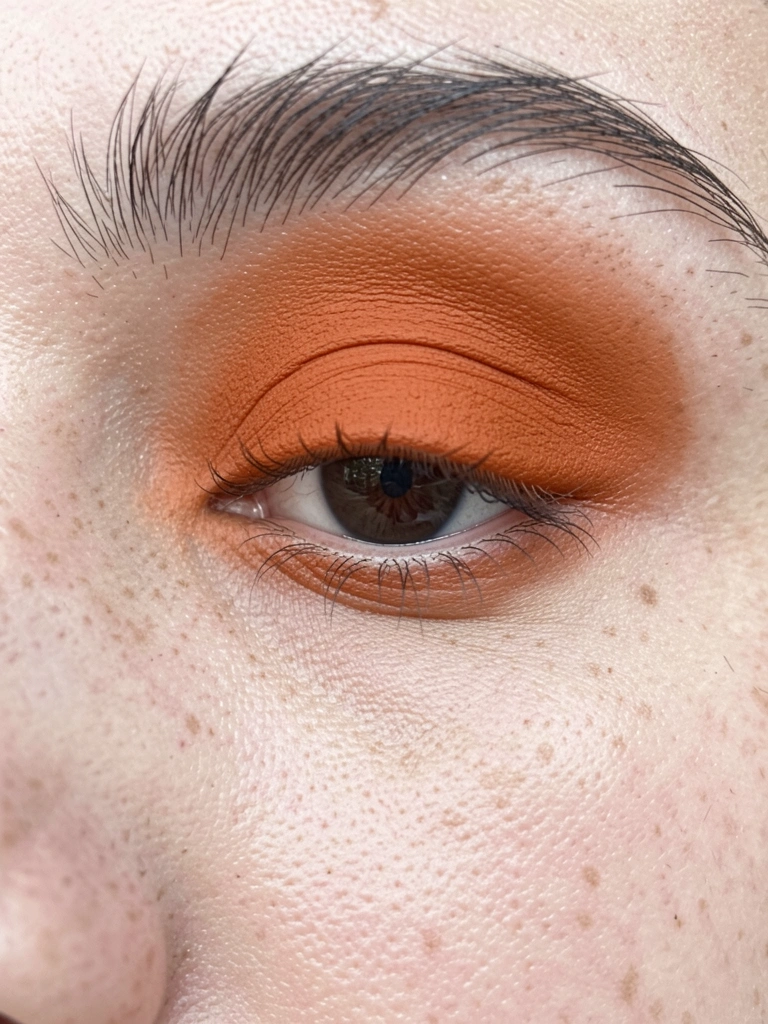
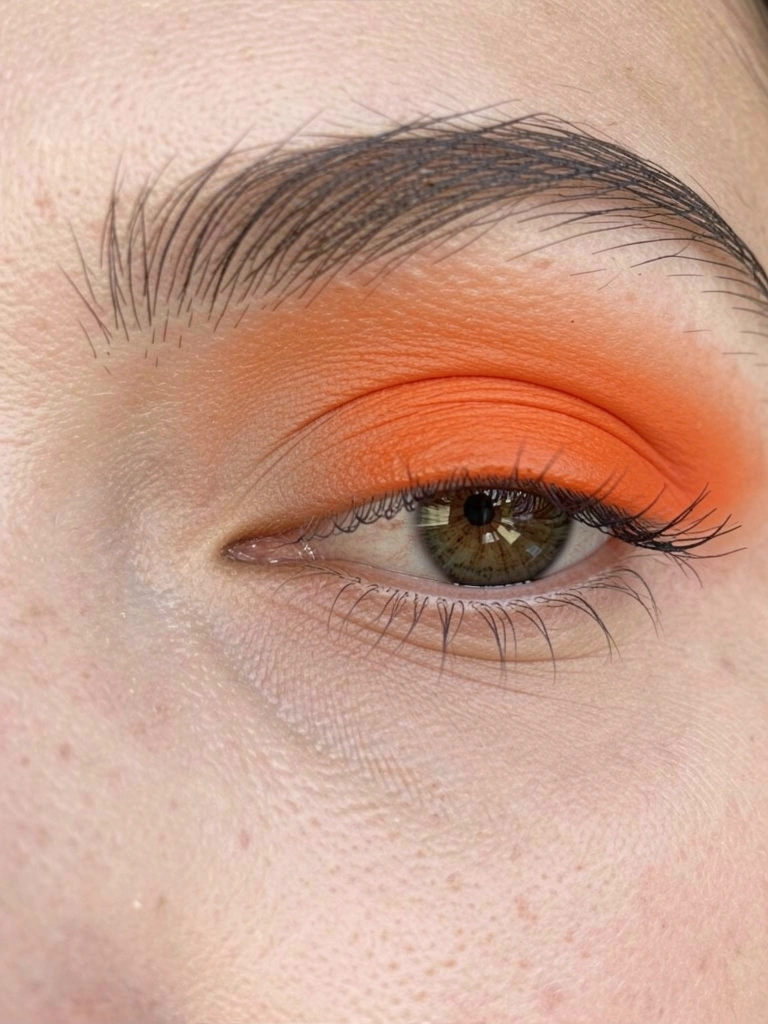
  • How To Blend Orange Eyeshadow

    How To Blend Orange Eyeshadow

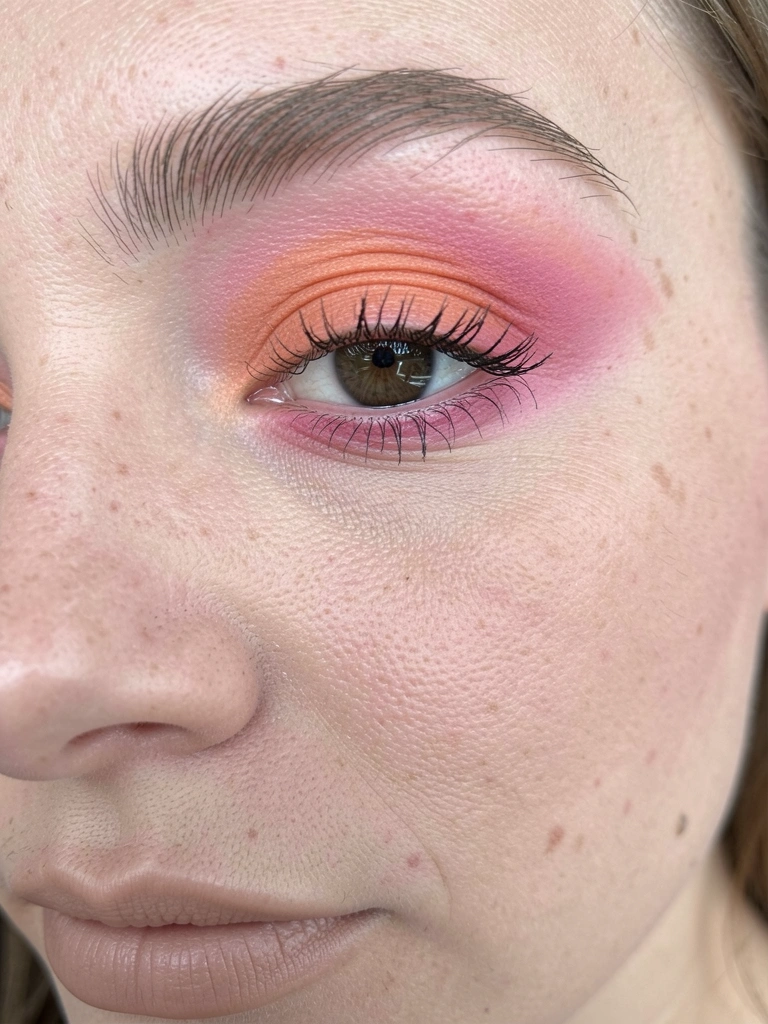
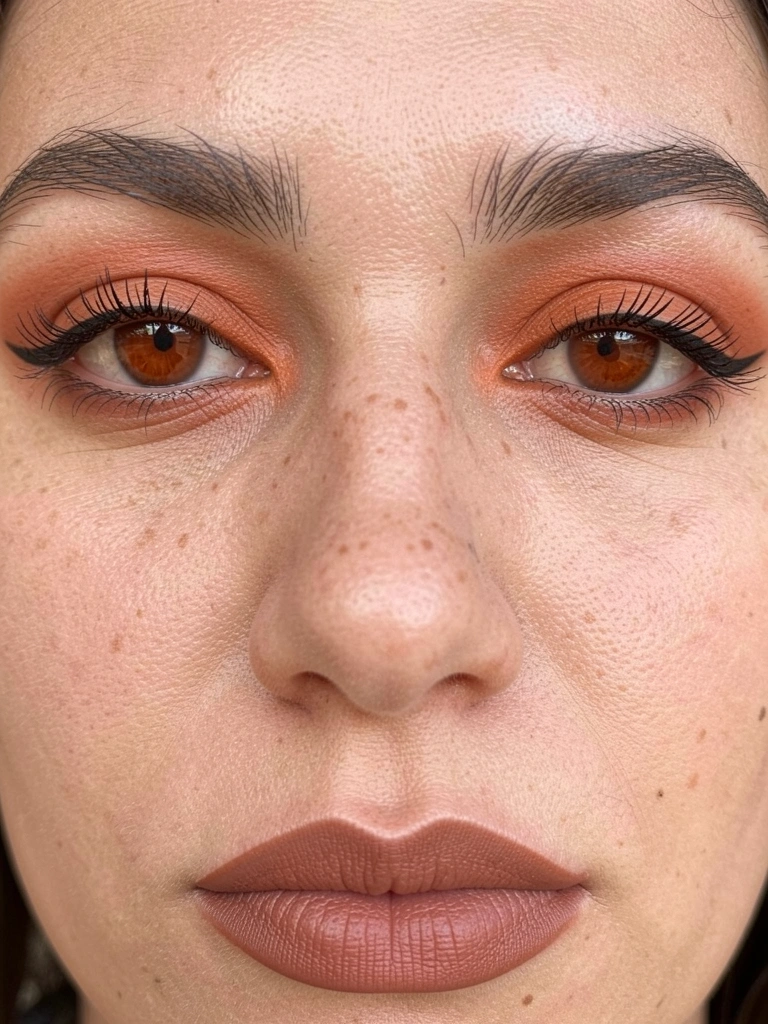
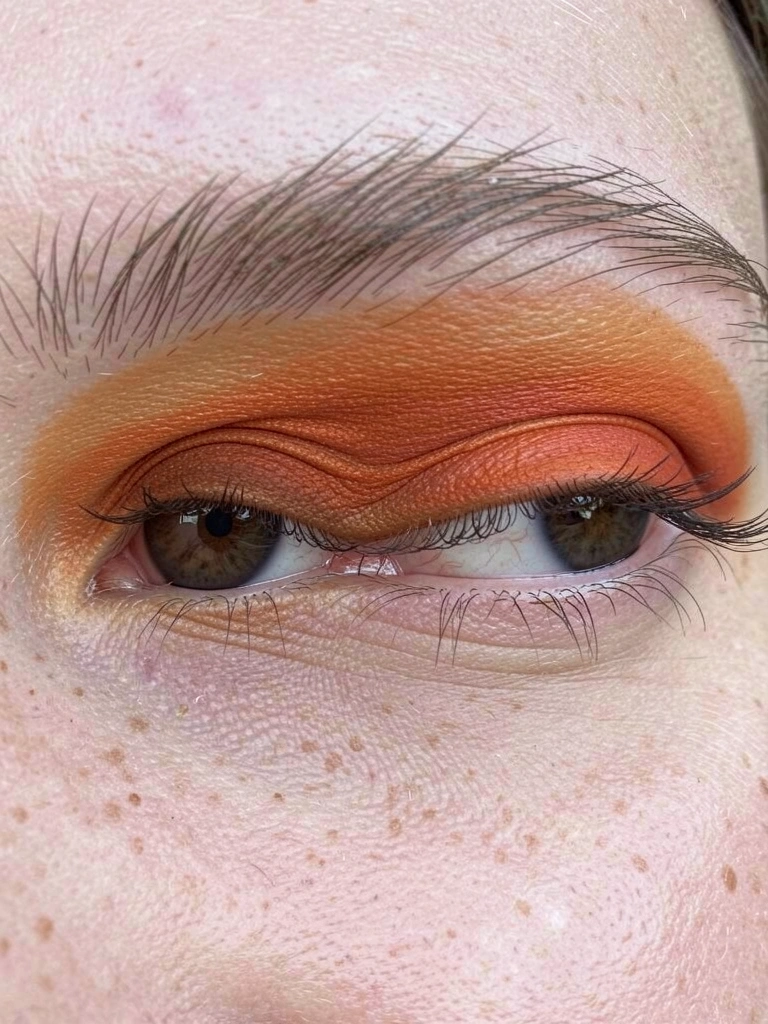
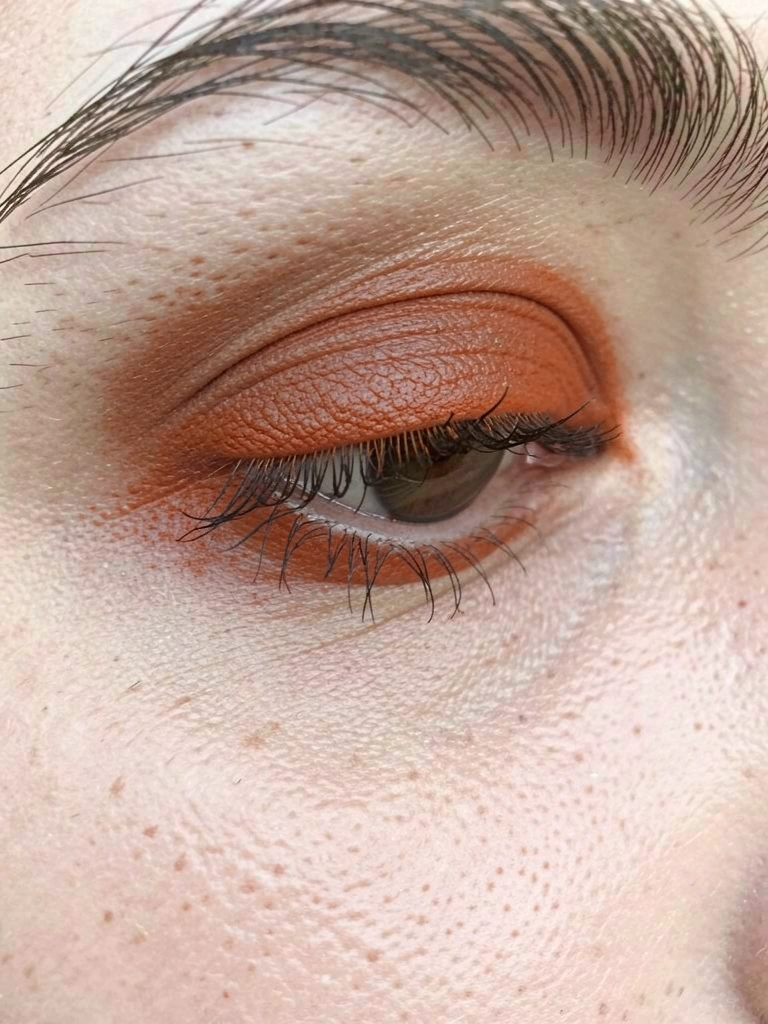
    I picked up an orange eyeshadow palette thinking it'd add warmth to my look. But when I swiped it on, it sat harsh against my skin, like a streak of rust. The edges looked muddy, pulling the whole face off balance.

    I'd blink and catch it in the mirror—uneven, flat. It made my eyes feel smaller, not brighter.

    We all hit that wall with bold colors. Orange promises sunset vibes, but blending it right changes everything.

    How To Blend Orange Eyeshadow

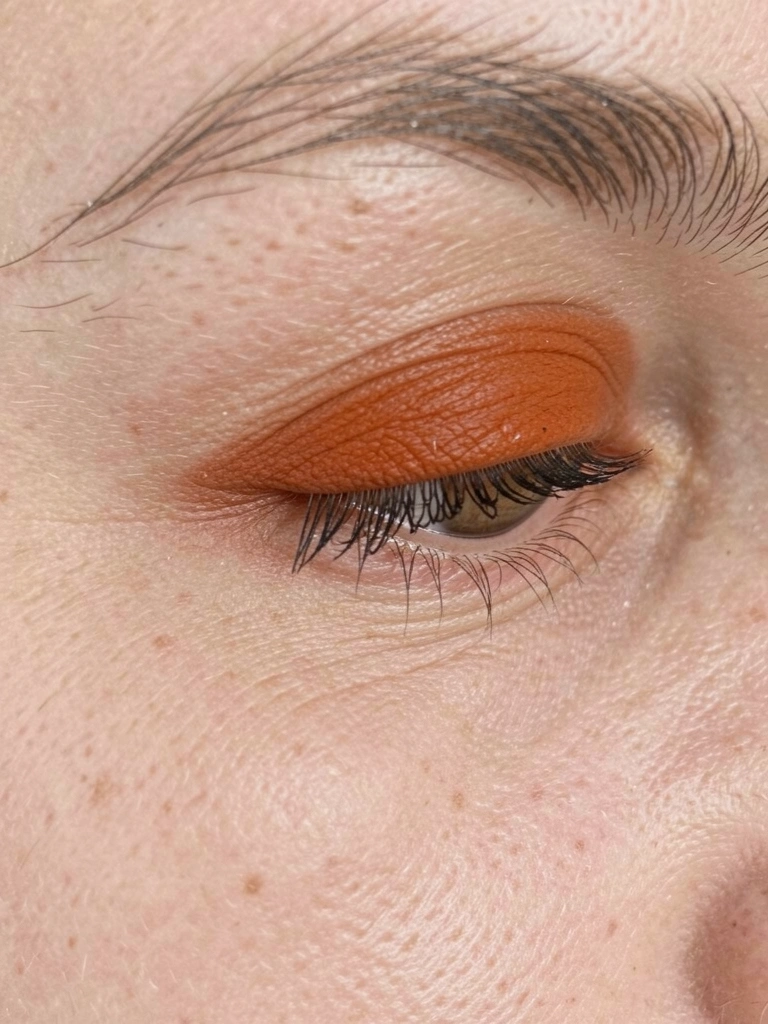
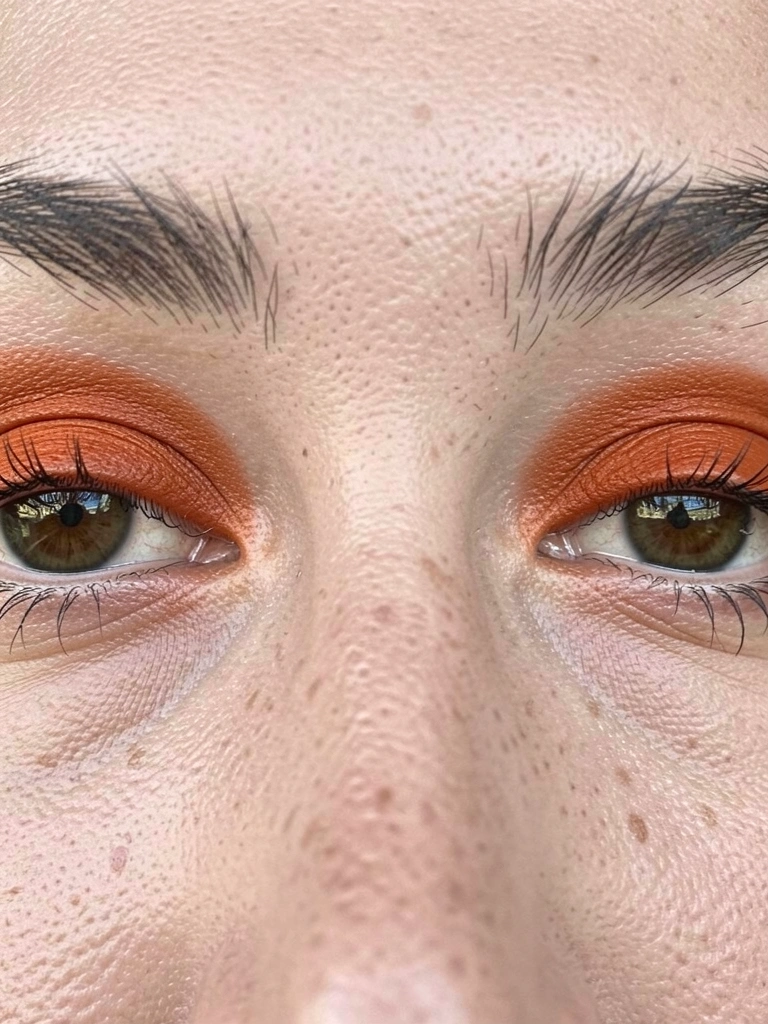
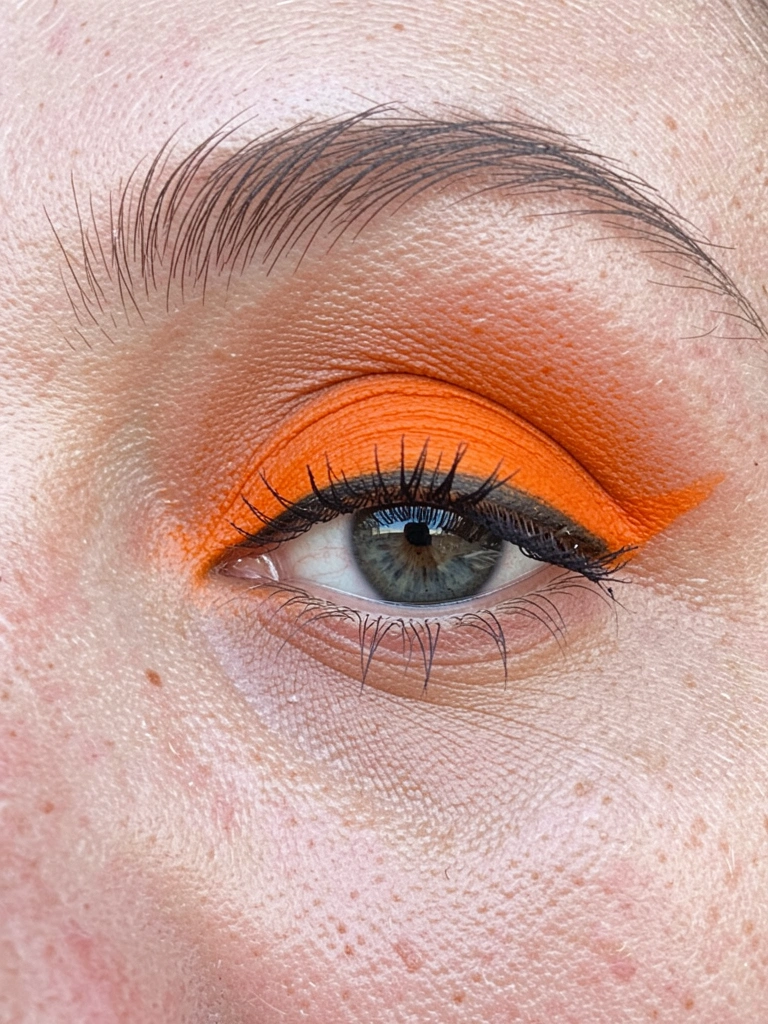
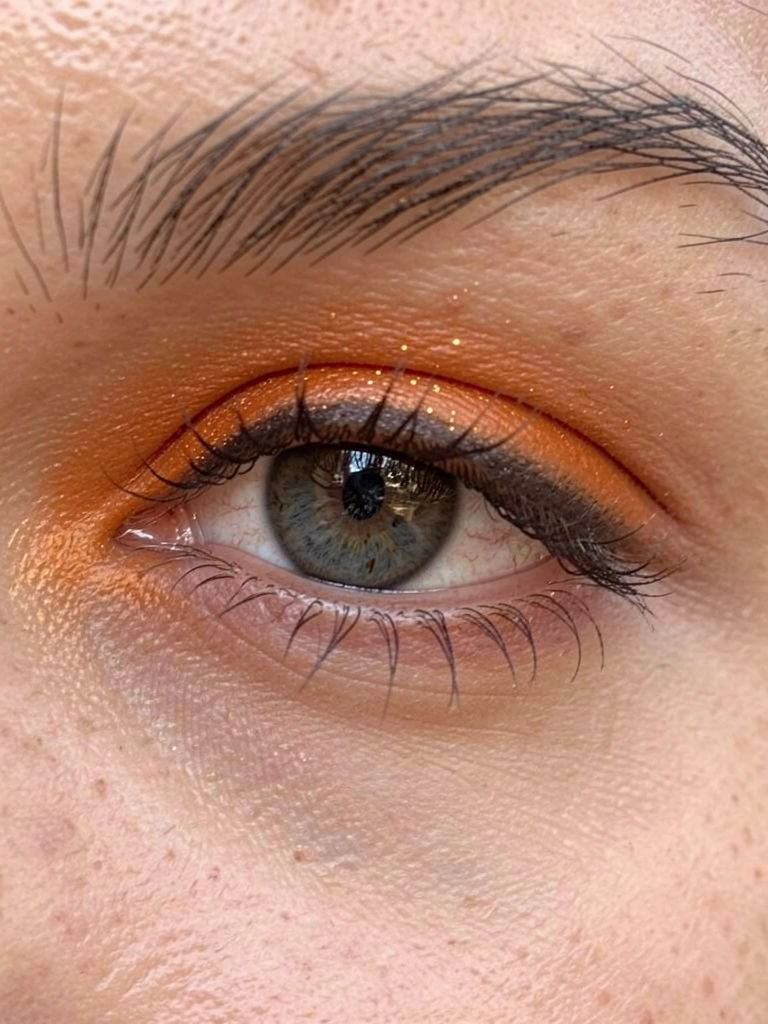
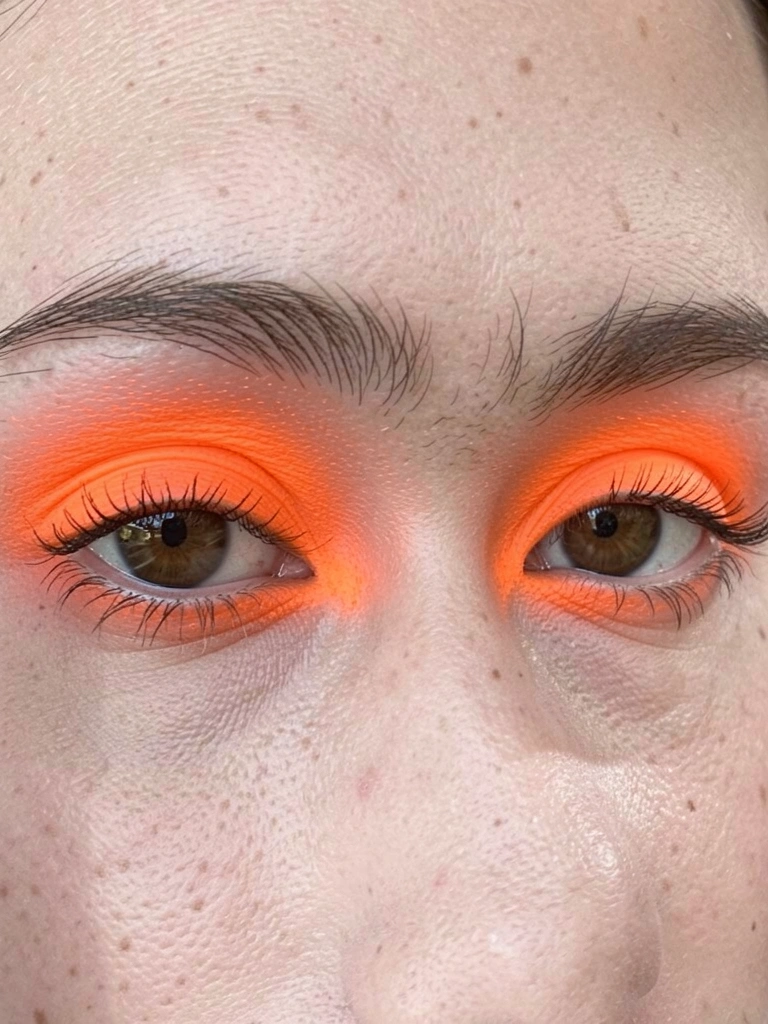
    This guide walks you through blending orange eyeshadow into a soft, even wash that sits balanced on your lid. You'll end up with eyes that feel awake and intentional, without harsh lines. It's the simple routine I rely on for wearable warmth.

    What You’ll Need

    Step 1: Prime for Grip

    I start by dabbing a bit of primer across my lid with my ring finger. It grips the color so orange doesn't slide or fade by noon. Without it, powder floats away, leaving patches.

    Visually, my lid looks smooth and even-toned now—a blank canvas that holds balance. The insight most miss: primer mutes orange's intensity just enough for everyday wear.

    Avoid slathering it thick; a thin layer prevents creasing. I feel the difference immediately—my eye area stays put, balanced with my face.

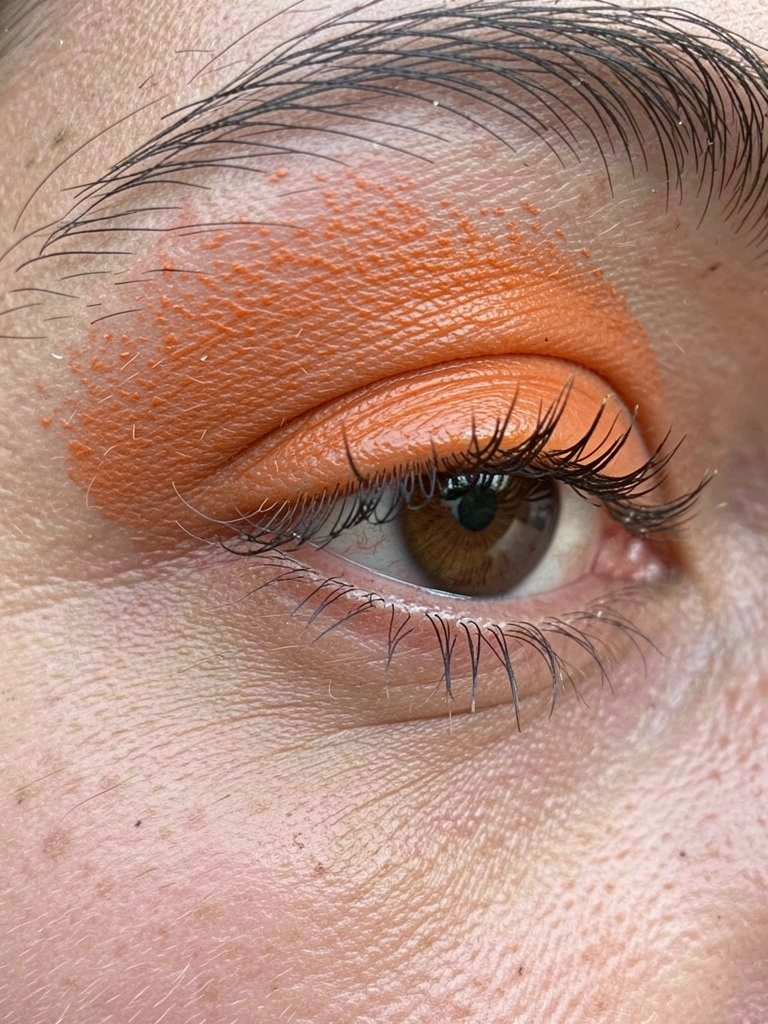
    Step 2: Pack on the Base Orange

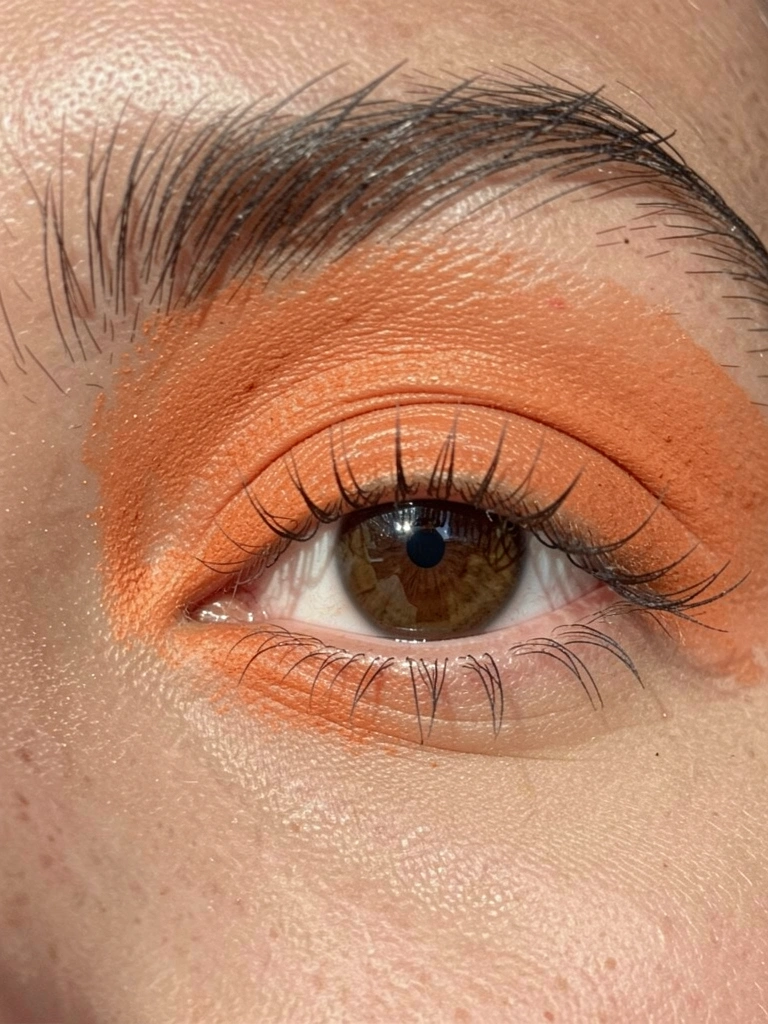
    Next, I dip my dense brush into the matte orange and pat it onto the center of my lid. This builds the warmth where it counts, keeping the color concentrated but not overwhelming.

    My lid shifts from neutral to a soft glow—the orange settles flat, making eyes pop without shouting. People overlook patting over swiping; patting prevents fallout and keeps edges clean.

    Don't overload the brush or it muddies fast. I notice my face feels more unified, the orange pulling warmth into cheeks naturally.

    Step 3: Blend the Outer Edges

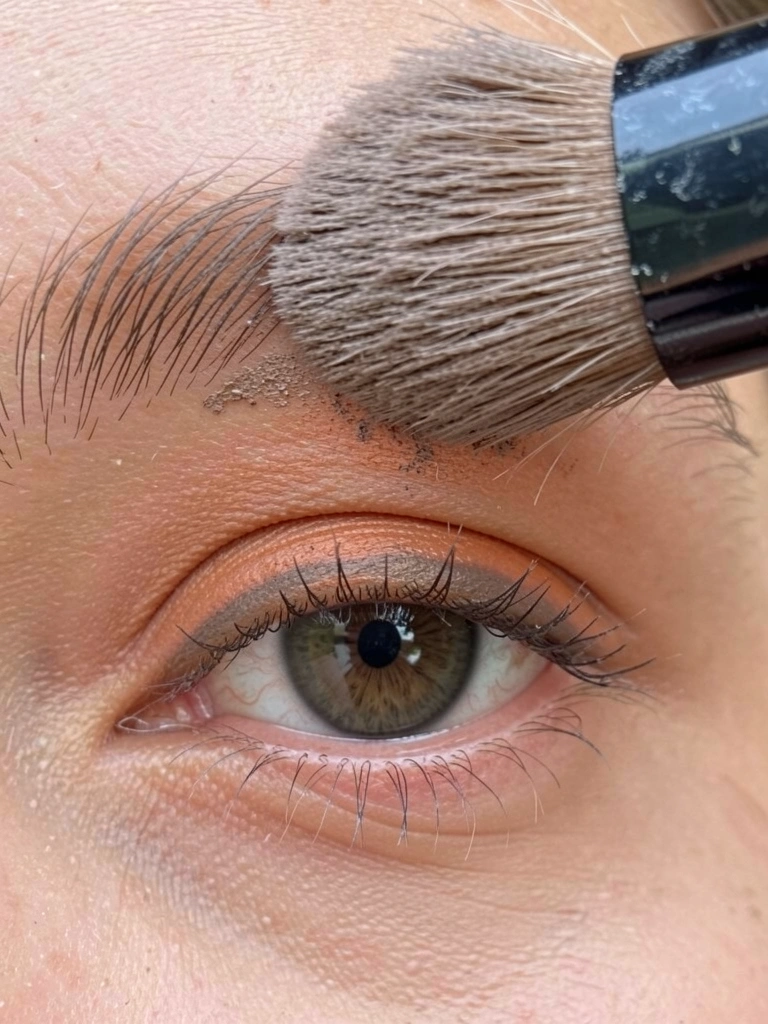
    I grab the fluffy brush, load it lightly with the same orange, and swirl it into the outer corner. Short, windshield-wiper motions diffuse it toward my brow bone, softening any hard stops.

    The visual change is key: edges fade seamlessly, creating a gradient that balances the lid's depth. The missed insight—less product blends more evenly; overload turns it chalky.

    Skip buffing too long or you lose vibrancy. My eyes feel elongated now, harmonious with the rest of my features.

    Step 4: Weave in Transition Shade

    I pick up taupe on the fluffy brush and blend it into the crease, right above the orange. Light back-and-forth pulls it all together, like threading colors without mud.

    Now the eye has dimension—orange grounds the lid while taupe lifts it visually. Most forget this bridge shade; it prevents flatness and ties to brow color.

    Don't drag down low or it weighs the eye. I see the balance: my face reads warmer, more intentional overall.

    Step 5: Set and Refine

    Finally, I tap translucent powder with the angled brush to lock it. A quick once-over catches any fallout, leaving a matte, lived-in finish.

    The look settles—color even, no shine betraying wear time. Insight: setting keeps blends intact through the day; skip it and it creases by lunch.

    Avoid heavy pressing; light dusting preserves softness. My eyes feel comfortable, blending right into any outfit.

    Choosing Orange Shades for Your Undertone

    I scan my veins first—blueish for cool, greenish for warm. Warm oranges suit me best; they don't clash.

    • Cool undertones: Peachy oranges with pink hints.
    • Warm undertones: Terracotta or rusty shades.
    • Neutral: True burnt orange.

    Test on inner arm in daylight. It saves returns and feels right on skin.

    Day vs. Evening Orange Blends

    Daytime, I keep orange sheer—one layer, heavy blend. It wakes eyes quietly.

    Evenings, I build to medium density. Add liner below for depth.

    Both stay wearable. I switch based on light—office fluorescents demand subtlety.

    Outfit Pairings That Balance Orange Eyes

    Orange eyes pull warmth, so I layer neutrals.

    Cream blouses ground it. Denim adds casual edge. Gold jewelry echoes without competing.

    Avoid cool silvers—they fight the vibe. My mirror check confirms: balanced, not busy.

    Final Thoughts

    Try one eye first to build feel. Orange blends easier than expected once you see the diffusion.

    You'll notice eyes harmonize with your face faster. Wear it out casually—let it settle into your routine.

    It's just color working quietly.

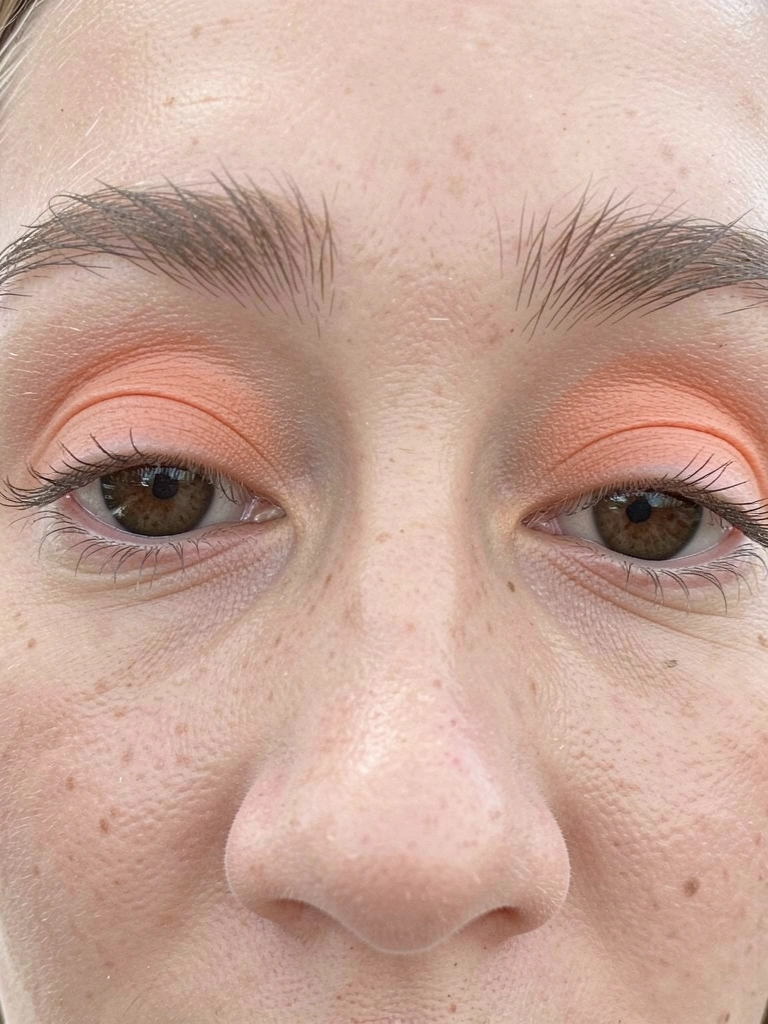
  • How To Do Orange Makeup Look

    How To Do Orange Makeup Look

    I stared at my reflection after slapping on orange shadow. It pulled harsh against my skin, cheeks flat, lips clownish. The whole face felt unbalanced, like colors fighting each other.

    I stepped back, noticed the lack of base harmony. Tweaked tones, built slowly. Now it sits right—warm, not overpowering.

    If orange makeup trips you up too, this fixes it.

    How To Do Orange Makeup Look

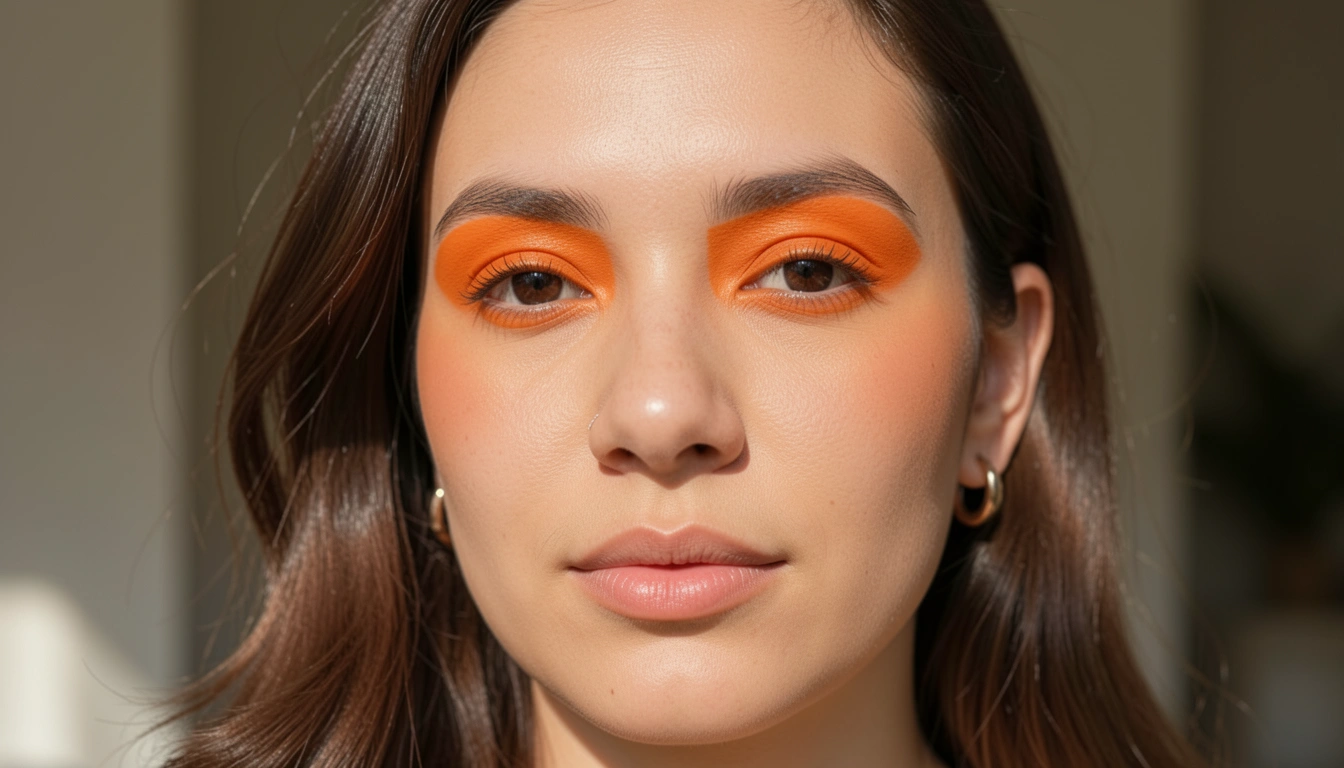
    This method gives you a balanced orange makeup look that warms your face without clashing. I use it for casual days or evenings. Ends up feeling fresh, even on busy mornings.

    What You’ll Need

    Step 1: Prep Your Base for Tone Balance

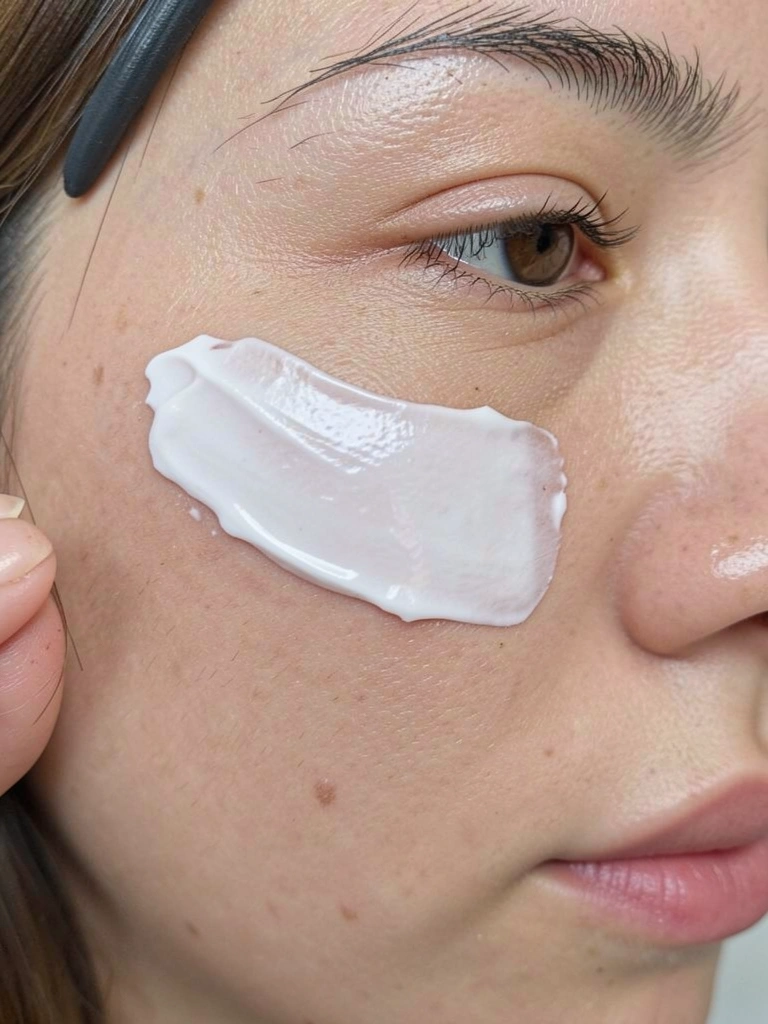
    I start with primer on clean skin. It evens things out, stops orange from looking muddy later. Rub it in with fingers—light layer only.

    Visually, your face goes smooth, ready to hold color. What changes: no patchiness pulling at shadows.

    People miss how primer mutes undertones. Without it, orange fights your skin. Avoid heavy cream—makes later layers slide.

    I feel the difference right away. Base sits calm, sets up balance.

    Step 2: Build Orange on Lids Gently

    I pat lightest orange from palette on lids, blend outward with brush. Why? Builds depth without overload. Keep it to crease max.

    Eyes warm up, face pulls together. Visual shift: lids glow soft, not stark.

    Missed insight: blend edges soft—harsh lines make it dated. Avoid packing color center only; fades fast.

    Feels wearable now, like sun-kissed skin.

    Step 3: Add Peach to Cheeks for Harmony

    I swipe peach blush high on cheeks, dust bronzer below. Ties orange eyes to face. Light taps—builds even.

    Cheeks flush natural, balances lids. Face looks cohesive, not pieced.

    People skip bronzer bridge—leaves cheeks floating. Avoid over-blush; muddies orange.

    Touch feels blended, skin breathes.

    Step 4: Layer Lips Last for Full Balance

    I line lips faint, fill with orange lipstick. Why last? Matches built tones perfectly.

    Lips warm full face, pulls look tight. Visual: even color, no bleed.

    Insight: dab center first—eases blending. Avoid full swipe; looks flat.

    Now whole face hums balanced.

    Step 5: Set It All Softly

    I dust powder light over all. Holds without cake. Locks balance in place.

    Face stays put hours, tones true. No shift to muddy.

    Miss: powder heavy kills warmth. Avoid wet areas first; clumps.

    Feels secure, lasts real life.

    Common Mistakes I Learned to Skip

    I used to rush tones. Face ended patchy.

    • Blend shadows fully—half-done looks streaky.
    • Match undertones always—cool skin hates warm orange.
    • Layer thin—thick piles overwhelm.

    Now I check mirror midway. Keeps it simple.

    Adapting for Your Skin Tone

    Warmer skin takes deeper orange. I go rust.

    For cooler, peach it down.

    • Fair: Sheer corals.
    • Medium: True orange.
    • Deep: Terracotta.

    Test swatch neck. Feels right then.

    Pairing with Simple Outfits

    Orange makeup warms neutrals. I pair jeans, white top.

    • Gold hoops add echo.
    • Nude lips if toning down.
    • Avoid black—fights warmth.

    Stays casual, balanced.

    Final Thoughts

    Try one step first—base or eyes. Builds your eye.

    You'll see balance click. No more off feels.

    Wear it out soon. It's yours now.

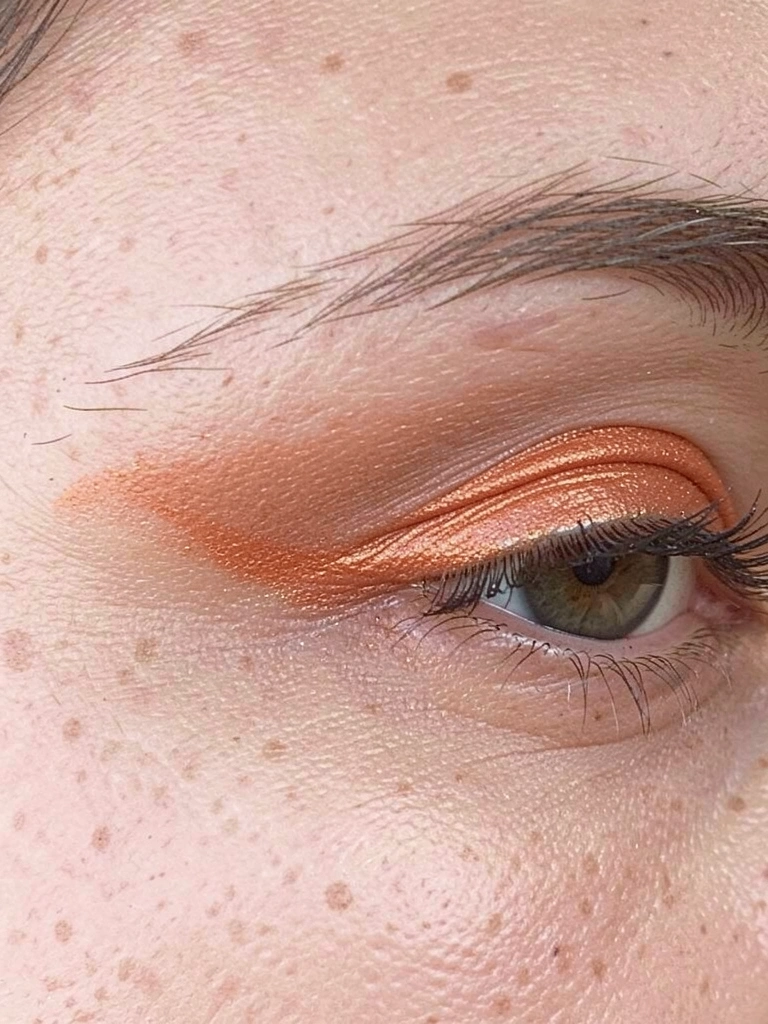
  • 12 Aesthetic Orange Makeup Looks For Soft Glow Inspo

    12 Aesthetic Orange Makeup Looks For Soft Glow Inspo

    I remember the first time I swiped on orange shadow. It felt scary—too bold for my office days. But blended soft, it gave this warm glow that made my skin look alive, not clownish. I'd ruined looks before with harsh lines, but sheer layers changed everything.

    Now, orange is my go-to for that effortless radiance. No heavy contour, just sun-kissed vibes that last through coffee runs and evenings out.

    These looks come from trial and error in my mirror—what flatters real faces, not filters.

    12 Aesthetic Orange Makeup Looks For Soft Glow Inspo

    These 12 orange aesthetic makeup looks deliver soft glow inspo you can wear daily. Pulled from my routine, they're simple to recreate with drugstore finds.

    1. Peachy Sunset Eyes for Quiet Evenings

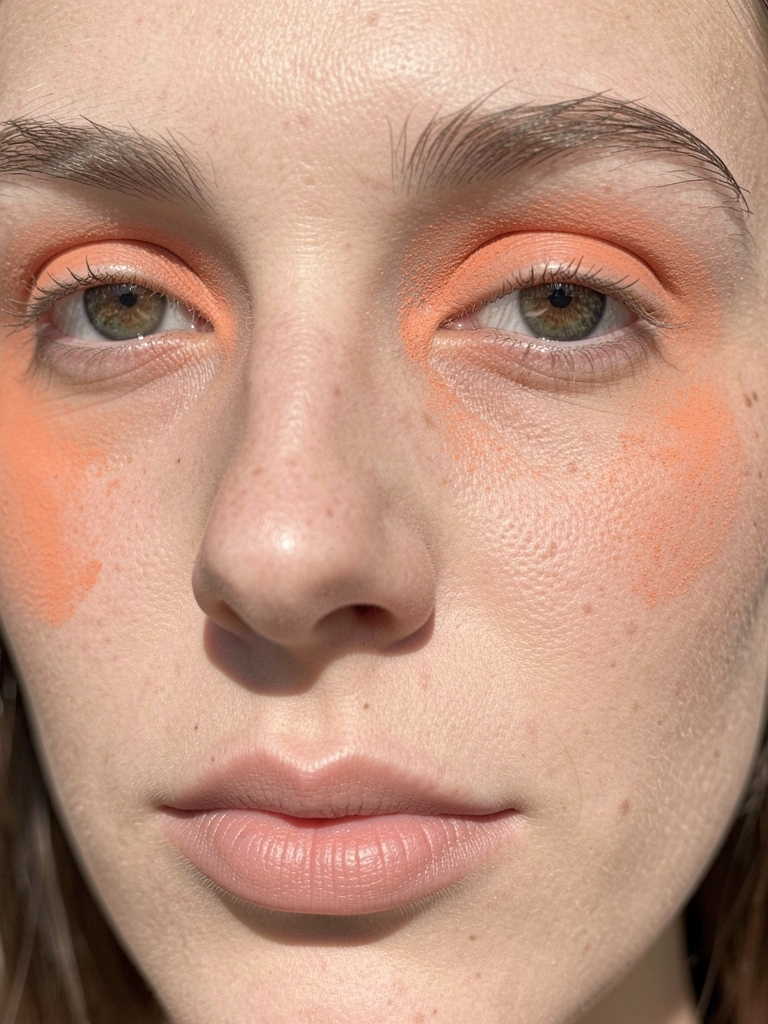
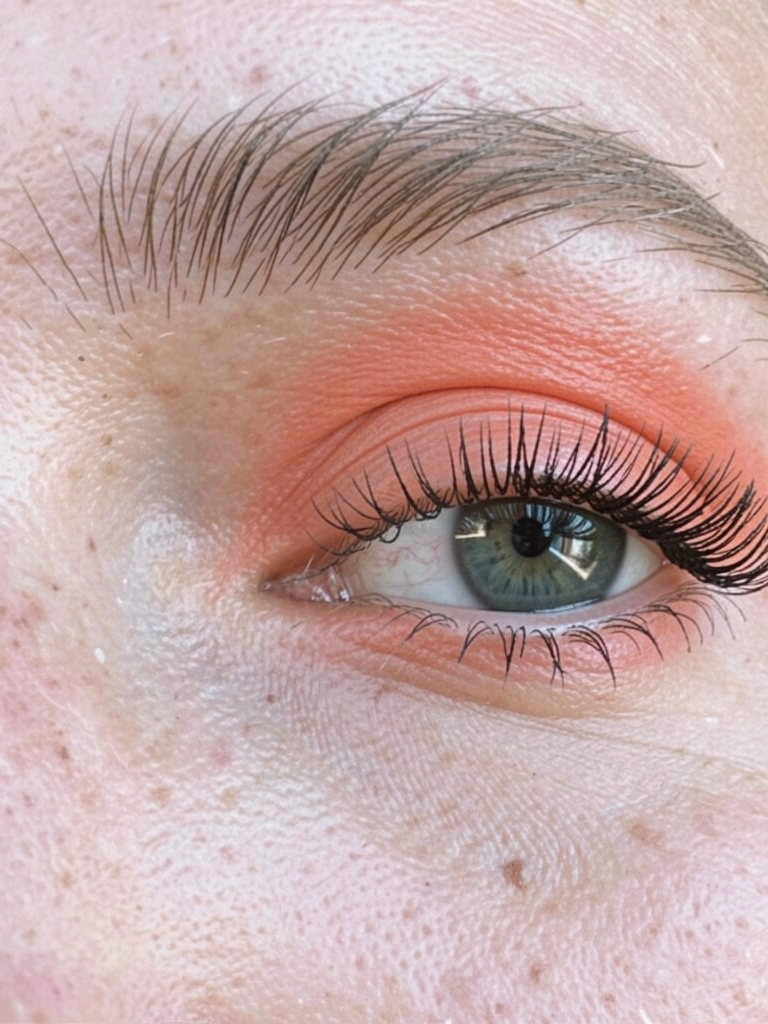
    I wore this to a friend's dinner last week—peachy orange shadow blended from lid to brow bone. It caught the light just right, giving my tired eyes a rested glow without shimmer overload. On my medium skin, it warmed everything up naturally.

    The key was sheer application; I buffed it with a fluffy brush after cream shadow grabbed too much pigment once. Felt comfortable, like wearing sunset.

    Pair with bare skin elsewhere—let eyes do the quiet talking. Lasts through laughs and wine.

    What You’ll Need for This Look

    2. Terracotta Cheek Flush That Reads Healthy

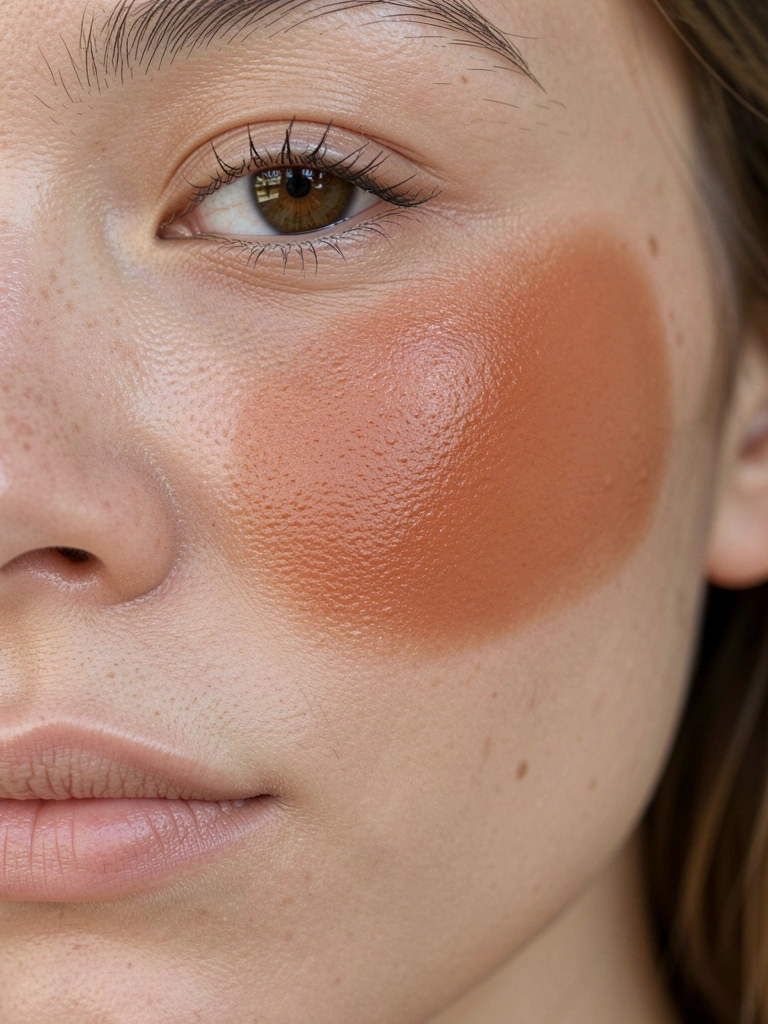
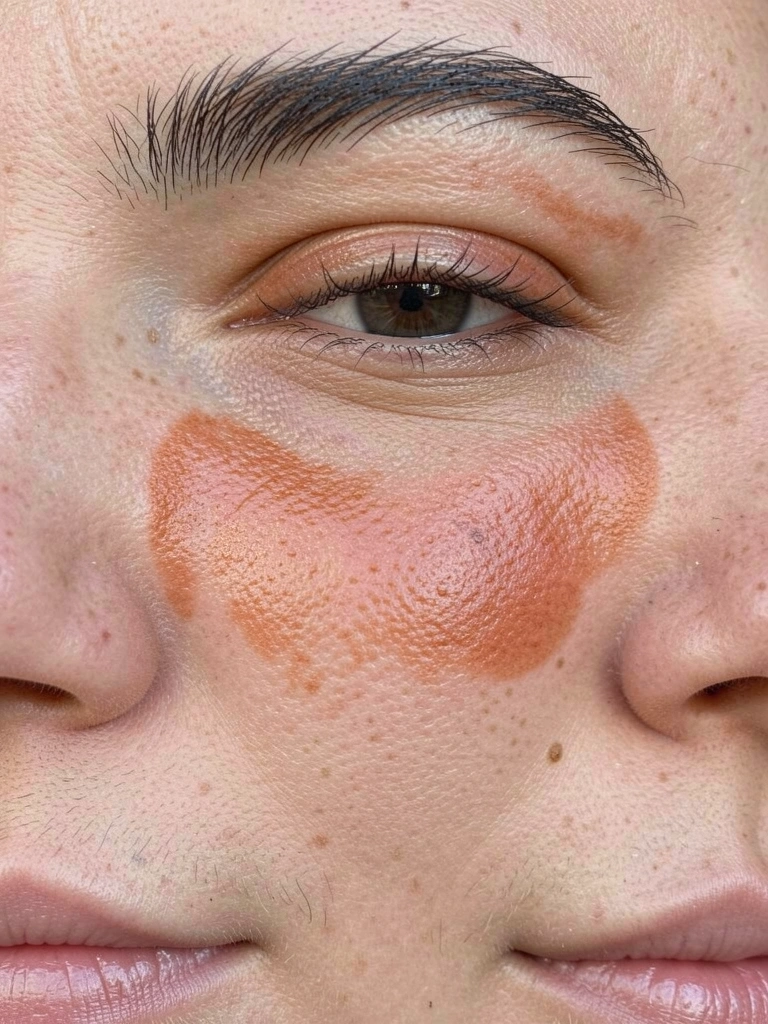
    Terracotta blush became my winter fix—dusted high on cheeks, it mimics that post-walk flush. I tried powder first; it sat weird on dry skin until I mixed with moisturizer for creaminess.

    On me, it pulls olive tones forward, softens jawline without contour drama. Wore it shopping; strangers complimented my "glow."

    Build sheer, tap off excess. Feels like nothing's there but looks alive.

    What You’ll Need for This Look

    3. Glossy Tangerine Lips for Casual Dates

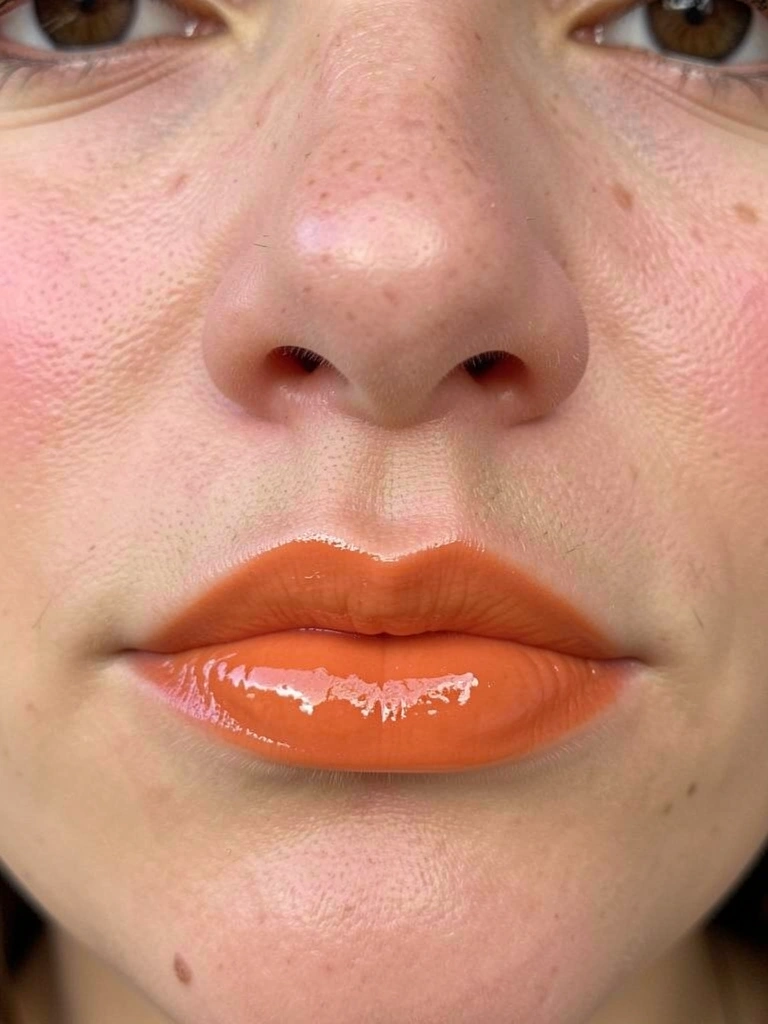
    Tangerine gloss saved a bland date look—swiped over liner, it plumps lips with juicy shine. I'd returned matte oranges; they dried me out. This sheer version feels hydrating.

    My fair skin loves the pop; doesn't clash with freckles. Wore it coffee-to-walk; stayed put without cracking.

    Line first for definition, blot gloss. Effortless warmth.

    What You’ll Need for This Look

    4. Golden Orange Highlighter for All-Day Radiance

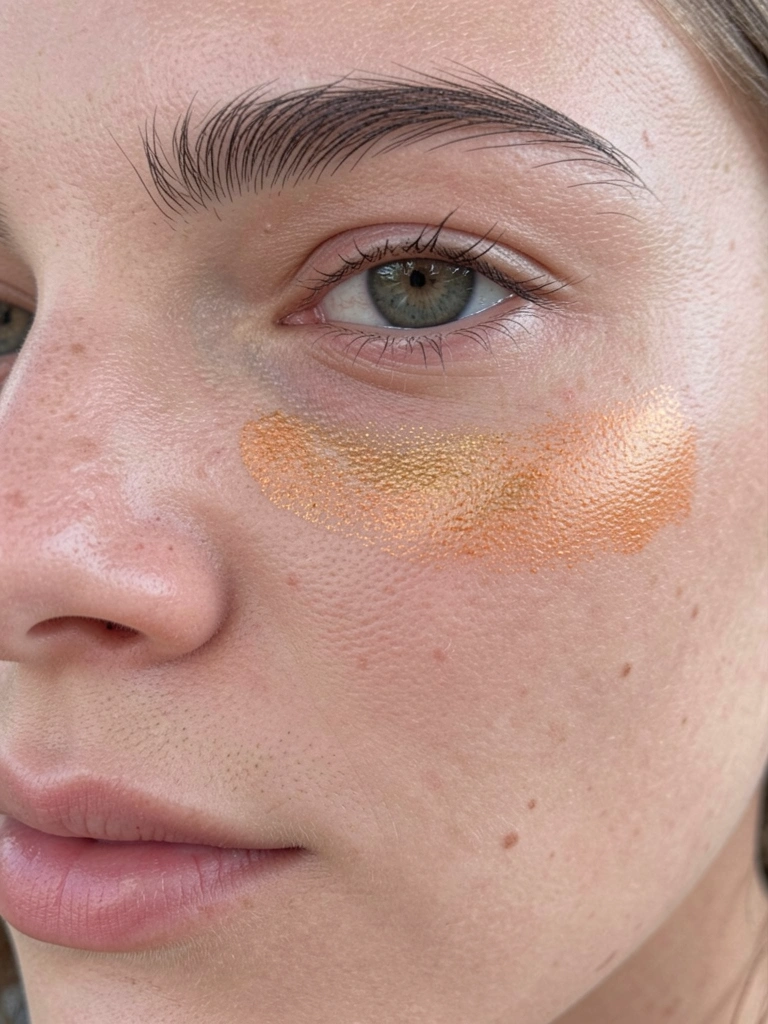
    Highlighter in golden orange transformed my no-makeup days—just cheekbone taps for inner glow. I overdid silver once; looked ashy. This warms without glitter.

    Feels light, blends into skin. Wore to work; caught compliments in meetings.

    Dab with fingers, soft focus. Pairs with anything.

    What You’ll Need for This Look

    5. Warm Orange Smoky Eye for Nights Out

    Smoky orange eyes hit different at drinks—creamy shades smoked out for depth. Mistake: matte powder creased; cream base fixed it.

    On deeper skin, it glows rich. Felt sultry, not heavy.

    Smudge liner in, feather edges. Lasts dancing.

    What You’ll Need for This Look

    6. Minimal Orange Liner for Workdays

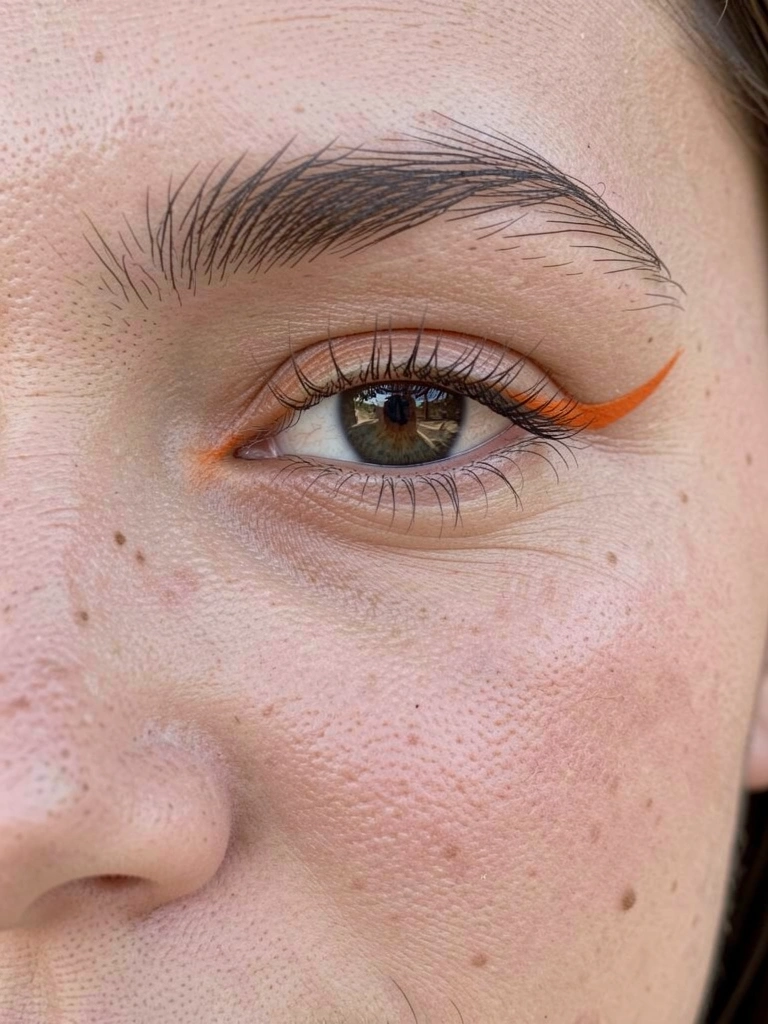
    Thin orange liner woke up my eyes at the office—no full shadow needed. Pencil glided smooth; gel smudged once.

    Brightens without effort. Wore all day; stayed sharp.

    Wing short, tightline inner. Clean pop.

    What You’ll Need for This Look

    7. Sunset Gradient Lips with Sheer Base

    Gradient lips—deep outer orange fading to nude—gave picnic vibes. Overlined first; too much. Sheer inner fixed.

    Soft on pale skin. Felt fresh.

    Blend with finger. Glowy ease.

    What You’ll Need for This Look

    8. Orange-Tinted Moisturizer for Barely-There Glow

    Tinted moisturizer in orange warmed my base—no foundation cakiness. Yellow tones washed me out before.

    Hydrates, glows real. Wore errands; looked rested.

    Pat on, no powder. Effortless.

    What You’ll Need for This Look

    9. Copper Orange Lashes for Subtle Drama

    Copper mascara lengthened without clumps—game for hazel eyes. Black overpowered; this warms.

    Builds light. Wore brunch; noticed.

    Curl first. Clean lift.

    What You’ll Need for This Look

    10. Burnt Orange Contour for Face Framing

    Burnt orange contour sculpted softly—blended hollows. Powder skipped dry patches; cream won.

    Slims naturally. Wore photos; shaped better.

    Buff circular. Warm definition.

    What You’ll Need for This Look

    11. Sheer Orange Shadows for Morning Light

    Sheer orange powder for mornings—lid wash only. Foil tried shiny fail.

    Brightens eyes. Quick wear.

    Dust light. Fresh start.

    What You’ll Need for This Look

    12. Layered Orange Glow Full Face

    Layered orange—shadow, blush, gloss—built my glowiest look. Started heavy; sheers layered right.

    Unified tone. Wore party; radiant.

    Layer thin. Cohesive warmth.

    What You’ll Need for This Look

    Final Thoughts

    Pick one or two looks that match your day—they mix easy. You don't need every shade; start with what flatters your undertones.

    I've returned half my orange stash learning this. Wear what feels good; the glow follows. You've got this.

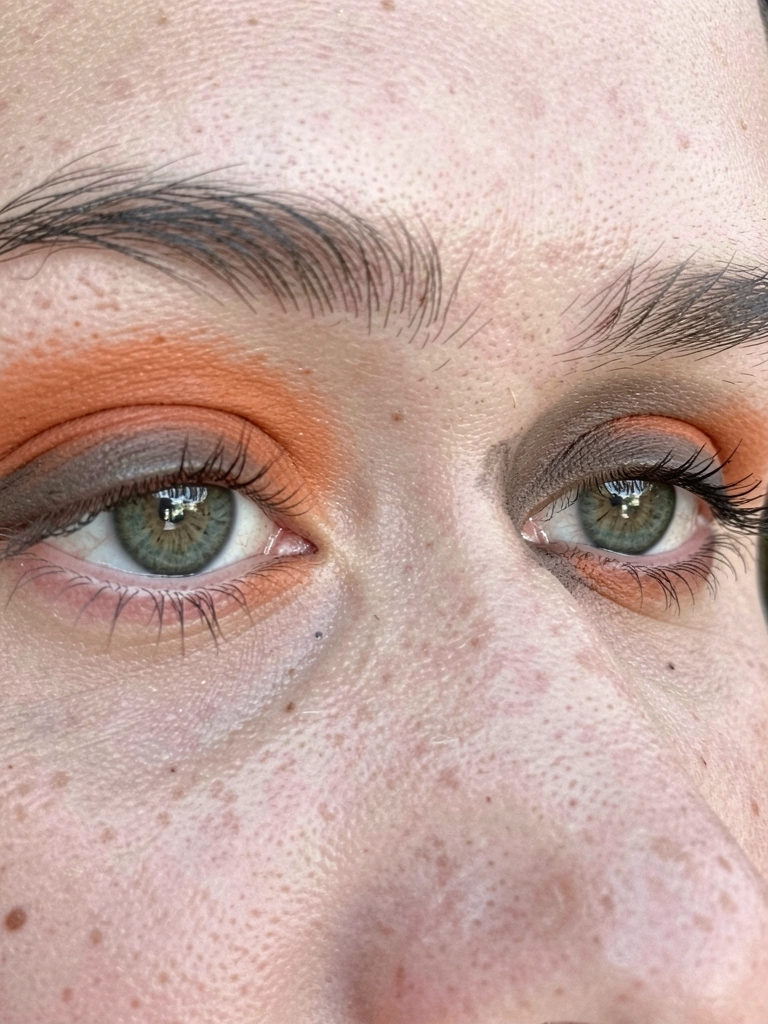
  • 21 Vibrant Orange Eyeshadow Looks For Everyday Glam

    21 Vibrant Orange Eyeshadow Looks For Everyday Glam

    I remember the first time orange eyeshadow caught my eye in a drugstore display. Too bold, I thought, and skipped it. Then one rushed morning, I swiped on a peachy shade over coffee. My hazel eyes lit up, face felt awake. No heavy makeup bag needed.

    That tiny win changed everything. Orange isn't runway drama—it's real-life pop that works with tired skin or busy days.

    Now I reach for it weekly. Paired right, it flatters without overwhelming. You can too.

    21 Vibrant Orange Eyeshadow Looks For Everyday Glam

    These 21 orange eyeshadow looks bring everyday glam without fuss. Vibrant yet wearable for work, errands, or dinners. Each one pulls from what I've tested on real days.

    1. Subtle Peachy Orange Wash for Fresh Mornings

    I grabbed this peachy orange for a early team meeting last week. Dabbed it light over primer, blended with my finger. My eyes looked rested, like I slept nine hours. Paired with mascara and nude lips, it felt clean.

    The key? Sheer layers. It wakes fair skin without creasing by noon. On me, it balanced my blue eyeshadows from before—warmer, softer.

    Wear it smudged low if your lids fold. I once went heavy and looked clownish; now I build slow.

    Skip black liner—brown keeps it morning-friendly. Total time: five minutes.

    What You’ll Need for This Look

    Peachy orange eyeshadow single matte

    Eye primer cream neutral

    Brown liquid eyeliner fine tip

    Lengthening black mascara

    2. Smoky Orange Blend with Taupe Corners

    Weekend brunch called for this smoky orange. I packed it on the outer corners, faded taupe inward. Felt sultry but not date-night heavy. My green eyes popped against the warmth.

    Blending took practice—my first try smeared. Now a fluffy brush fixes it. It holds through mimosas.

    On olive skin, it reads earthy. Add falsies for lift if your lashes are straight like mine.

    This look pairs with jeans and a tee. Effortless glam.

    What You’ll Need for This Look

    Matte orange eyeshadow palette warm tones

    Taupe matte eyeshadow single

    Fluffy blending brush synthetic

    Volume mascara black

    3. Shimmery Tangerine Cut Crease

    Cut crease with tangerine shimmer? I tested for a lunch date. Taped the crease, pressed shimmer above. Sharp yet soft in daylight. Made my almond eyes seem bigger.

    The tape trick saved my uneven lids. Removed clean, no fallout mess.

    It shifts from office to after-work drinks. Bronze skin loves the glow.

    Buff it out if too intense. Wore it all day without fade.

    What You’ll Need for This Look

    Shimmery tangerine eyeshadow pot

    Crease tape strips disposable

    Flat shader brush small

    Clear brow gel

    4. Matte Pumpkin Orange Monolid Friendly

    Monolids like mine need matte pumpkin orange smoked low. Applied with a dense brush, dragged to lash line. Felt defined without lines showing.

    I skipped shimmer—creases less. Wore to grocery run, got "your eyes glow" comments.

    Build sheer for depth. Pairs with messy bun and sneakers.

    Honest: too much powder made it chalky once. Primer prevents that.

    What You’ll Need for This Look

    Matte pumpkin orange eyeshadow powder

    Eye primer gel

    Dense smudging brush

    Brown pencil eyeliner smudgeable

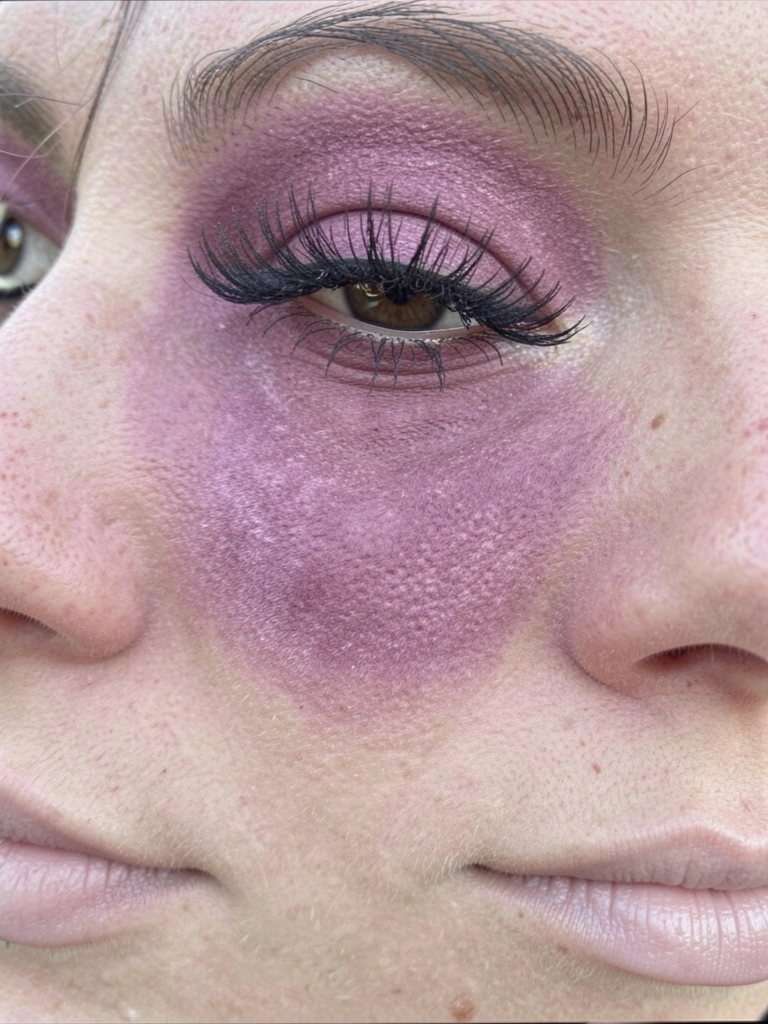
    5. Gradient Orange Fade to Nude

    Gradient orange fade saved my no-makeup makeup day. Deep orange outer, nude inner. Blended seamless with windshield wiper motion.

    Eyes looked lifted. On my fair skin, it brightened without bold lines.

    Windshield technique from trial-error. Wore through yoga—no smear.
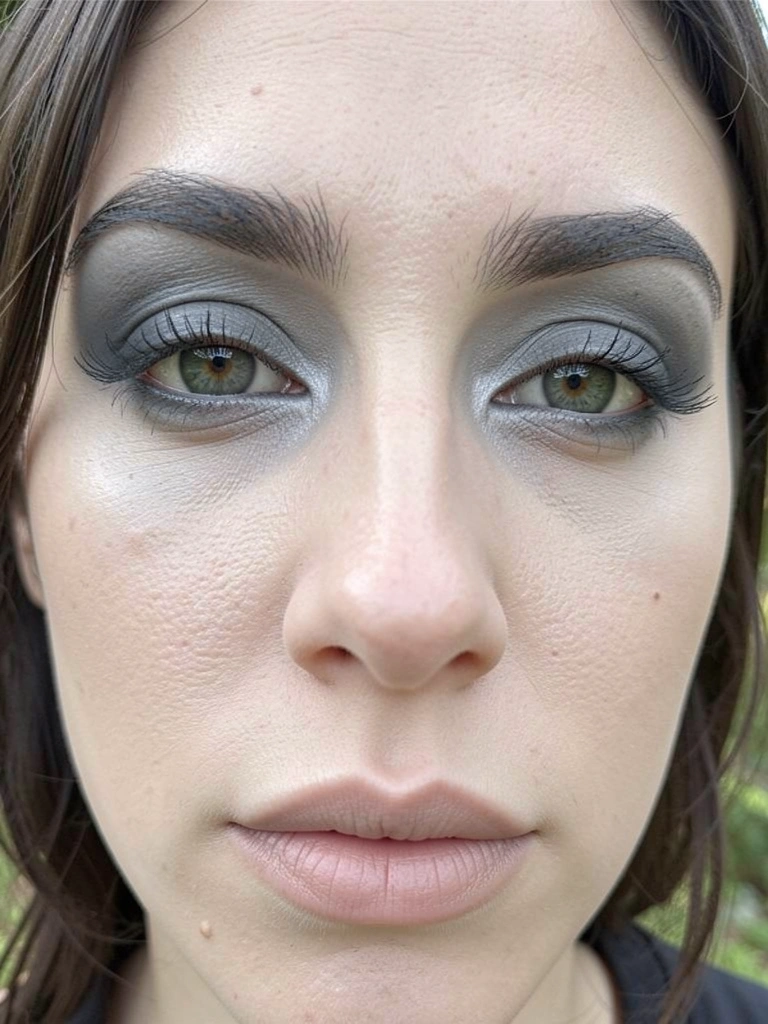
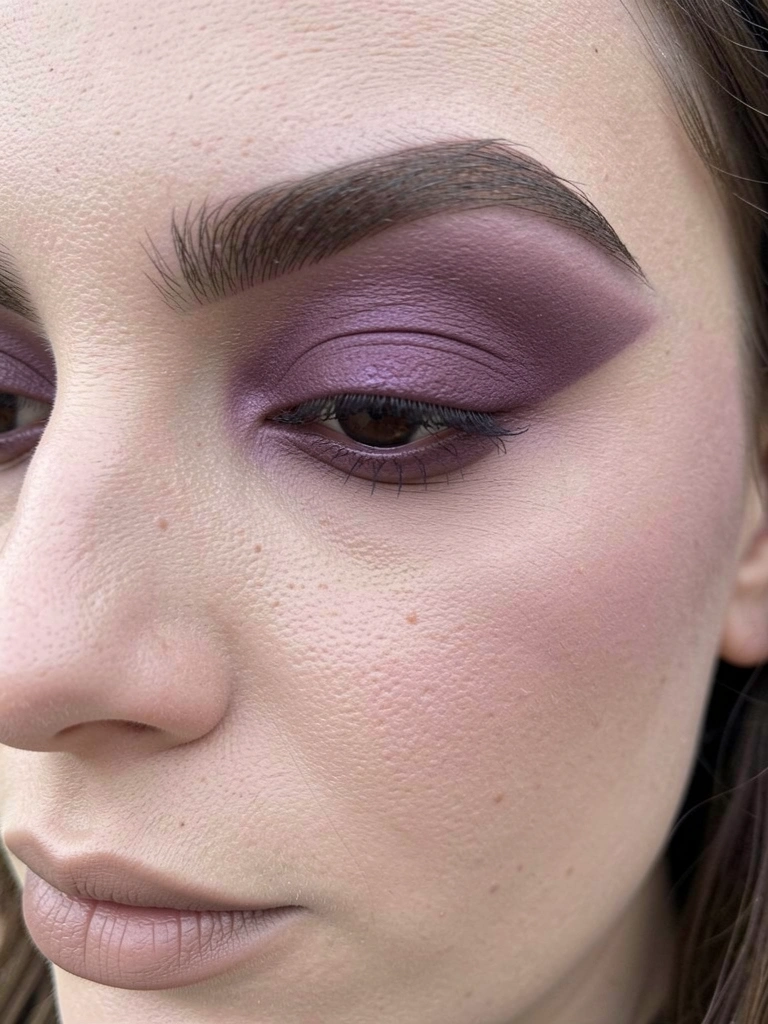
    Subtle for errands. Add liner if hooded.
    What You’ll Need for This Look

    Orange to nude eyeshadow duo matte

    Blending brush rounded

    Setting spray lightweight

    Curved mascara wand

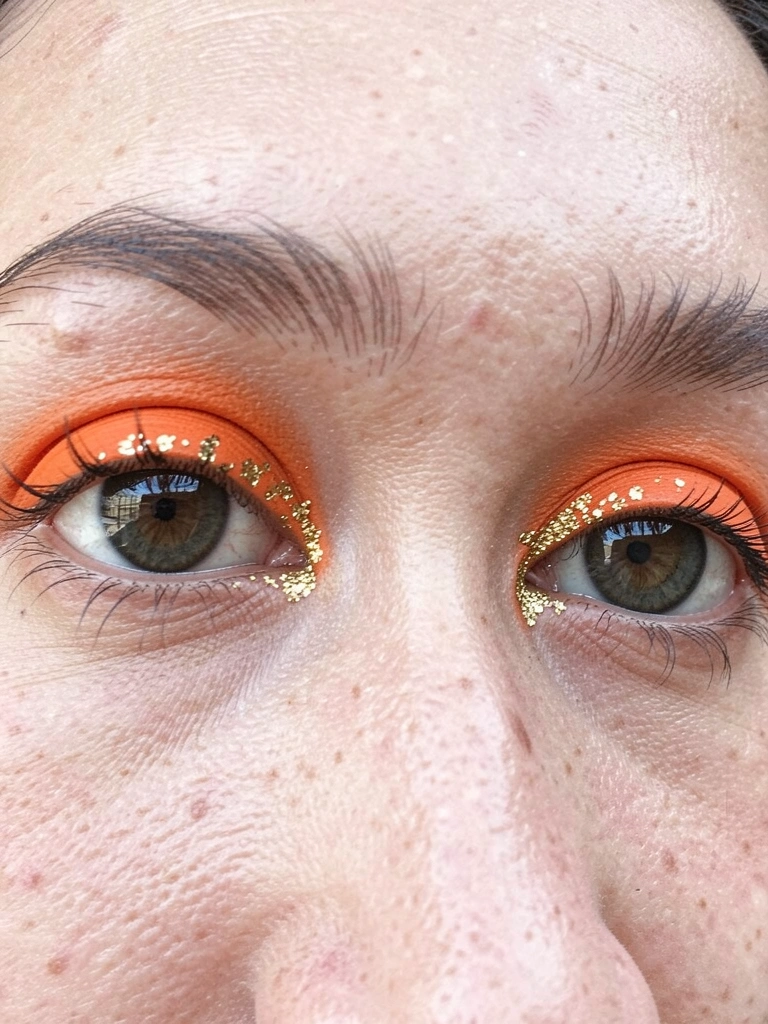
    6. Gold-Flecked Orange Outer V

    Outer V orange with gold flecks for coffee chats. Pat orange, dip gold accents. Sparkled just right in sun.

    My brown eyes warmed up. Flecks catch light without glitter bomb.

    Used a fan brush lightly—avoids clump. Held through laughs.

    Casual glam with gold hoops.

    What You’ll Need for This Look

    Vibrant orange eyeshadow matte base

    Gold fleck loose eyeshadow

    Fan brush fine

    Black gel liner wing

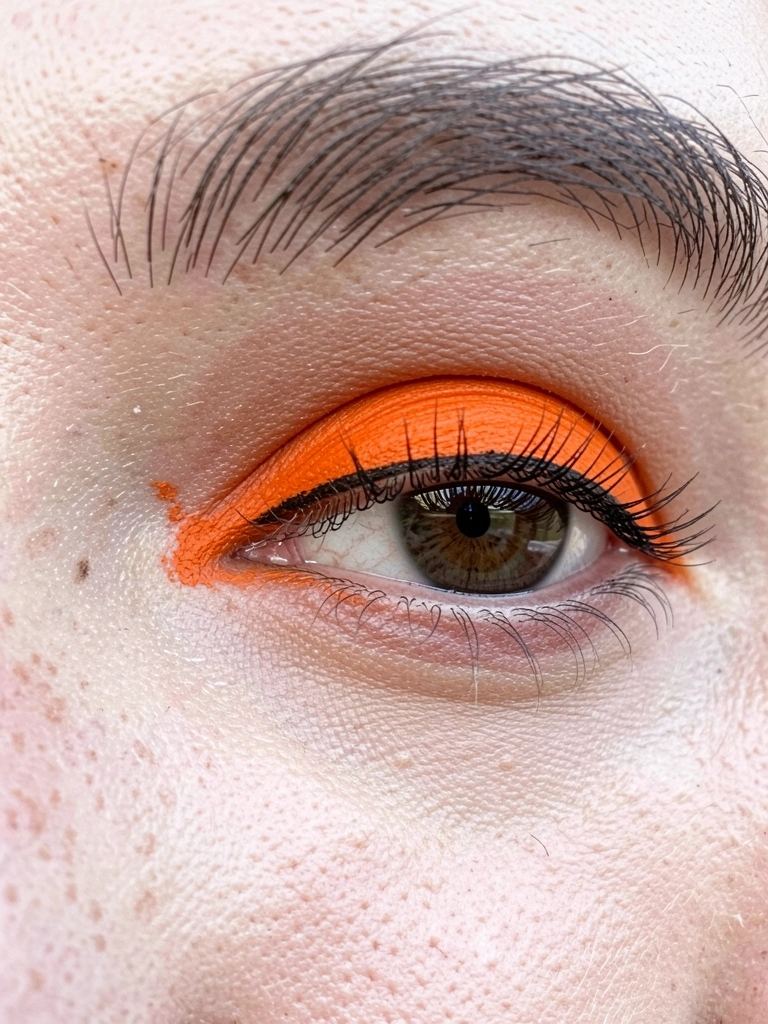
    7. Bold Orange Winged Liner Base

    Bold orange under winged liner for errands. Shadow first, thin black wing. Edgy but wearable.

    Lifted my straight lids. I returned a glitter liner once—matte sticks better.
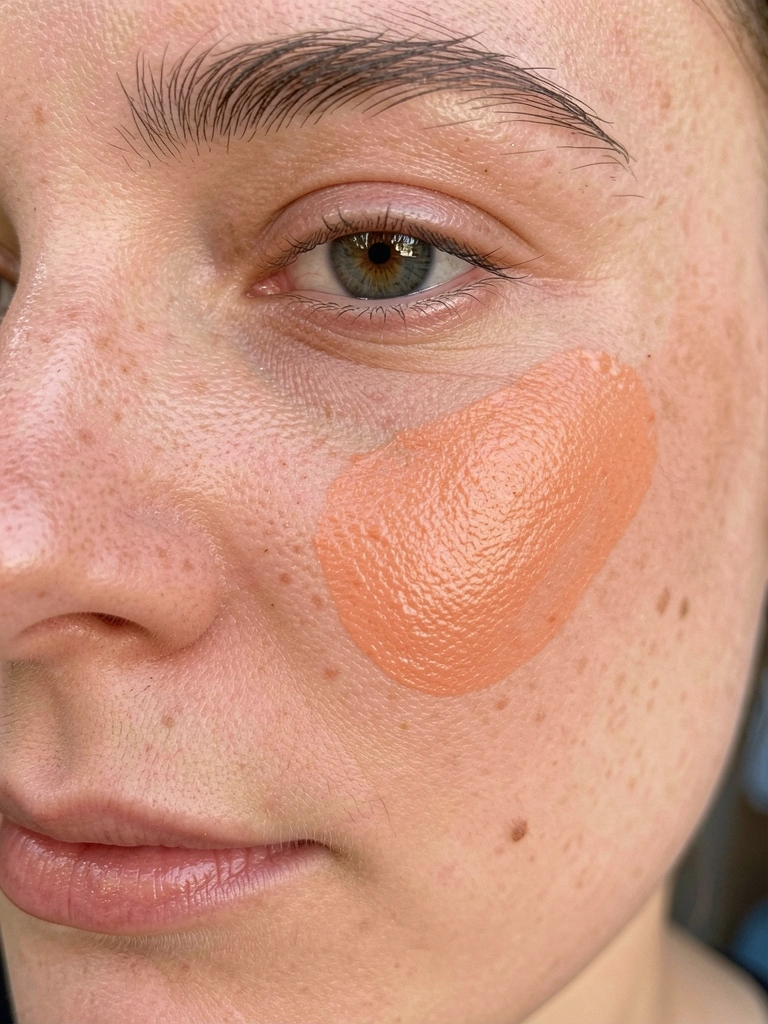
    Practice wing on hand first. Wore with tee, felt dressed up.
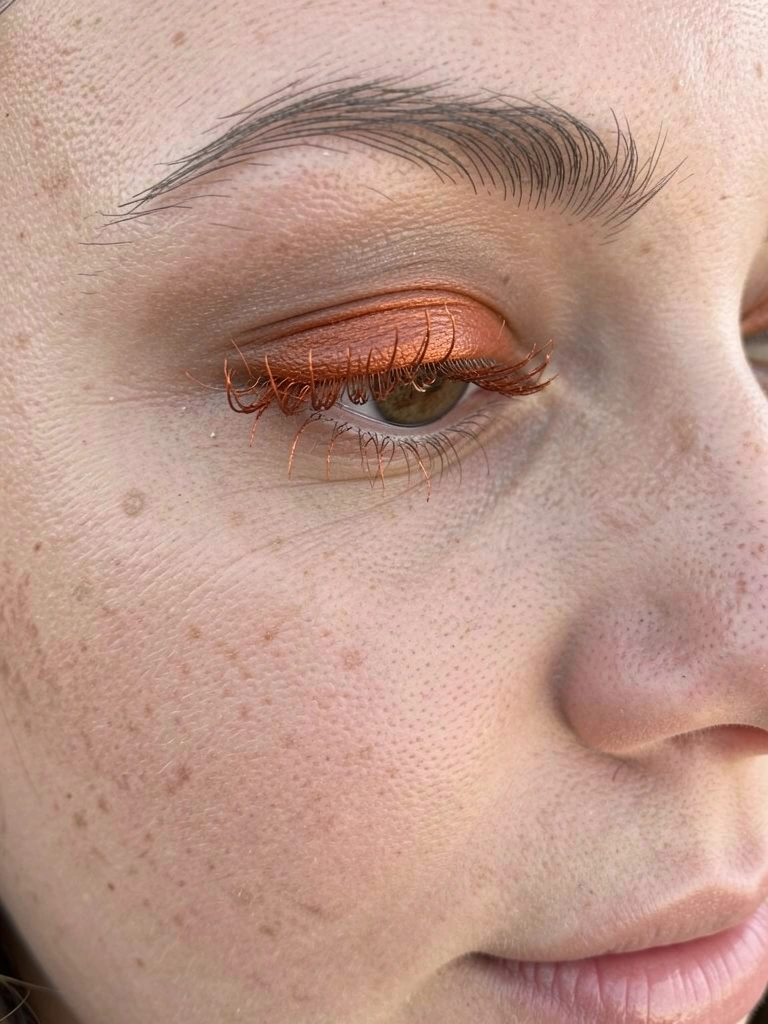
    All-day wear champ.

    What You’ll Need for This Look

    Bold matte orange eyeshadow stick

    Black winged eyeliner pen

    Lash curler metal

    Waterproof mascara

    8. Sunset Orange Multi-Tone Blend

    Sunset blend: light orange inner, deep outer. For park walks. Blended three shades, eyes looked dimensional.

    On tan skin, pure warmth. My mistake? Wrong brush size—now medium works.

    Felt romantic casual. No touch-ups needed.

    What You’ll Need for This Look

    Sunset orange eyeshadow palette 4 shades

    Medium blending brush

    Peach cream shadow base

    Volumizing mascara clear

    9. Terracotta Orange Crease Pop

    Crease-only terracotta orange for work calls. Blended tight, lids bare. Quick, flattering depth.

    My deep-set eyes thank it. Paired neutral everywhere else.

    Smudge with finger for softness. Wore 10 hours strong.

    Office wearable.

    What You’ll Need for This Look

    Terracotta orange powder eyeshadow

    Precision crease brush

    Neutral lid primer

    Thin black liner pencil

    10. Coral Orange with Lash Focus

    Coral orange wash, tripled lashes. For friend hangs. Shadow subtle, lashes steal show.

    Fair skin glows. I overdid shadow once—less is more.

    Clump-free mascara key. Felt wide-eyed natural.

    What You’ll Need for This Look

    Coral orange cream eyeshadow

    Thickening mascara black

    Lash primer white

    Clean blending sponge

    11. Burnt Orange Halo Effect

    Halo burnt orange: shade outer, light center. Dinner vibe. Eyes brightened instantly.

    Hooded lids hide it well. Blended damp for intensity.

    My go-to for evenings out. Softens with time.

    What You’ll Need for This Look

    Burnt orange shimmer eyeshadow

    Small packing brush

    Damp beauty sponge wedge

    Brown shadow liner

    12. Rust Orange Lower Lash Drama

    Rust orange low, upper neutral. For long drives. Smoky bottom lifts without upper weight.

    My tired eyes perk. Finger-smudged easy.

    Wore with sunglasses—subtle pop. No creasing issue.

    What You’ll Need for This Look

    Rust orange matte powder

    Angled liner brush

    Setting powder translucent

    Lengthening lower lash mascara

    13. Fiery Orange Cat Eye Flick

    Fiery orange to cat flick. Market run glam. Shadow base, liner extends.

    Almond eyes sharpen. I smudged liner too—practice pays.

    Quick 10-min look. Holds sweat.

    What You’ll Need for This Look

    Fiery orange liquid eyeshadow

    Cat eye liner stamp

    Primer spray fine mist

    False lash clusters natural

    14. Warm Orange Inner Corner Glow

    Warm orange inner glow, taupe outer. Office fresh. Tiny pop opens eyes.

    My small eyes thank it. Shimmer lasts.

    Dab with finger. Pairs jeans.

    What You’ll Need for This Look

    Warm orange shimmer single

    Taupe matte crease shade

    Detail brush pointed

    Nude pencil liner inner rim

    15. Neon-Toned Orange Soft Smoke

    Neon orange softened smoke for brunches. Built sheer, blended out. Vibrant tame.

    Dark skin pops. My first neon faded fast—primer fixes.

    Felt fun casual. Lash curl amps.

    What You’ll Need for This Look

    Neon orange matte eyeshadow

    Large fluffy smoke brush

    Long-wear primer pot

    Arched mascara brush

    16. Copper Orange Lid Focus

    Copper orange full lid. Casual Fridays. Pressed on, lined thin.

    Eyes metallic wow. I creased it wrong once—set powder.

    Shiny but office-ok. Quick pat.

    What You’ll Need for This Look

    Copper orange metallic shadow

    Setting powder loose fine

    Synthetic packing brush

    Fine black liner brush

    17. Saffron Orange Winged Half

    Saffron half-wing orange. Dog walks. Outer half shaded, winged.

    Subtle lift. Blends fast.

    My go-to minimal. No fallout.

    What You’ll Need for This Look

    Saffron orange powder shade

    Winged liner brush angled

    Primer pencil clear

    Buildable mascara tube

    18. Apricot Orange Diffused Edges

    Apricot diffused all over. Rainy days. Fingers for haze.

    Softens face. Warm tones suit.

    Windy days hold. Easy redo.

    What You’ll Need for This Look

    Apricot orange cream shadow

    Finger blending mitt

    Translucent powder puff

    Brown defining mascara

    19. Mandarin Orange Graphic Line

    Mandarin graphic line above crease. Artsy meetups. Thin brush line.

    Unique pop. Steady hand key.

    My shaky days use stencil. Fun twist.

    What You’ll Need for This Look

    Mandarin orange gel shadow

    Thin liner brush detail

    Graphic liner stencil flexible

    Clear lash sealant

    20. Ember Orange Smoky Corner

    Ember smoky corners. Late shifts. Outer build, inner clean.

    Tired eyes hide. Quick blend.

    Felt alert. Powder sets.

    What You’ll Need for This Look

    Ember orange matte shade

    Corner blending brush small

    Locking primer spray

    Overnight mascara hold

    21. Citrus Orange with Neutral Balance

    Citrus orange with beiges. Everyday staple. Outer orange, full neutral.

    Versatile base. My return: bright single—palette wins.

    Adapts skin tones. Daily reach.

    What You’ll Need for This Look

    Citrus orange neutral palette

    Versatile blending set brushes

    All-day primer stick

    Hybrid ink liner black

    Final Thoughts

    Pick one or two looks that match your day. You don't need every palette—just primer and a good brush.

    I've built my routine slow, testing what stays put. Orange works for all eyes.

    Try it tomorrow. You'll see the difference in the mirror.